
Pull Apart Coconut Buns


You see that first photo up there? That’s actually a selfie I took this weekend, because I’ve most literally turned into a bun and got a nice tan. Jkkkkk, I just ate a lot of buns the last few days for the sake of “research” and feel very bun-like. I definitely didn’t get a tan because I’ve been mostly indoors since… forever. This weekend has been all sorts of wonderful and all sorts of crazy. My office gave me 2 days to work from home and bake a cake! Like, what?! I’ve been slaving away on this Great British Baking Show Final Showstopper caliber cake that’s inspired by the designs our office created for a recent project. The cake will be part of one of our quarterly publications! I just finished it and I’m actually pretty happy with it! My coworker, Paulina, is an incredible graphic designer and the design of this cake was actually inspired by her work. I made her wedding cake too, which was also inspired by the graphics she created for her invites. So pretty much Paulina and I should start a graphic cake business! Ah, I wish! There was a moment during the decorating process when my buttercream was being weird and kept breaking and I though I was going to melt into one of my crying puddles, but then it somehow worked out! Hooray! If you just push through the butter and tears, things will work out.
(Maybe my tendency to cry all the time is what prevented me from making it on the Great American Baking Show?????? How would the producers know that about me though? Oh, whatever… I’m over it. Stop talking to yourself, there’s still people reading your blog.)
I can’t wait to share the final cake with you! Hopefully that will happen soon.
When I wasn’t working on this crazy cake, Reuben and I got to finally spend some quality time together. It seemed like we barely saw each other for what felt like eons because I was working overtime a bunch and Reuben was gone on his man ski trip. We took advantage of our weekend and got to relax, be lazy, make plans for Italy (we leave in a month!!!!! Holy, meatballs.), eat lots of buns, and squeeze in a little brewery pit stop. There was a cat named Matcha at the brewery we stopped at. I stalked the cat. If you watched my Instagram stories over the weekend you already know it was pretty much the highlight of my whole weekend. Gosh, I loved Matcha. I desperately need a small animal in my life I can name Black Sesame or Noodle.
Should we discuss these buns now? Last week I shared those lovely Chinese Bakery Style Hot Dog Flower Buns and I was overwhelmed by how many people related to them and also considered them a childhood favorite! I would love it if you share with me your Chinese Bakery favorites! I’ll try to make them! This week, I’m sharing another one of my favorites (I have a lot of favorites…)! You might know them as Coconut Buns, Cocktail Buns, or Gai Mei Bao. These buns have a fluffy milk bread base and then filled with a sweet coconut and slightly milky filling. Its made all shiny with a simple syrup glaze, which gives it just a little extra kiss of sweetness. The coconut filling is the best part of the bun! I should eat that stuff straight! Don’t though because there is raw flour in it and it needs to be cooked a bit haha, but you get the point. It’s delicious. The ratio of filling to bun in this recipe is a little higher than what you would find at an actual bakery, but this is my kitchen and I can do what I want! You may notice that the milk bread base is this recipe is different than the Hot Dog Flower Buns, and that is because I’m still experimenting with all the various milk bread techniques. Don’t worry though, they all taste good! Typically you would find Coconut Buns as individual buns, but I wanted to turn them into a shareable/pull apart situation because why the hell not? There is always something about tearing your food apart with your hands that make it taste better. The pull apart nature of this recipe also makes this a great option for your weekend brunch table too! Yay for friends tearing apart buns!
Pull Apart Coconut Buns
makes 11 buns in a 8” round pan
dough materials:
1/3 cup heavy cream
1/2 cup warm milk
1 egg
1/4 cup sugar
1/4 cup cornstarch
1 cup bread flour
1 cup all purpose flour
1 tsp instant yeast
1/2 tsp salt
coconut filling materials:
6 tbsp softened butter
3 tbsp sugar
2 tbsp all purpose flour
1 tsp cornstarch
1/4 cup dried milk powder
1/2 cup finely shredded coconut
1 egg + 1 tbsp water - egg wash
sesame seeds - for topping (optional)
1/4 cup water + 1/4 cup white sugar - syrup glaze (optional)
steps:
Combine heavy cream, milk, egg, sugar, cornstarch, flours, yeast, and salt in the bowl of your standmixer fitted with a dough hook. Mix at medium speed (speed setting 4 for KitchenAid) for 15 minutes until a smooth and slightly sticky dough is formed. Stop to scrape down the sides every few minutes. If the dough sticks to the sides, sprinkle a little bit of flour after scraping to help it not stick. Once dough is formed, place in a large bowl lightly greased with oil. Cover with a damp kitchen towel and allow to rest in a warm place for 90 minutes. The dough will grow 1.5x from its original size.
While is resting, make the coconut filling. Combine all the filling ingredients in a bowl and mix with a spoon or rubber spatula until just combined. Set aside.
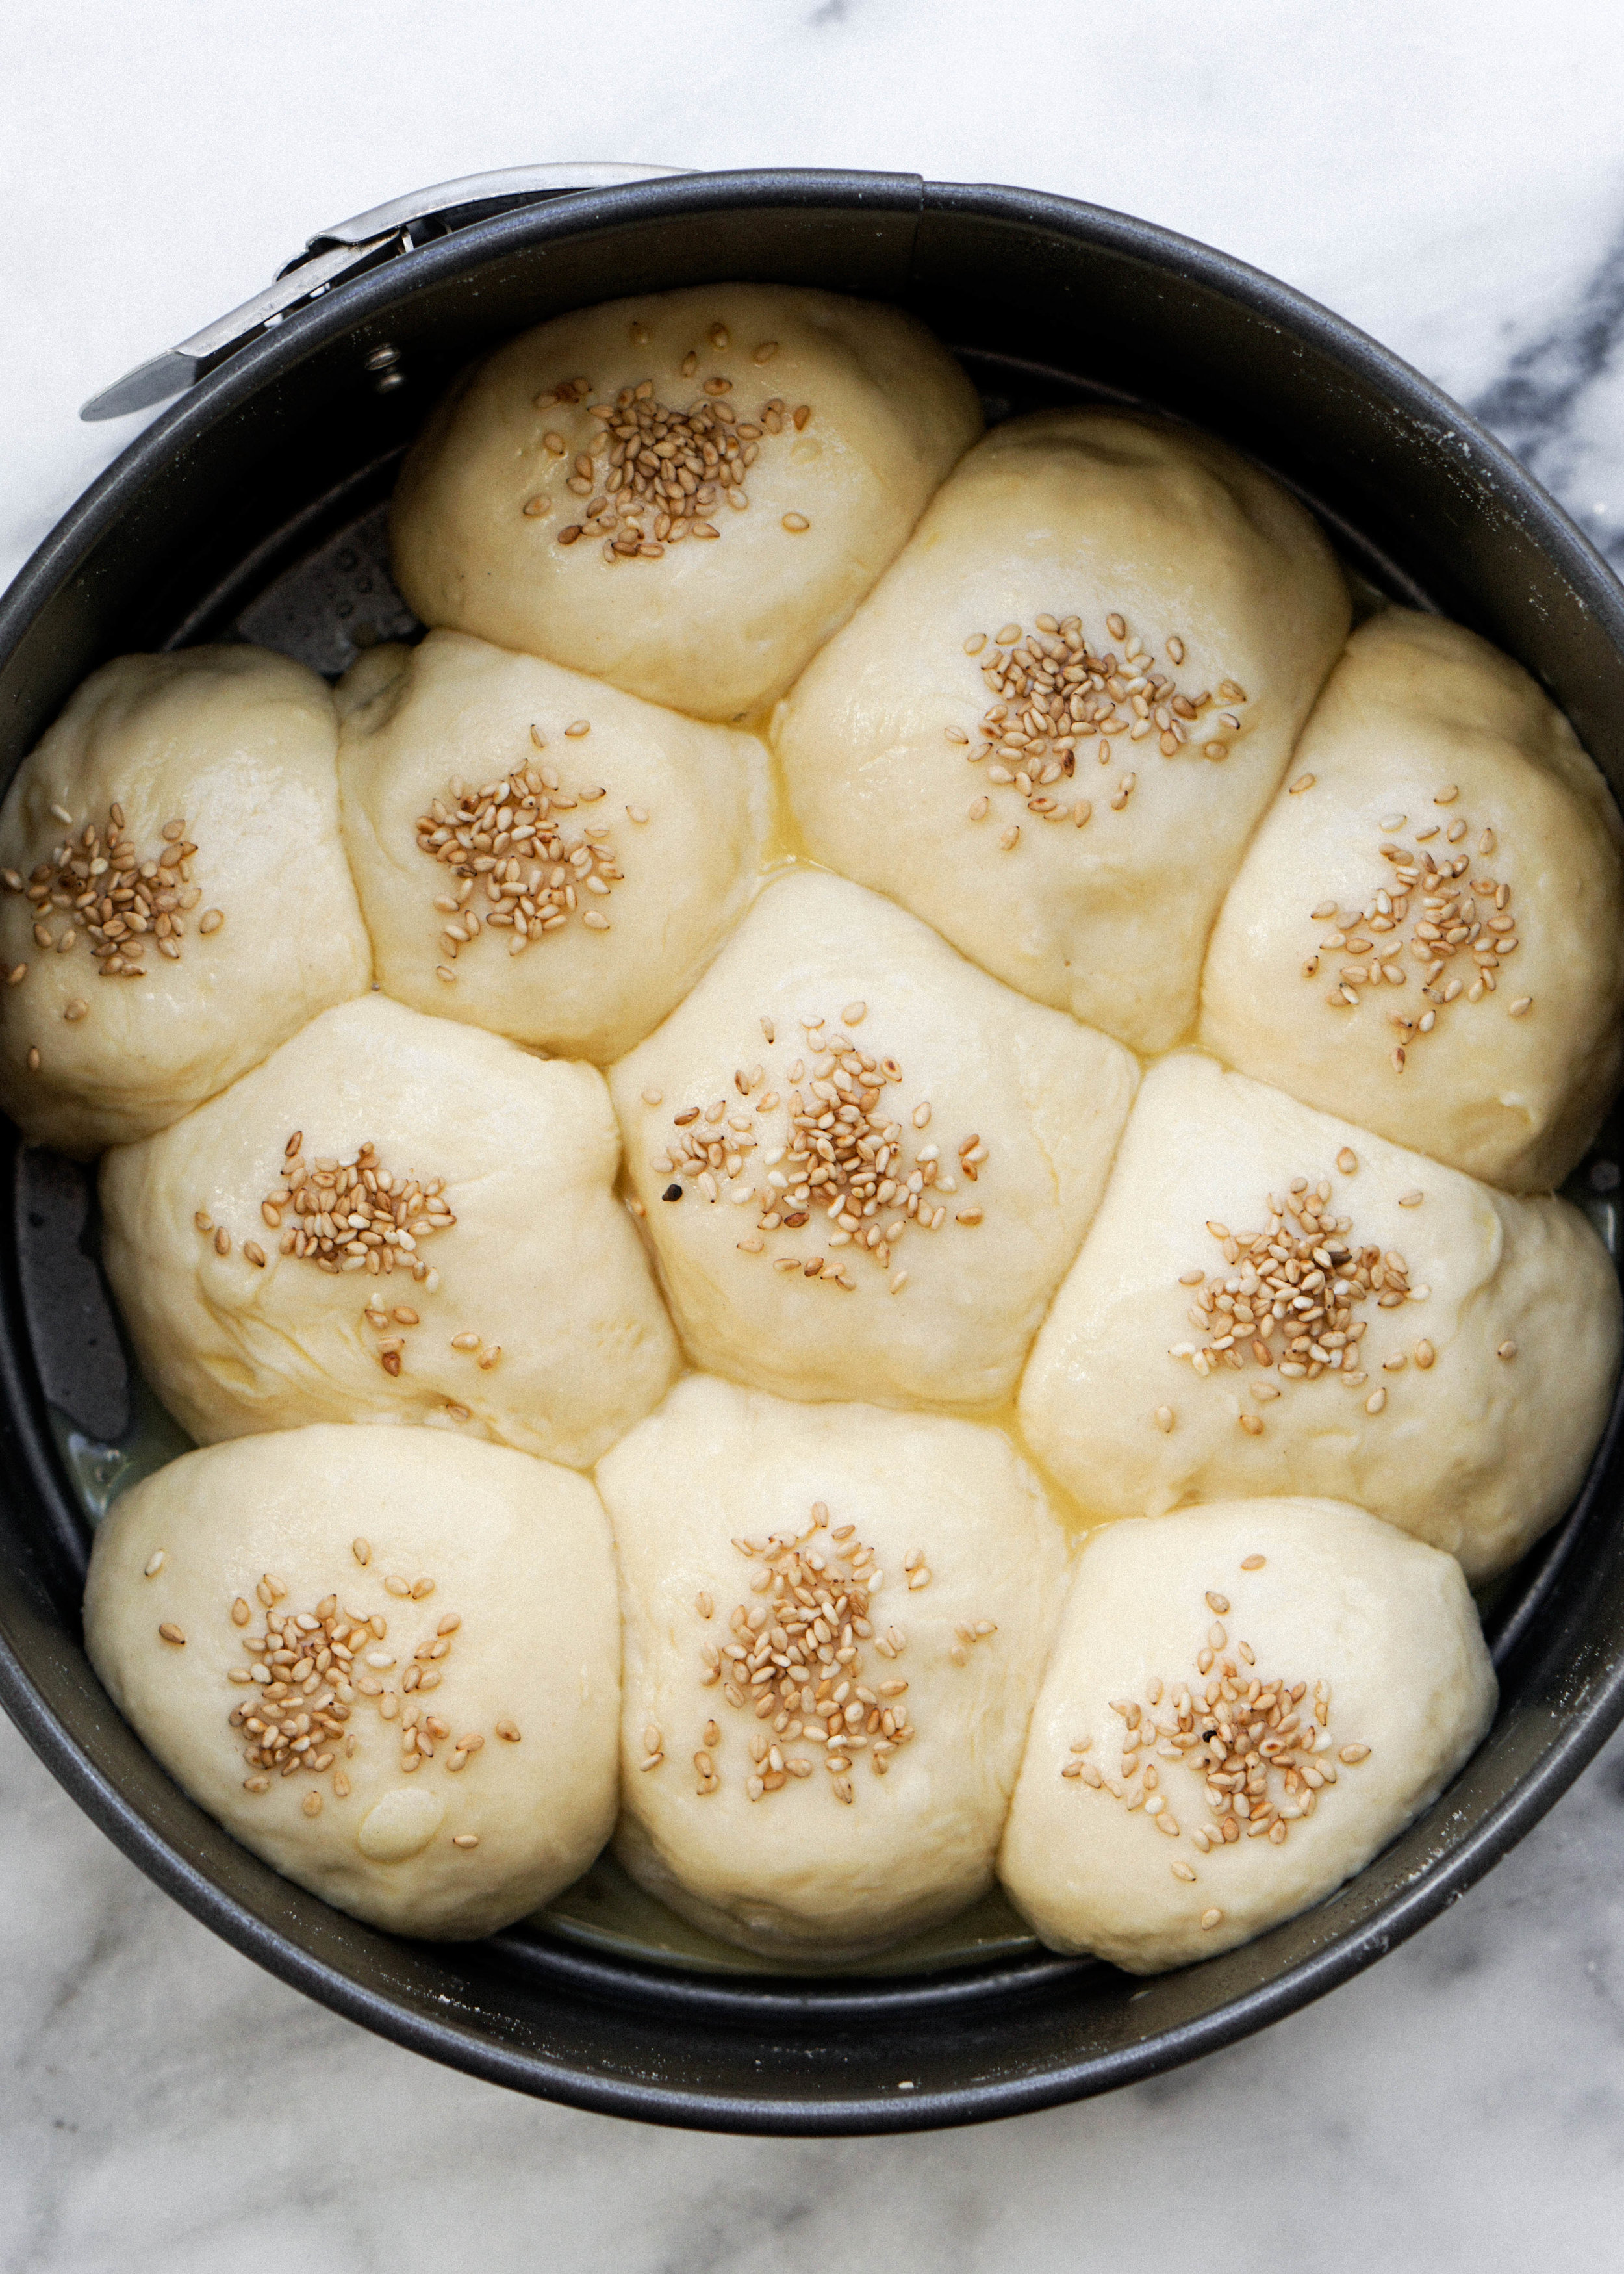
Scrape out the dough onto a lightly floured surface and knead for 2 minutes. Divide the dough into 11 equal pieces. Roll out the dough into a roughly 3” circle. Add a tablespoon of filling in the center of the dough round. Fold the dough around the filling and pinch the dough together to close. Quickly roll again to form a smooth ball. Place dough in a greased 8” springform pan. Repeat with remaining dough and fill the springform pan. Cover with a damp kitchen towel and allow to rest for another 45 minutes.
Preheat the oven to 350 degrees. Brush the tops of the buns with egg wash (1 egg mixed with 1 tbsp water) and sprinkle each bun with a few sesame seeds if using. Bake for 28-30 minutes on the center rack until golden brown and cooked through.
A few minutes before taking the buns out of the oven, combine 1/4 cup water and 1/4 cup sugar in a small sauce pan and cook on medium heat until sugar has dissolved. Remove buns from the oven and immediately brush the syrup glaze over the buns. Allow buns to cool in the springform pan for 10 minutes. Remove buns from the springform pan and cool on a wire rack until ready to eat!
notes :
Buns are best fresh out of the oven. After a few hours or days the bread will feel a little hard. You can just microwave the buns for 15-25 seconds and they will be fluffy again!
If you only have active yeast, you can add it to the warm milk with a pinch of sugar and allow to sit for 5-10 minutes. It should be have a few bubbles on the surface.