
Reuben's New Jersey Tortellini Pizza


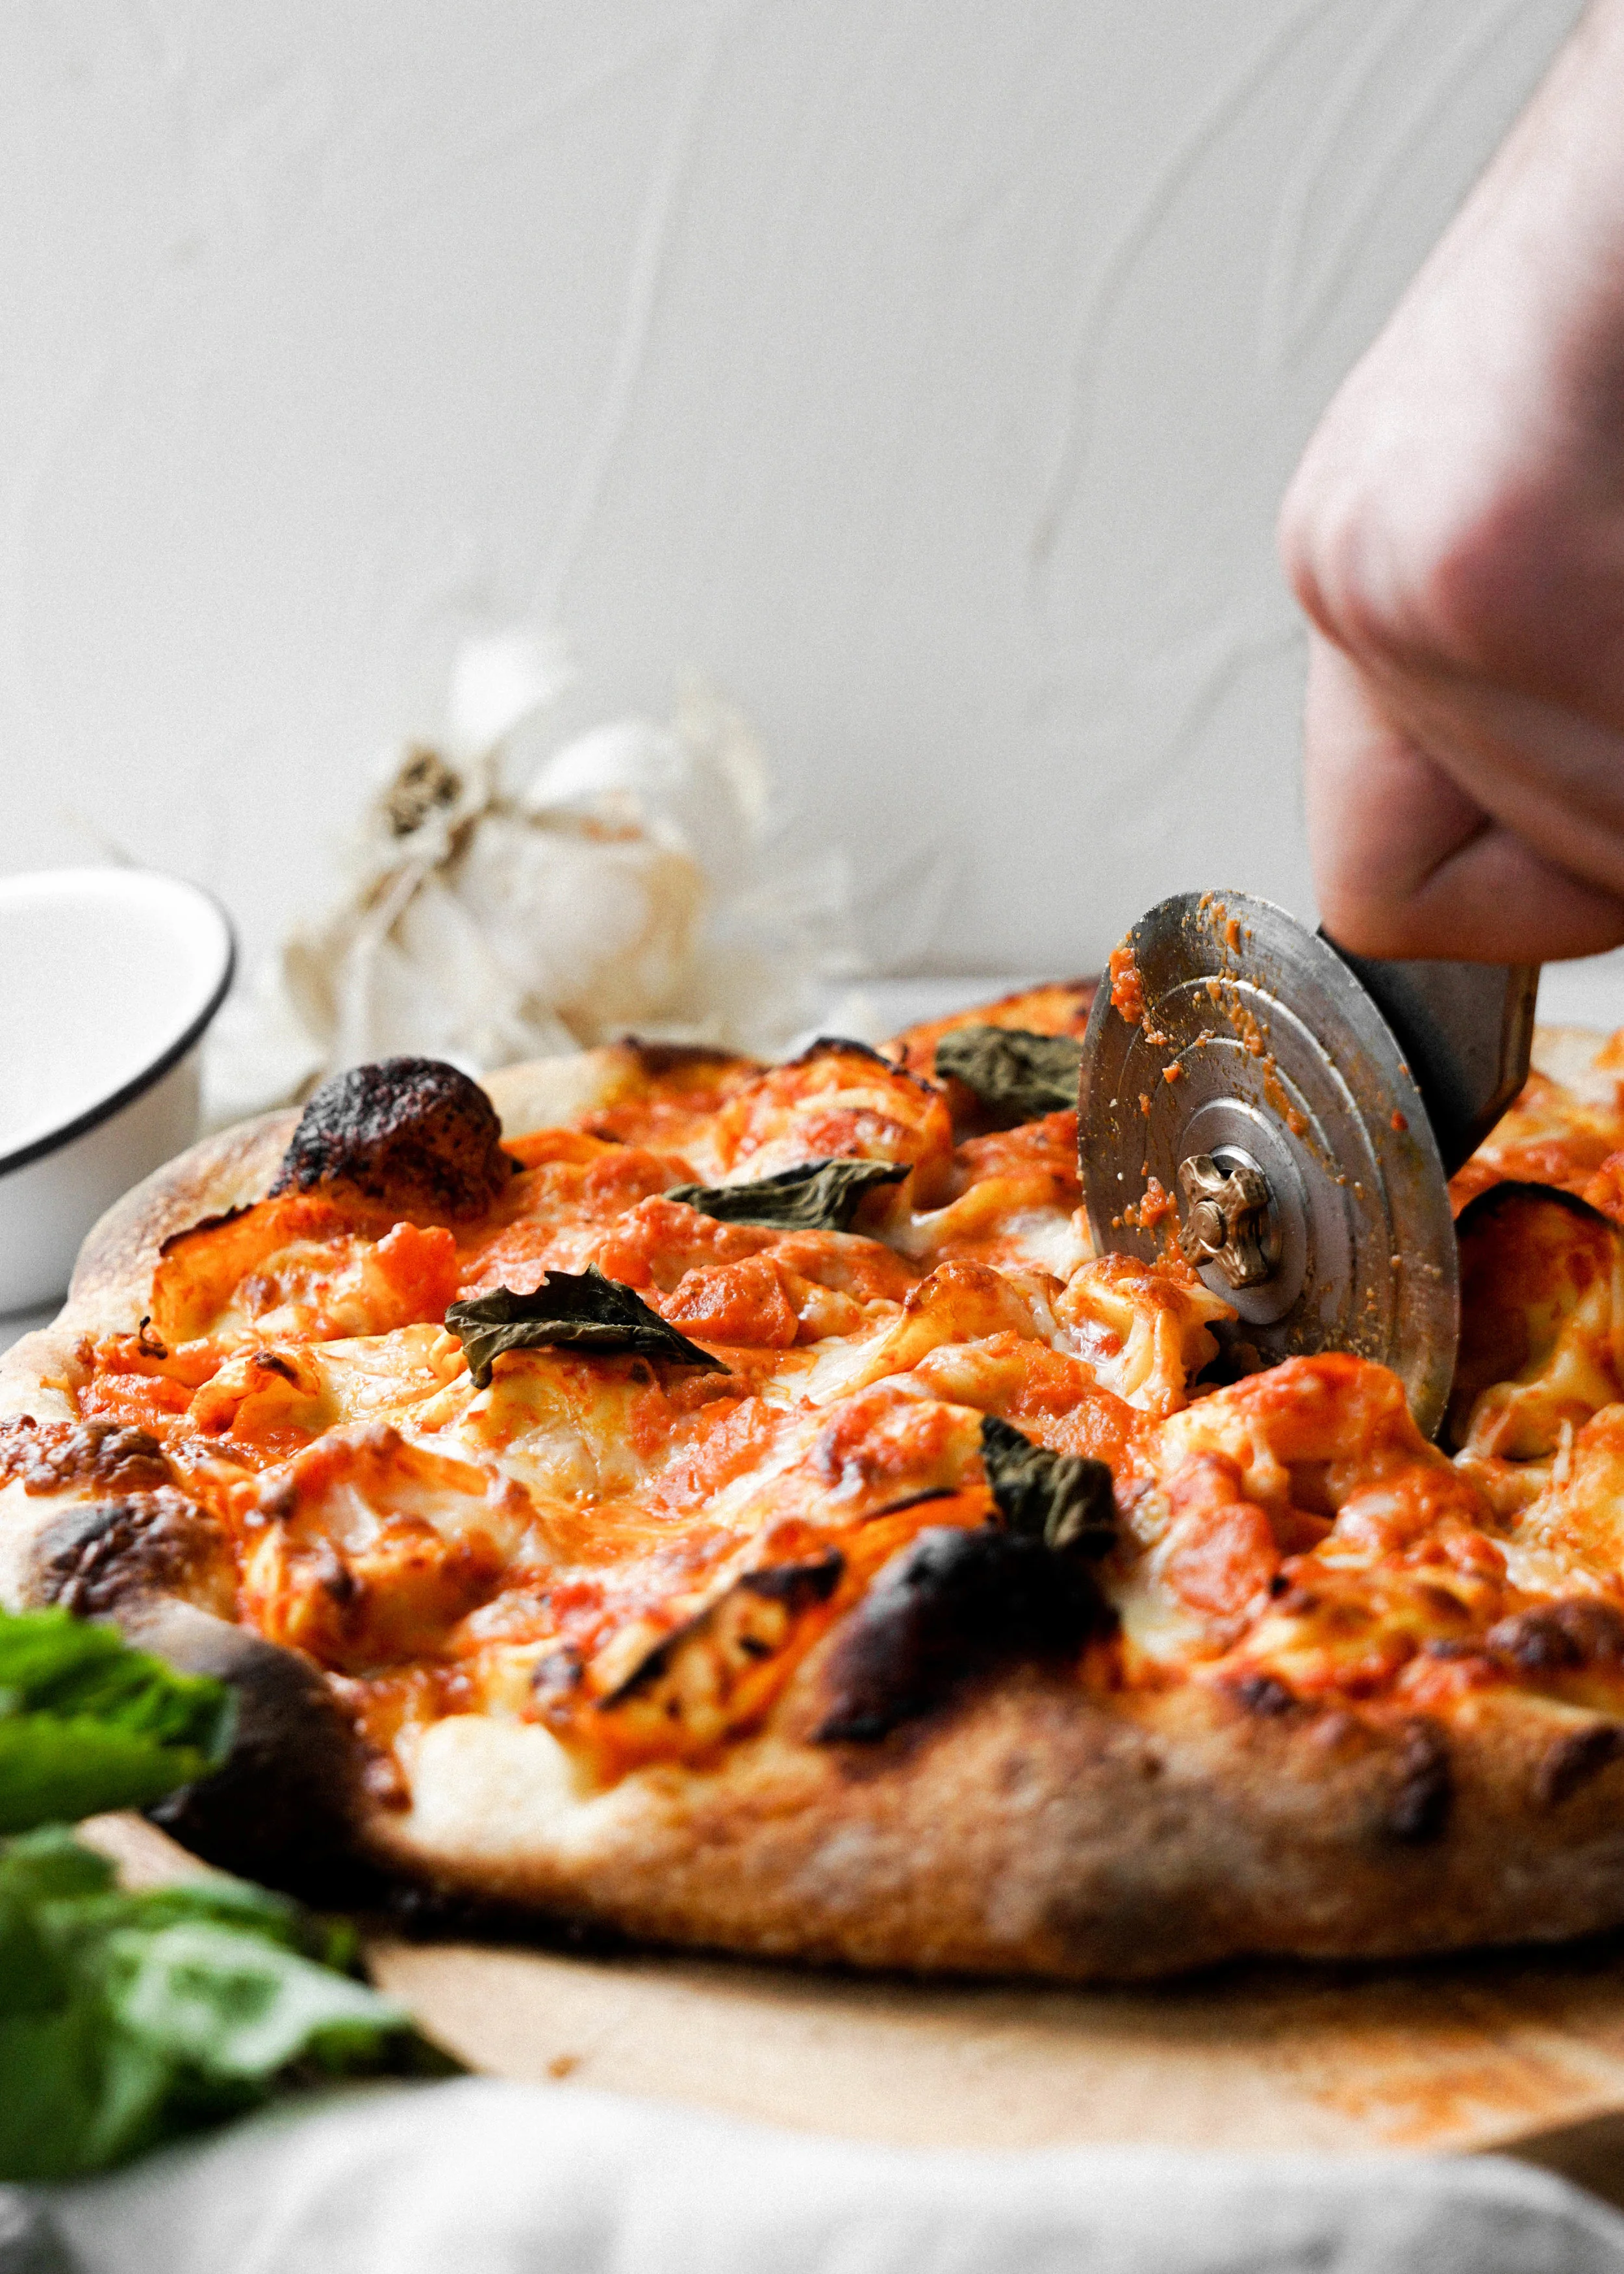


The time has finally come! It’s the recipe the world has been waiting for… Reuben’s pizza dough recipe!!!! I feel like I am constantly telling anyone who will listen to me that Reuben’s pizza is life changing. I’m not over exaggerating here. It really is so freaking good. Cleveland is not necessarily renowned for their pizza. The pizza of my youth was thick and doughy, still delicious, but definitely lacked the complexity and finesse of the pizza I’m currently spoiled with. However, Reuben grew up with the best pizza outside of Italy… lucky duck. He’s been perfecting his pizza recipe and technique for the last few years. That’s a long time for recipe development! The science of bread and pizza dough is sort of perfect for Reuben’s personality because he gets really technical and nerdy with hydration levels and kneading techniques. I normally don’t have the patience for things like that… I just want to eat the pizza! I was first introduced to the wonders of the tortellini slice last summer when we went back to New Jersey for a quick trip. It was the carb on carb combo of my dreams! What I loved was that some of the pasta was super crispy from the super hot oven, sort of like the coveted edge pieces of a baked ziti, but the overall pizza was still cheesy, gooey, and just thin but sturdy enough to hold up the weight of the pasta. It’s the greatest thing and I’m beyond happy that Reuben is able to recreate it at home! Just another reason why it’s pretty great to date someone from New Jersey : )
I convinced (more like nagged) Reuben to do a little blogging too hehehe! So take it away, Reub!
As you probably know from reading the blog, I grew up in New Jersey. New Jersey is known for plenty of things, and has plenty of connotations, however what you might not know if you haven’t spent much time there, is that New Jersey has THE BEST PIZZA in the country. Thats right, New York-style pizza better than the actual pizza in New York. Rather than explain this further, I’m going to end it on that claim. If you have a problem with that, come find me… Whoa. Sorry about that, I was getting Jersey for a second there. The recipe below is for NY (NJ) style pizza dough. Bread flour, sugar, and olive oil are key for this style as is the lower baking temperature when compared to real Neapolitan pizza. Omit the olive oil, sugar (for purists) and use Tipo 00 flour and you will have authentic Neapolitan dough using the exact same process. Good luck getting that signature leoparding though without an oven over 750 degrees fahrenheit, at a minimum!
The dough is the most important part of the pizza, no doubt about it, and while I usually think simple toppings are the best, I can’t resist a true NJ delicacy: The Ziti Slice. You heard that correctly, Ziti on a pizza, which is fairly common in NJ but nowhere else. It’s worth noting that this is referred to as a Ziti Slice because it is really only found in slice-shop style pizzerias and ordering/consuming more than one slice of this is a feat only accomplished by the staunchest Chris Christie supporters. Bad joke (dad joke?), sorry. Anyway, an even rarer variation of this double-carb delicacy, is the tortellini topped pizza, which also introduces double cheese. Going one step further, there is the tortellini vodka pizza, an extremely reclusive and delicious find. I first had this at Scotto’s in East Windsor, NJ, one of my favorite close to home pizzerias and Italian restaurants and maybe saw it once or twice elsewhere. I’m not even sure if they if they still make it since there has been at least one ownership change since I last ate there. Also, I need to take a moment to shout out circa 2004 Scotto’s for their eggplant rollatini slice. Incredible.
I will admit that this recipe is rather involved. But if you’re going to make the best pizza you better do it right. If you’re looking for a no-knead dough recipe, the internet is littered with them. In this house we knead the dough by hand. Pizza has been a central part of my life and I care deeply about sharing with people just how good it can be. Making my New Jersey style pizza for Kristina brings me a lot of joy. While I can not make pizza for all of you… yet, I hope that you find the time to study and practice the recipe and tips I’ve shared. The key to great pizza is really practice. The more you make pizza the more you’ll feel comfortable with all the techniques.
Below you’ll find some helpful tips that will take your pizza making skills to the next level!
Here are some tips for making your dough:
Less yeast = better flavor. When I started making pizza I had a tendency to use half a packet or more of yeast (for the recipe below). This would achieve a bubbly dough in a shorter amount of time, but I always felt like the flavor wasn’t quite there. Less yeast, paired with a slow fermentation, creates a flavorful and workable dough.
Slow fermentation at a cold temperature creates the best flavor and a nice stretchy dough that won’t spring back on itself. Don’t rush the pizza, and try to allow for at least 48 hours of cold fermentation. 72 hours is ideal.
70% hydration by weight, is perfect for NY pizza but the dough can be hard to work with if you’re not used to wet doughs. 65% hydration with bread flour will still create a good NYC dough and will be easier to work if you’re having issues with the wet dough. I wouldn’t go lower than 65% with bread flour and i would try to stay as close to 70% as you can.
NEVER roll out your pizza. Just don’t. If you follow this recipe the dough should be easily stretched by hand.
Use a baking stone or baking steel. This will get you a nice crispy crust and the thermal mass will help keep an even temperature in the oven. Also, don’t underestimate the time is takes for the stone and oven to heat up. Let the stone heat up for a full hour if you have the time. 550 degrees fahrenheit is a good temperature for NY style pizza. At 550 degrees, the pizza will be done in 8-9 minutes. If your oven can get hotter, it’s even better! Our oven can get up to 650 degrees (with a little trickery) and this creates even better results.
Tortellini Pizza
makes 3 12” pizzas
pizza dough:
500g bread flour
350g warm water (110-115 degrees Fahrenheit)
1 tsp salt
1 tsp sugar
1 tsp active dry yeast
1 tbsp olive oil
tortellini topping:
2 tbsp olive oil
1 small white onion - finely diced
2 minced garlic cloves
1/4 tsp red pepper flakes
1 tsp dried oregano
1/2 cup vodka
1 28 oz can crushed tomatoes
1/2 cup heavy cream - can adjust to preference
1/4 cup grated parmesan - or any hard italian cheese
salt and pepper
20 oz cheese tortellini - we used this brand
additionally toppings:
mozzarella
fresh basil
to make dough:
Stir 1 tsp yeast and sugar into warm water. Add olive oil. Stir thoroughly until the yeast has dissolved. Let sit 10 min. You should be seeing some bubbles underneath the olive oil, which will float on top. The liquid should be cloudy.
Add the flour and the salt to a mixing bowl and stir together. Add water and yeast mixture and stir by hand until it’s totally combined. Rubbing olive oil on your hands will help with the dough sticking to your fingers. Cover bowl with a damp towel and let the bowl sit at room temperature for 20 minutes.
After 20 minutes, remove the dough from the bowl and knead for 8-10 min. The dough will be on the wet side and will want to stick to the counter. This isn’t an issue but it’s ok use a small amount of flour to prevent it from sticking. Just be conscious to not use too much because you want to keep the hydration at around 70% by weight.
After kneading, place in a clean lightly floured mixing bowl and cover with a damp towel. Allow dough to sit at room temperature for about 1hr. The dough should have doubled in size by this point. If it hasn’t double yet, check back in 30 min. Remove from the bowl and divide into thirds. Shape the dough into balls. Here is a great video demonstrating how to shape the balls.
Lightly grease cake pans, dough trays, bowls or large plastic bags with olive oil and place one ball of dough inside each. Plastic bags are a good trick because the bag can be torn open to remove the dough, and when done slowly the dough will not stick. Keep in mind the dough will once again double. If using trays, cake pans, or bowls, cover with plastic wrap and place in the fridge for at least 24 hours and up to 72 hours. I prefer using a vessel with a flat bottom since it makes the dough easy to remove with a bench scraper.
to make tortellini topping:
Heat olive oil in a skillet over medium high heat. Add diced onions and sauté for 5-6 minutes, stirring occasionally. Add minced garlic, red pepper flakes, and oregano. Continue to cook for another minute. Add the vodka and cook until the vodka has reduced by half. Add crushed tomatoes and reduce the heat to low. Simmer the sauce for 45 minutes, stirring every few minutes.
After simmering the sauce for 45 minutes season with salt and pepper to taste and add the heavy cream. Turn up the heat to medium and cook for another 8 minutes.
While the sauce is simmering, cook tortellini about 2 minutes less than the package directions. Drain and rinse when cooked and set aside until ready to add to sauce.
Turn off the heat and set aside a cup or two of the sauce. Add the tortellini into the remaining vodka sauce and set aside until ready to top pizzas. The topping works best at room temperature so it doesn’t heat the dough up and make it stick to the peel for the “launch” into the oven. So allow some time for the pasta to cool.
to assemble pizzas:
Remove dough from refrigerator and uncover (or open bags). Allow dough to warm up for about 30 minutes. The dough should be slightly cooler than room temperature. Lightly sprinkle flour on dough balls and transfer to a floured surface.
Coat your hands with flour and lightly press the dough down into a circle. You want to be very gentle with the dough as your form the pizza. You can press your fingers around the edge to help define the crust. This border should be no more than 1/2” thick since the crust will grow in the oven.
Use the palms of your hands, working in a circular movement to stretch out the dough (see photos above).
Once the pizza reaches the desired size, a little larger than 12” in diameter, transfer the unbaked crust onto the pizza peel. For this recipe, dust the pizza peel with semolina prior to the transfer to reduce the friction. This is an important step with this recipe since the tortellini is a heavy topping and the “launch” into the oven is critical. Normally, bread flower is sufficient with lighter weight toppings. Also, do not use cornmeal! This will impact the texture of the crust when you’re eating it. Semolina is coarse enough and will not have this effect.
Working quickly, so the pizza doesn’t stick to the peel, top the pizza with the tortellini to coat evenly and add some of the sauce that was set aside. Evenly coat with some mozzarella, but keep in mind that the tortellini and the sauce both already contain cheese. Garnish with basil.
Now for the “launch” from the peel into the oven. This takes practice and the real secret is just going for it. Hesitation can result in the pizza sticking. A combination of jiggling and sliding should initiate the launch. Once a couple of inches of pizza touch the back of the baking surface, a swift pull of the peel should release the pizza and land it on the center of the surface. Ensure the oven if fully preheated!
The pizza should bake in 8 or 9 minutes. After 8 minutes, check on the pizza and see if it’s ready. If not, keep baking until your desired level of crispiness. Once the pizza is done, remove with the pizza peel. You can pinch the pizza crust with tongs when sliding the peel underneath to make your you don’t push it off the back of the stone.
Allow the pizza to cool for a minutes. Cut pizza into slices and enjoy! Repeat assembly steps with remaining pizzas.
Tortellini Topping recipe was adapted from this Penne Vodka recipe!