
How to Make Your Own Photography Background
Hi! No recipe this week… BUT! I’m sharing how to make your own textured photography backgrounds! I guess it’s sort of a recipe, but instead of buttercream we have joint sealer and this isn’t edible. I put this guide together months ago and it’s just been sitting on the cutting room floor waiting for the right time to be shared. I have a quiet week this week, after a crazy month of nonstop work and deadlines. So I’ve caught up with my mountain of laundry, cleaned the apartment, watched a few hours of Glee (I started watching it from the beginning as background noise while I work… don’t judge me), and prepared this guide for the internet world!
I’ve always been a maker. If I can make it instead of buy it, I will. I think I get it from my Mom, who has always been super crafty and would help my brother and I make the most kick-butt science projects and model homes for high school architecture competitions. Did anyone else compete in architecture competitions during high school? No? Cool…
There’s no problem with purchasing photography backdrops. There are some beautiful options out there! They do tend to run on the more expensive side. Upwards of $300 if you want to get real fancy. I like to think that food blogging doesn’t require you to spend an arm and a leg on equipment. Yes, you can splurge on a nice camera and all the cute props in the world. But if you have good natural light, a clean background, delicious food, and a decent cellphone camera then you’re all set. All my backgrounds were either made by me or I got for free from tile/flooring reps.
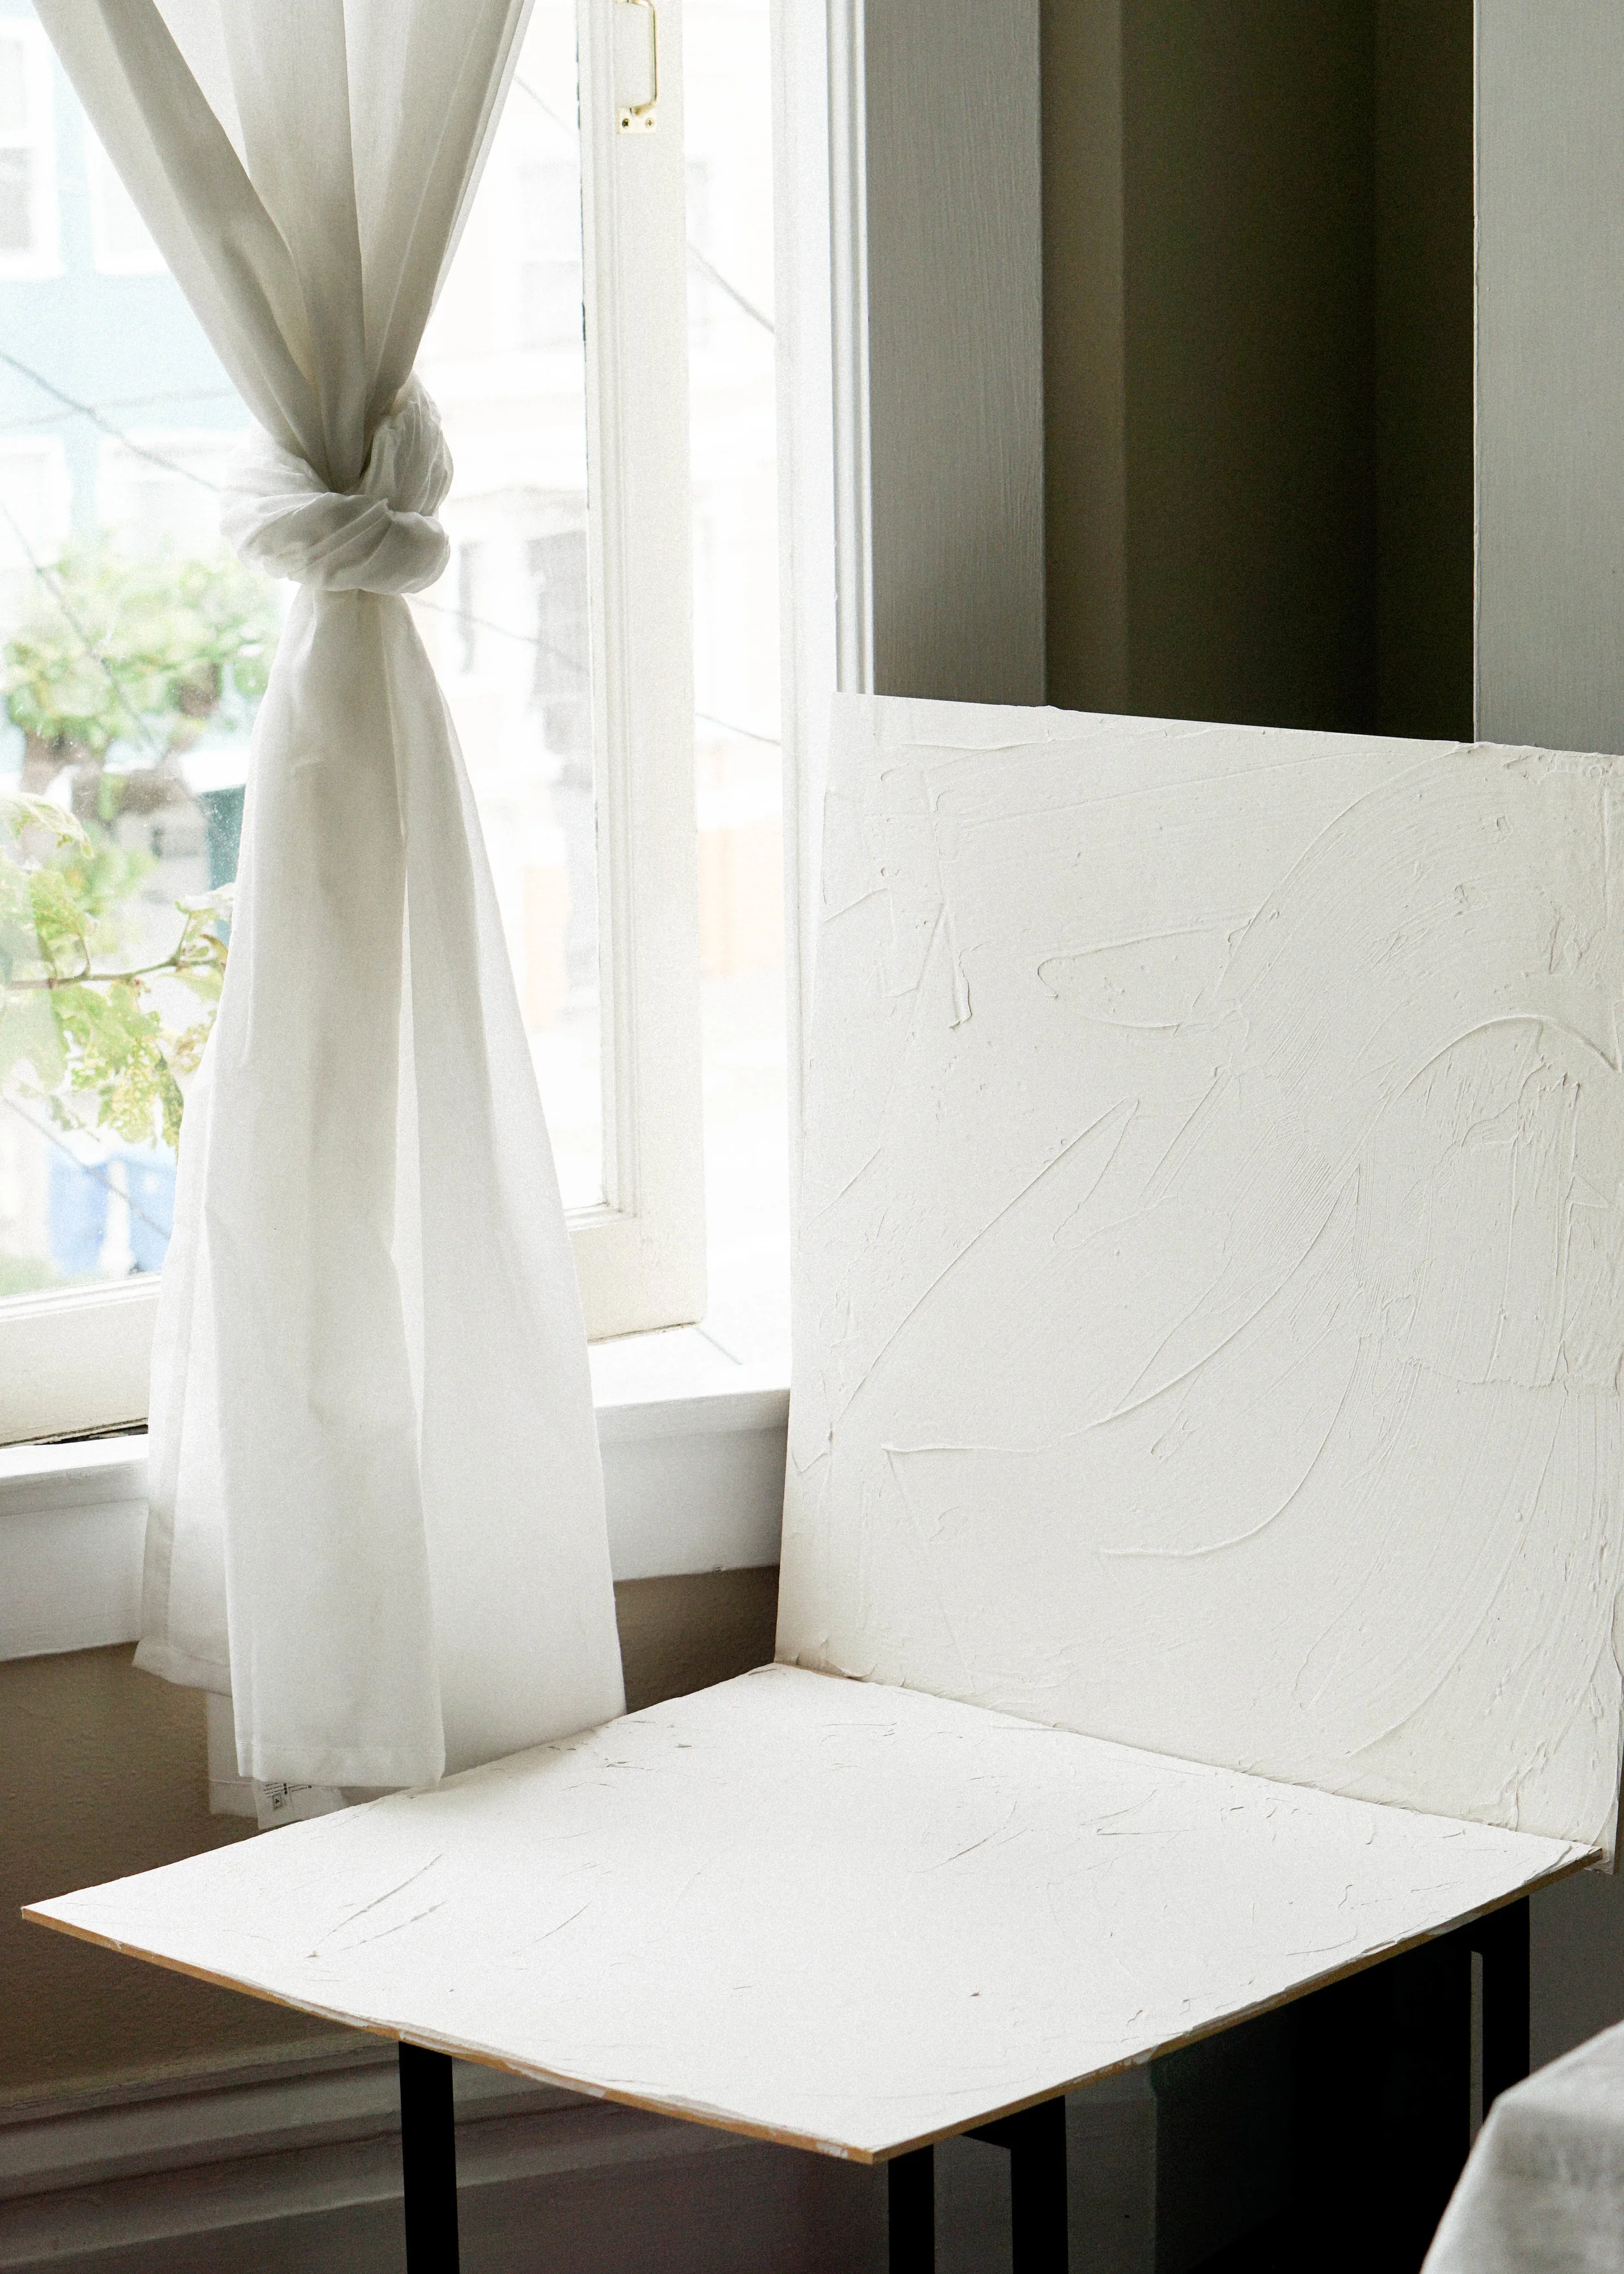
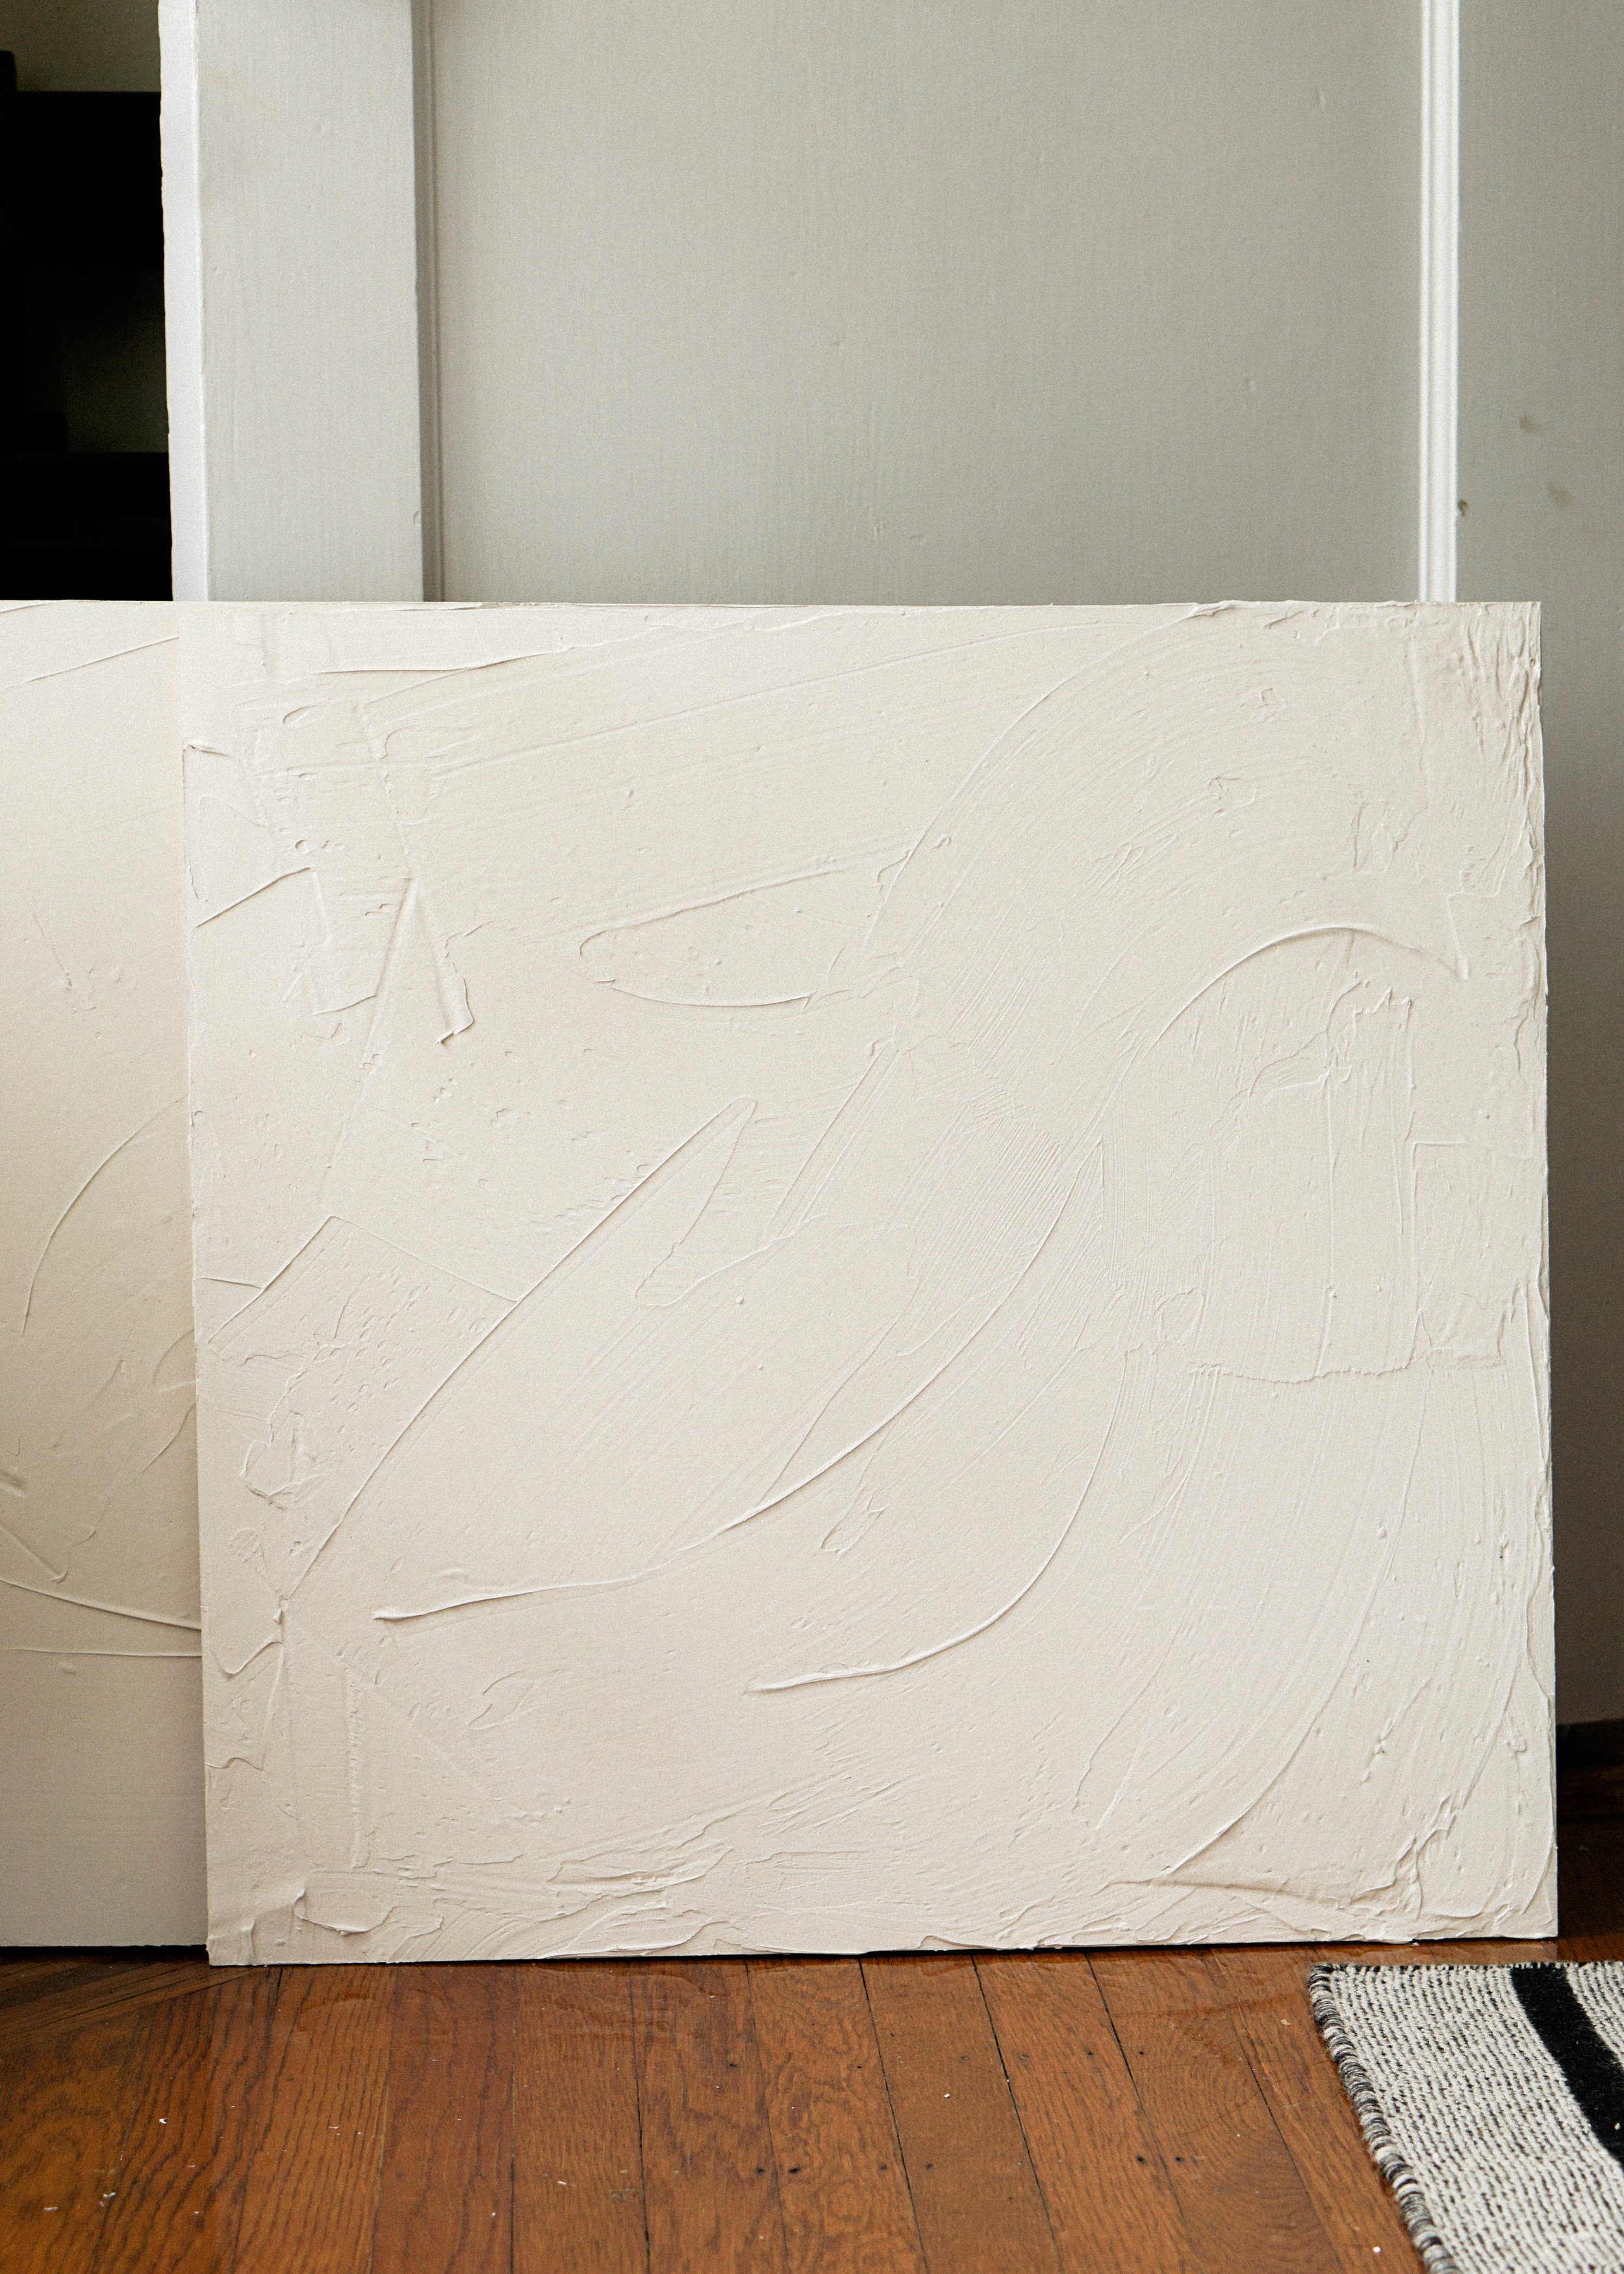
Making your own backgrounds is incredibly easy and affordable. You can make a single backdrop for less than $20 and then you have all the materials and tools to make like 5 more backdrops! I have 4 of these backgrounds in my studio and use them constantly! I love the swoopy texture of them, it reminds me of pillowy soft buttercream frosting! I also love that I can mix and match colors with my other wood and tile backgrounds to create various moods and environments.
The guide below will show you how to make simple textured photo backgrounds using just a few hardware store finds!

What You Need:
2’x2’ MDF Board - Home Depot or Lowe’s should have precut 2’x2’ MDF (Medium Density Fiberboard) boards, but if you can’t find it they should be able to cut down a larger sheet of MDF into whatever size you want.
Drywall Joint Compound - a 3.5 quart bucket is enough for about 6 2’x2’ backgrounds.
Putty Knives - Get a pack with various sizes for a variety of textures.
Drop Cloth - I used the back of an old picnic blanket, if you want to save a few more bucks.
Spare Towels - Old kitchen towels work. You want something on standby to clean up any messes.
Paint + Brushes - without paint the backdrops will be a bright warm white color. Purchase matte finish paint in your desired shade for additional colors.


Apply Joint Sealer
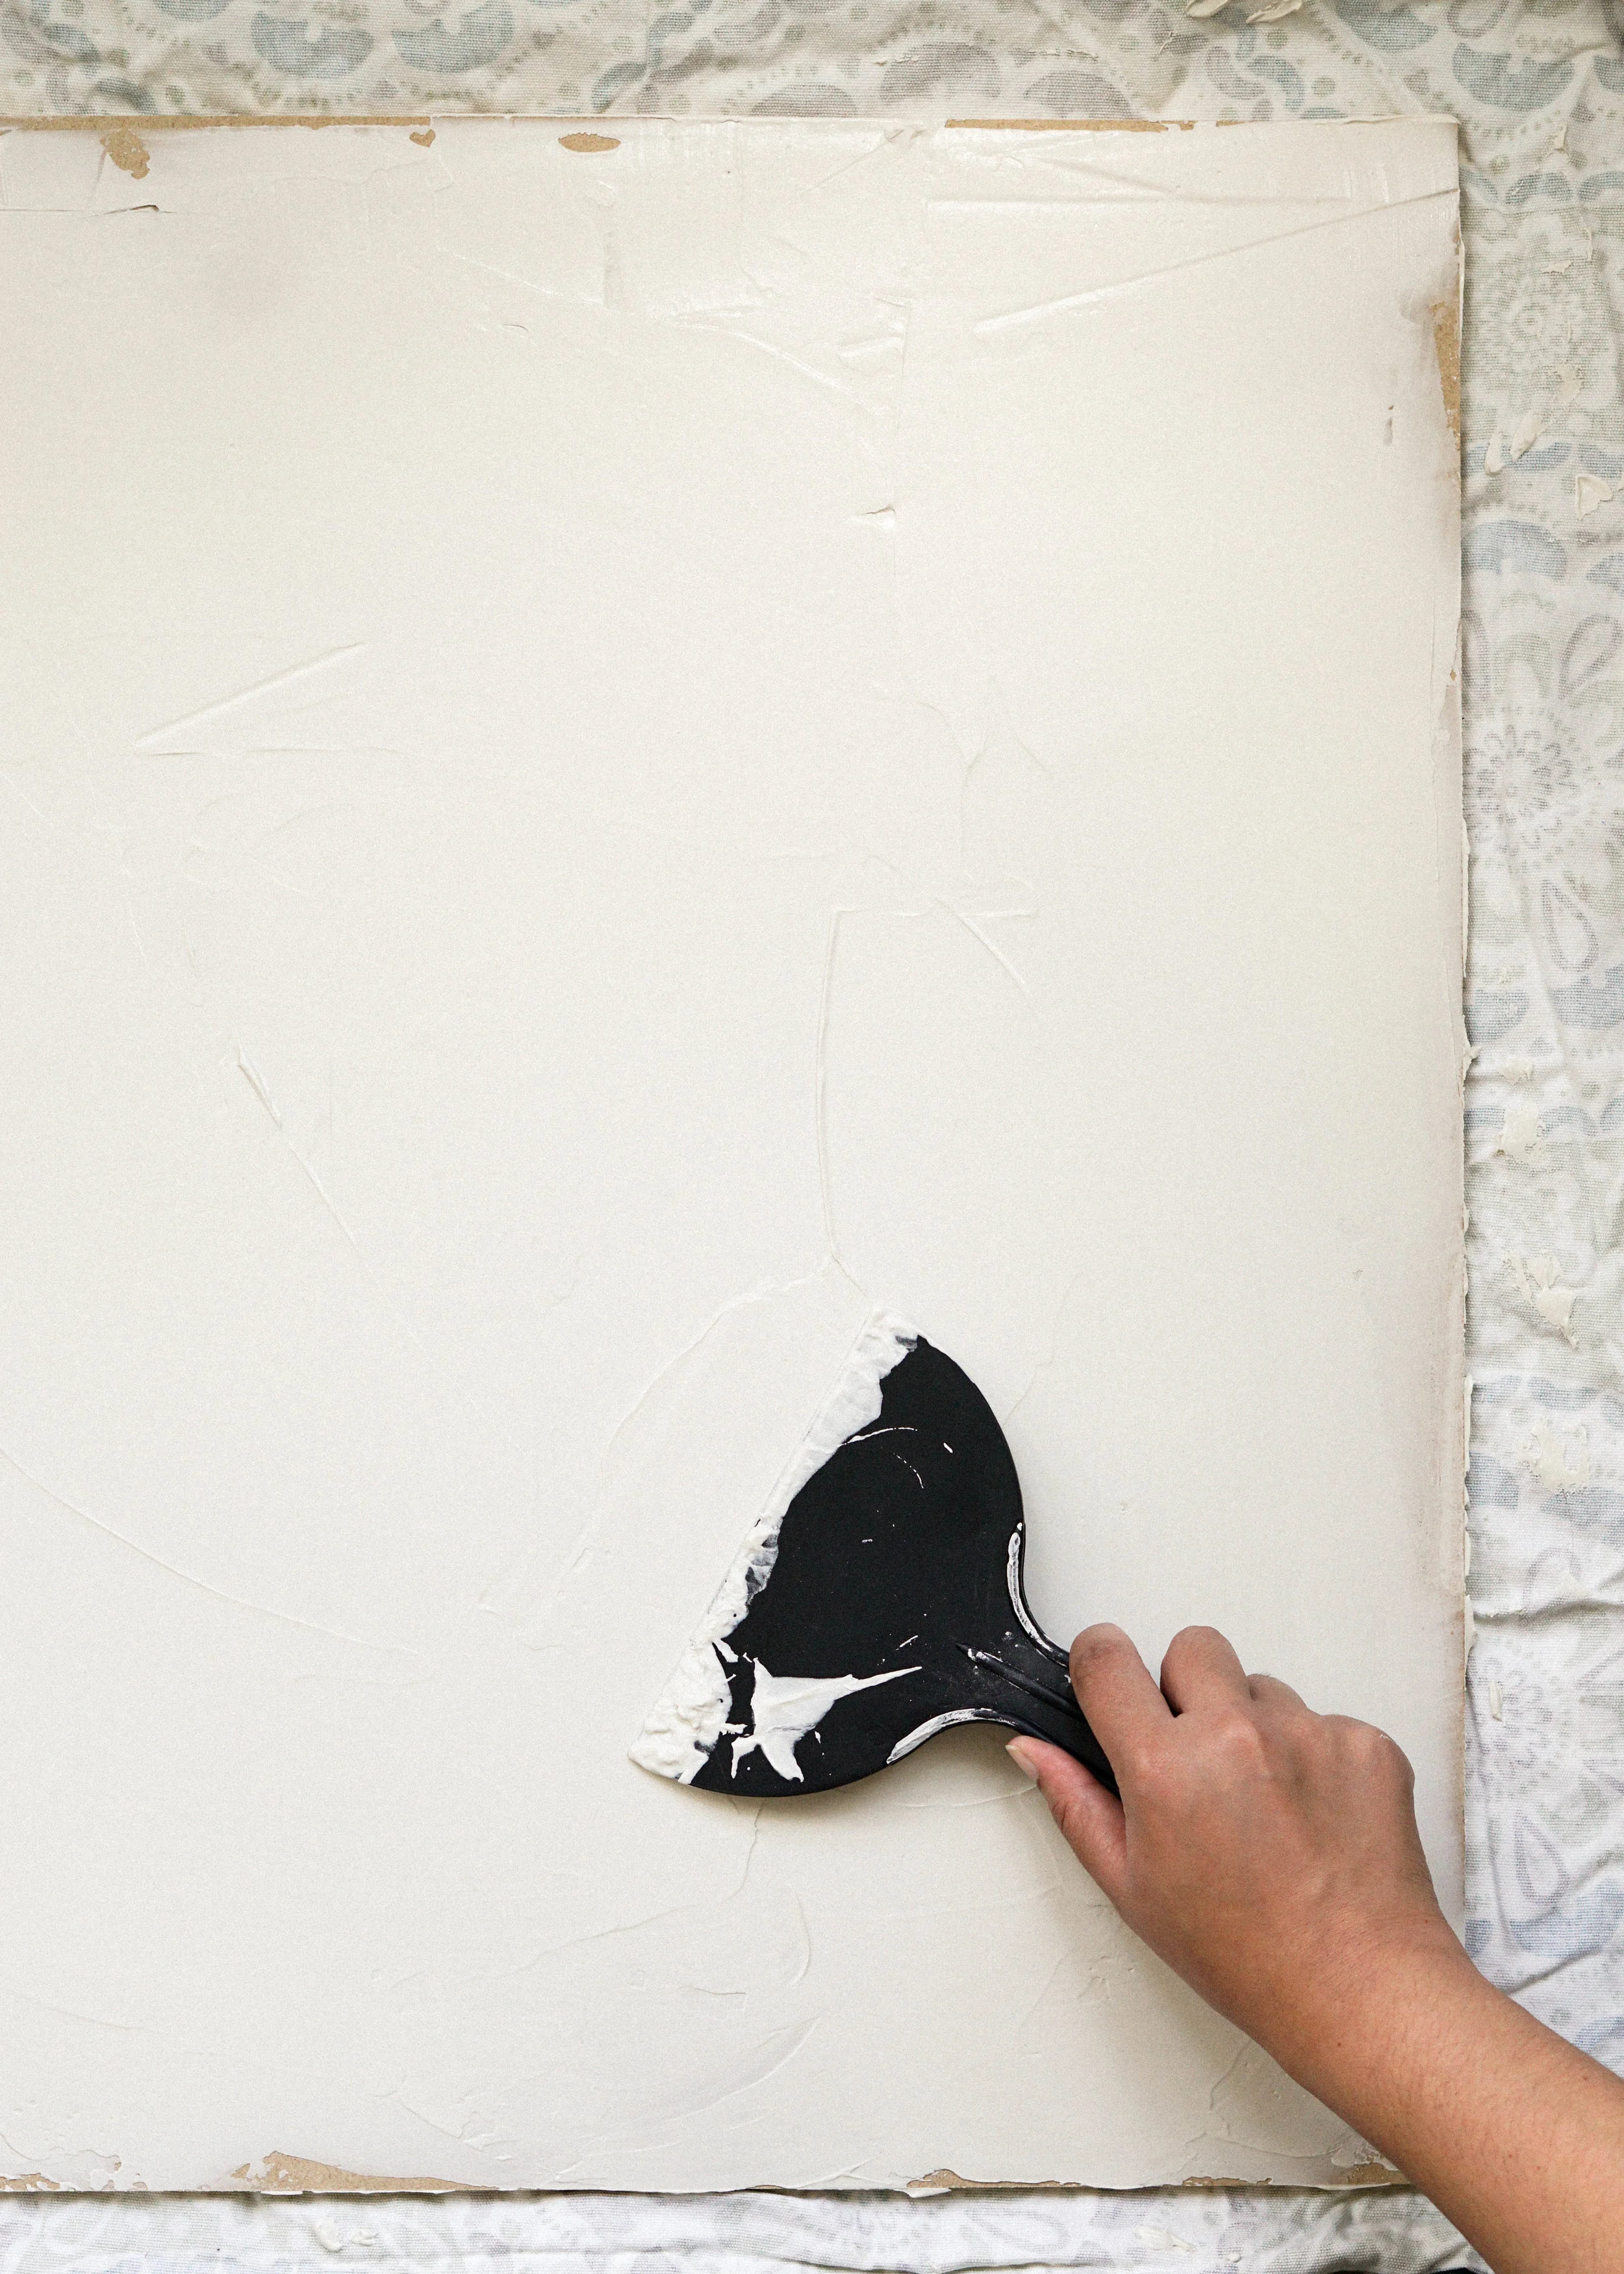
Lay down your drop cloth in a clear workspace. Place MDF board on the drop cloth and make sure to brush off any debris or dust from the board.
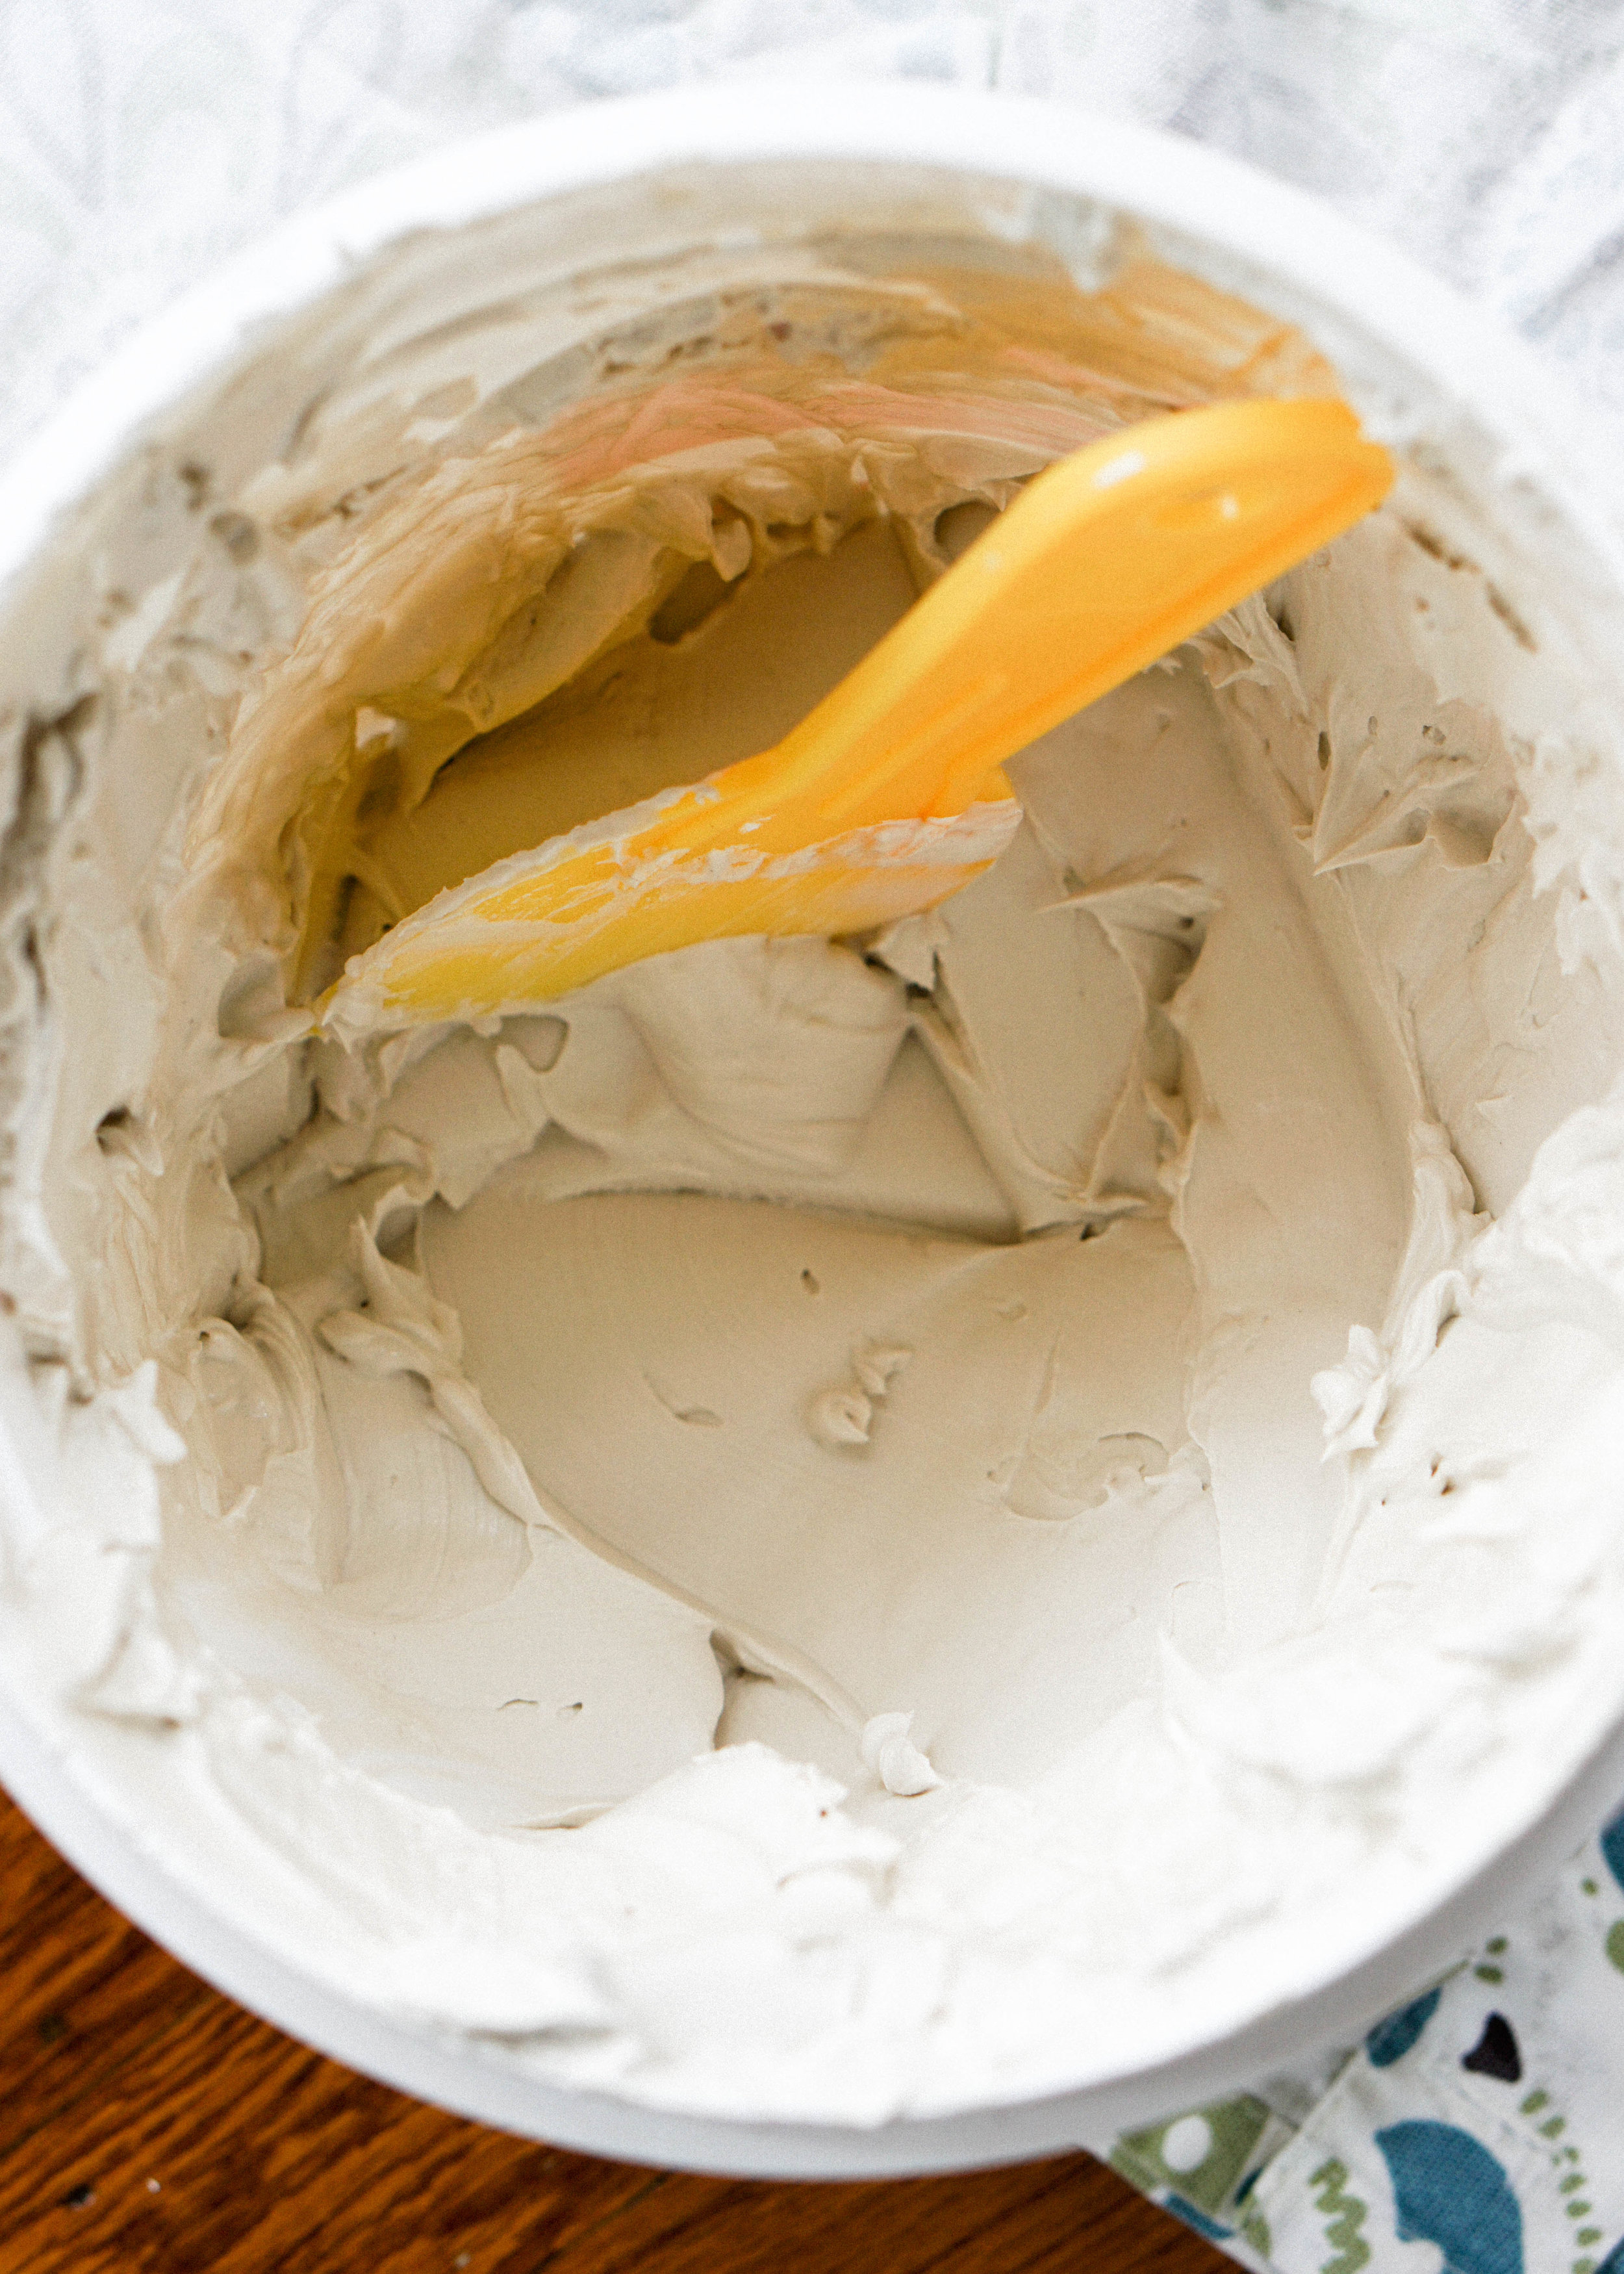
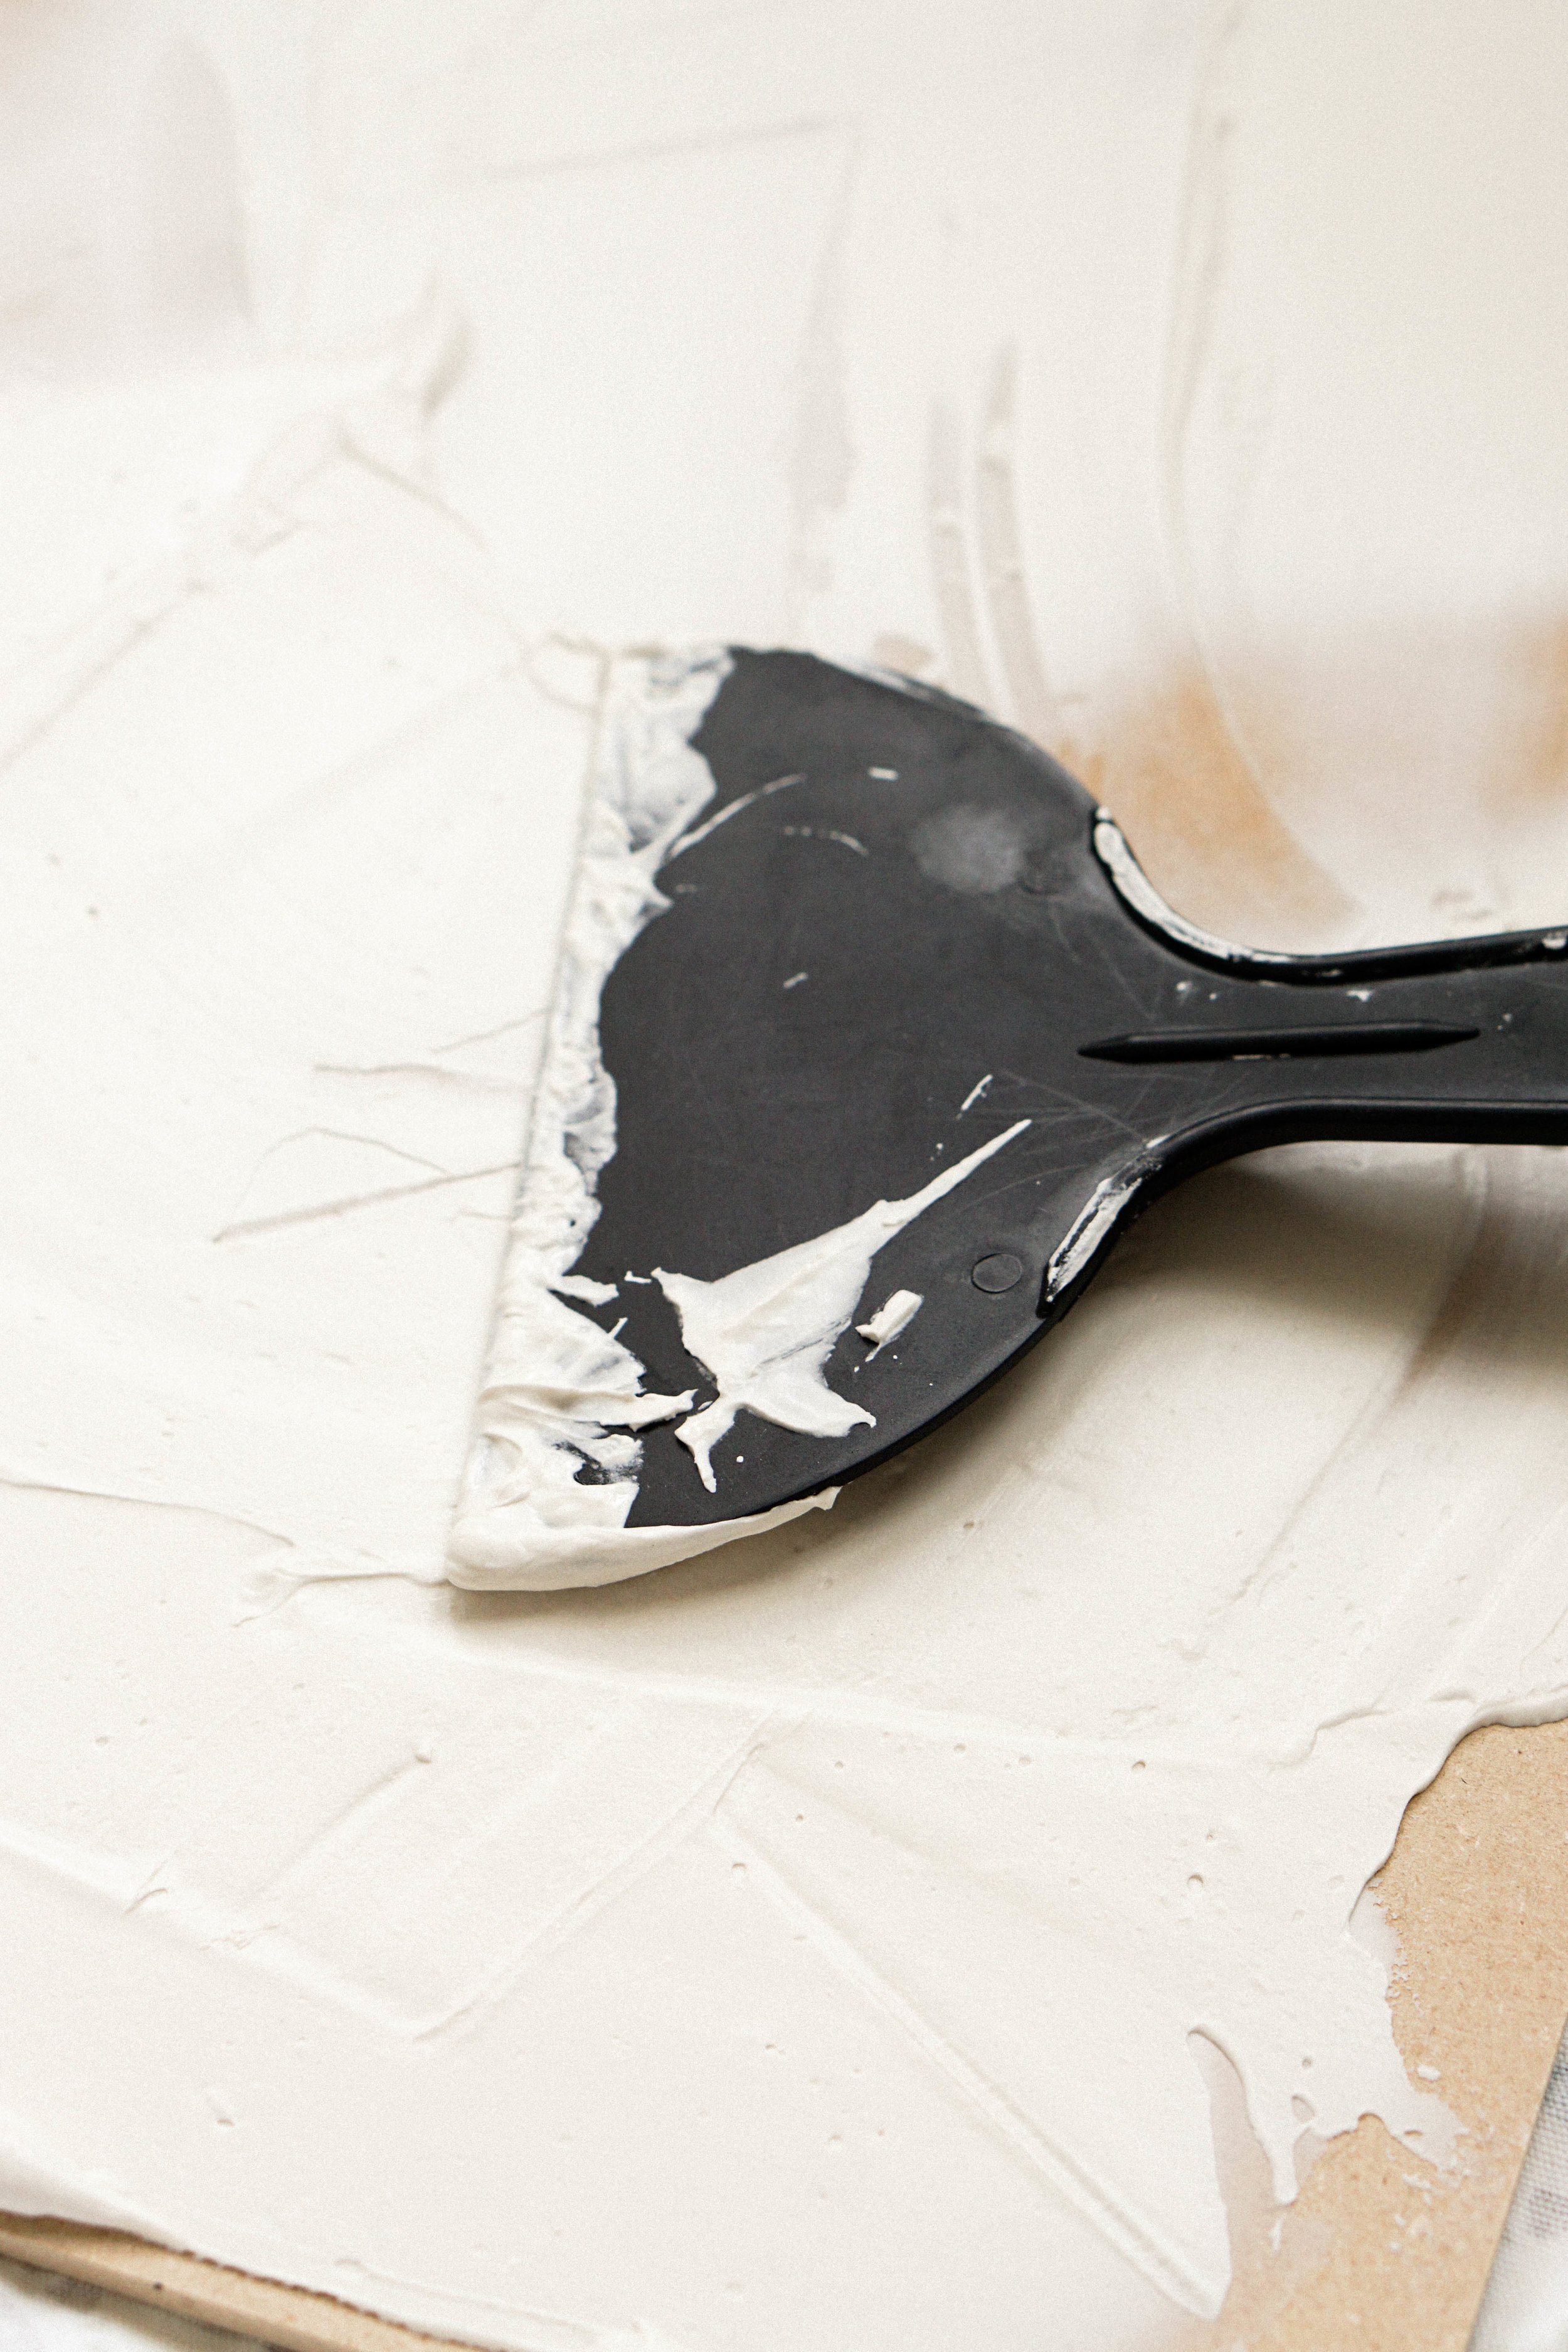
Open the bucket of joint compound and use a putty knife to scoop up the compound. Apply the compound onto the MDF board and use the putty knife to spread the compound and create swoops. Repeat this process until the whole board is filled. Pretend like you’re about to frost a giant birthday cake!
Use a wider putty knife to create large smoother swooping textures. For a tighter and more textured surface, use a narrower putty knife.
When you get to the edges, scrape the putty knife with a bit of joint compound against the edge for a clean finish.


Allow the Joint Compound to Dry
Place the background in a safe corner, where no one (that includes puppies and cats) will accidentally step on it, and allow it to fully cure or dry for 24 hours.
At this point, you have yourself a textured white background ready to use! Note that the background hasn’t been sealed yet, so be care with any food that stains easily, like red sauce or turmeric lattes. I choose to not seal my backgrounds because I like the raw finish and I’m a little lazy and to save myself an extra step. If you ever do get a stain you can either sand it off or apply a thin layer of joint sealer over it and it will be as good as new!
Paint the Boards!
If you want more variety than plain white backgrounds, then paint them! Head to the best section of the hardware store, the paint section, and find the color or colors that best fit with your photography. I have a backdrop in warm grey and a peachy pink.
Purchase 1 quart of matte finish paint in your color of choice.
I like to use matte finish because I find that it photographs better. Avoid glossy finish at all cost… if you really want to experiment you could try eggshell.


Time to get Photographing!
Now, wasn’t that incredibly easy?! This is just one style of photography backdrop though. You could play around with different textures or buy some paint sponges and layer on colors. Like a lot of my recipes, this is more of an instructional guide with plenty of room for you to add your own flavor and personality. Have fun with it!