
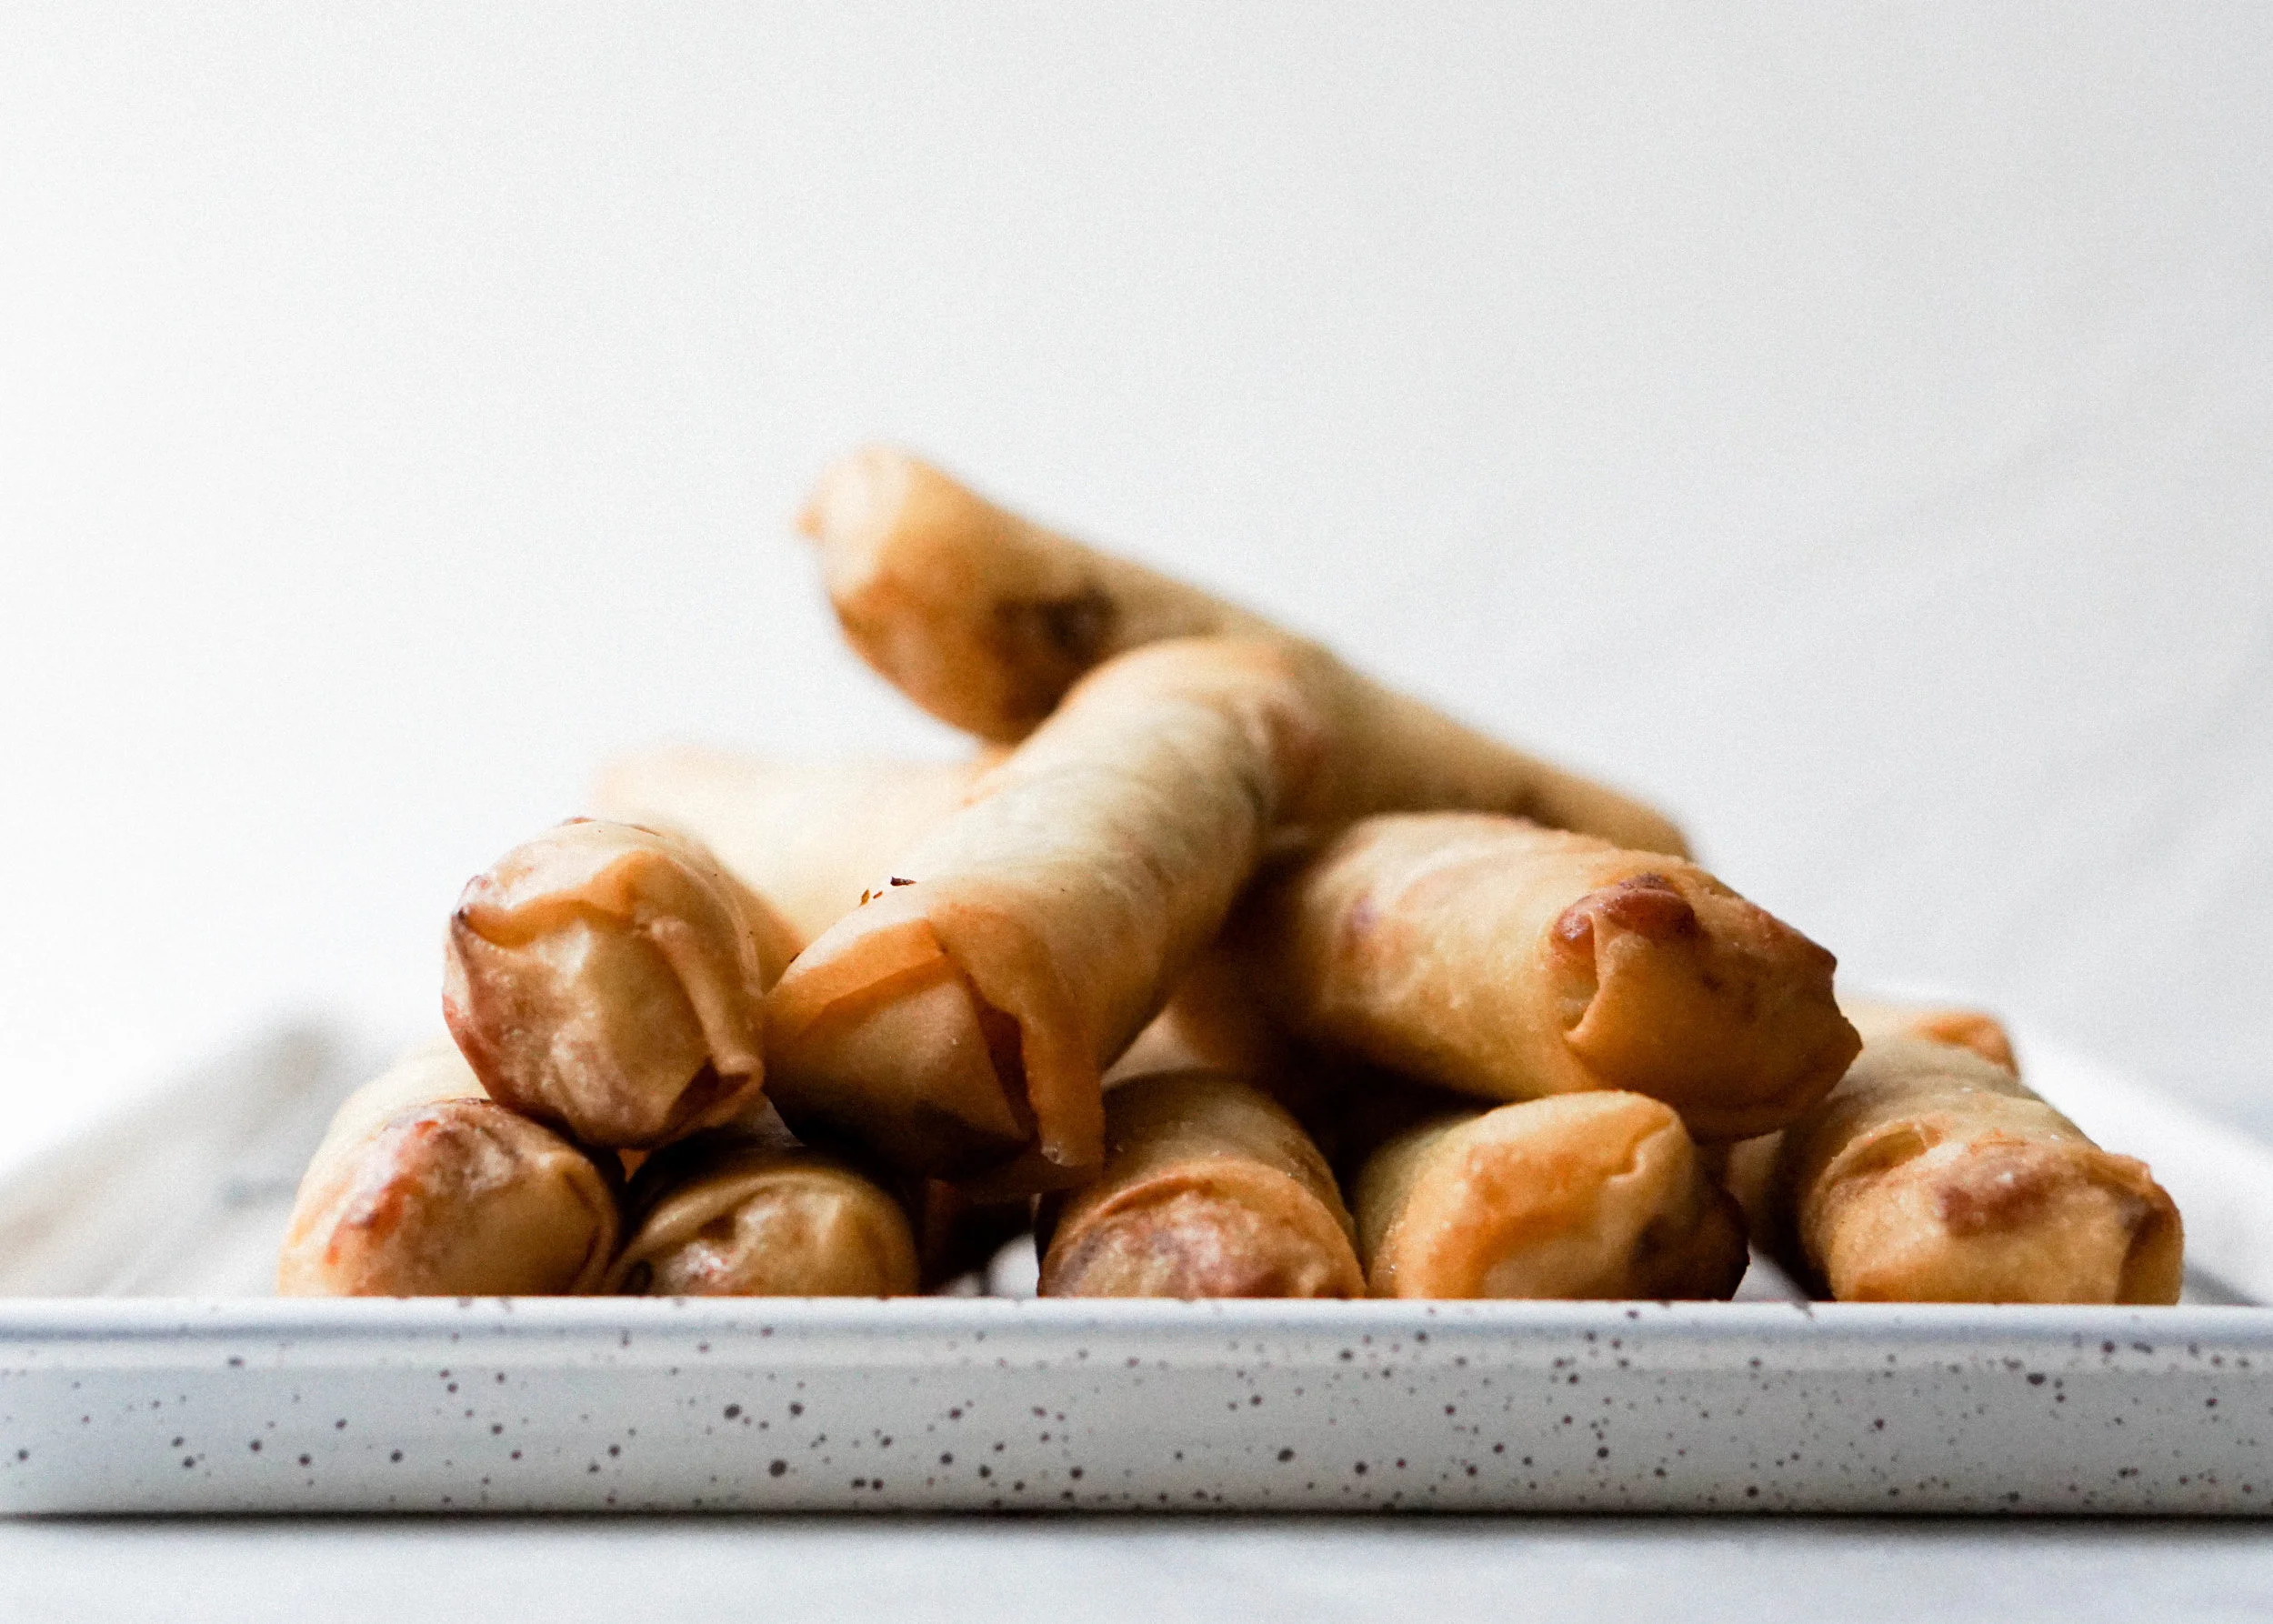
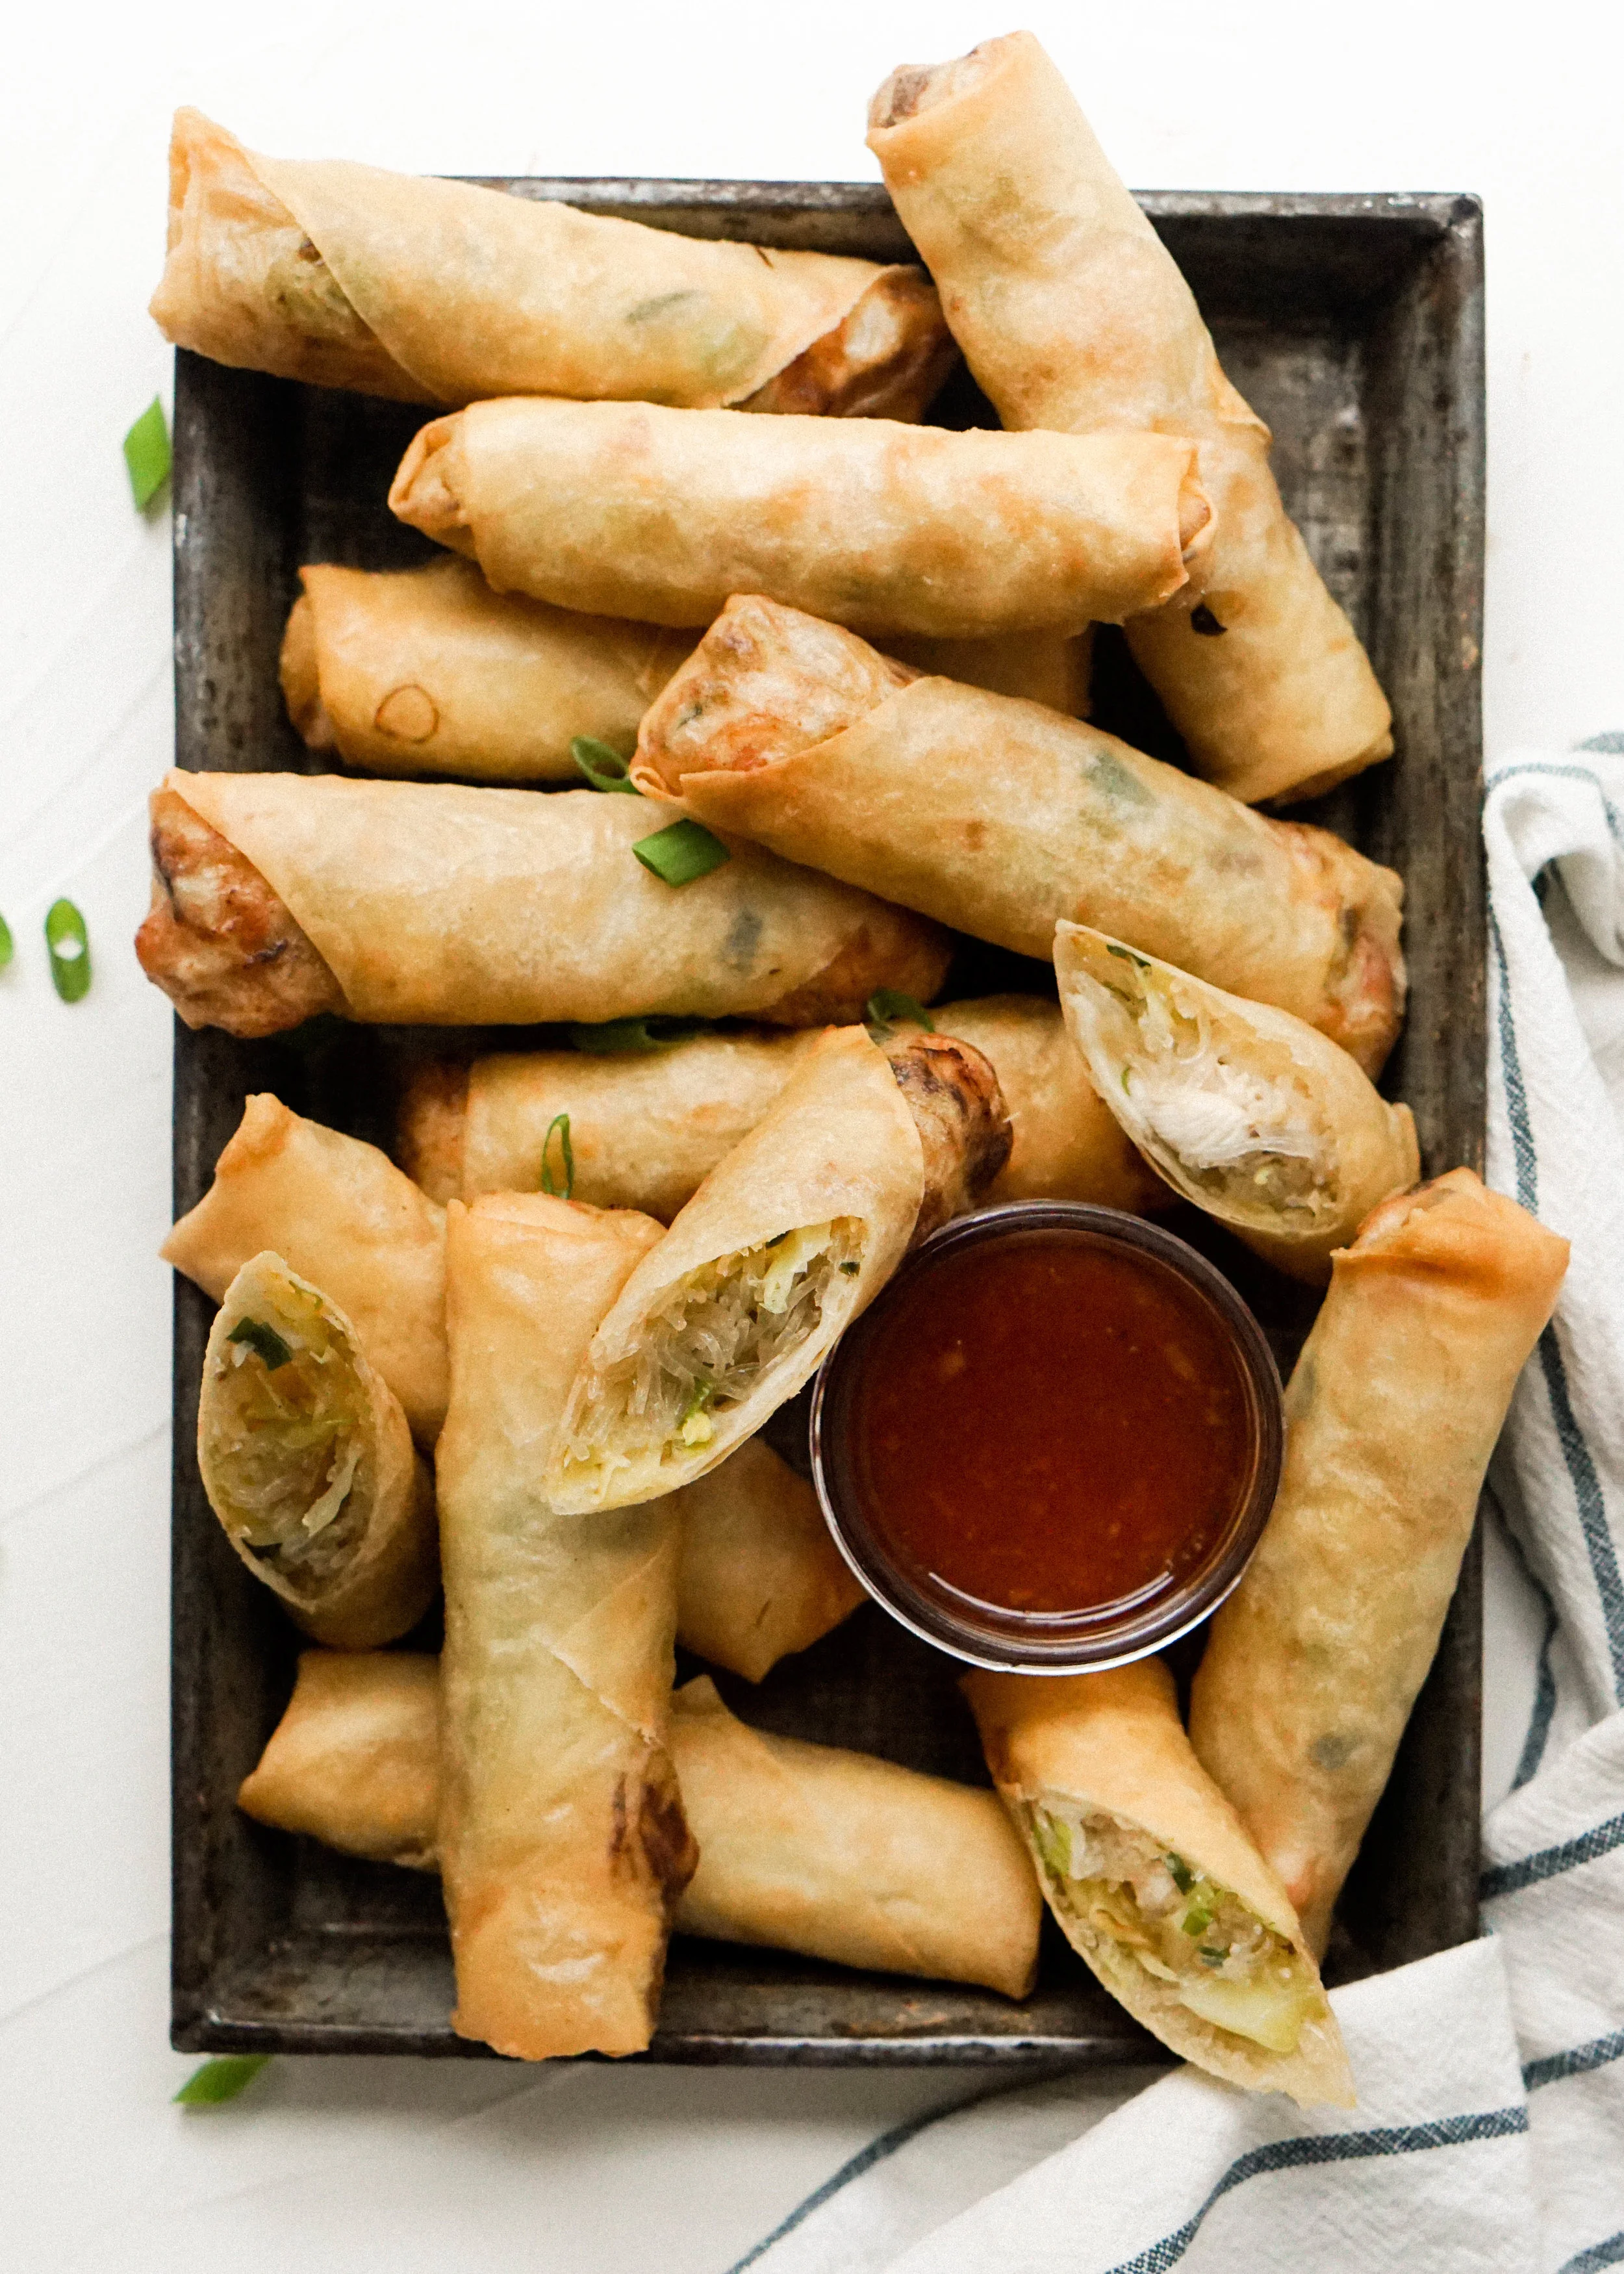
Chicken and Cabbage Spring Rolls


Pretty much throughout the entirety of our time in Cleveland, there were spring rolls either being made, freshly baked out of the oven, or in the fridge ready to be reheated in my mom's magical air fryer. Can’t life always be like this? This scenario is not too much different than the fist 10 years of my life, because growing up in your family's Chinese restaurant meant that you could hop on into the kitchen and ask your grandpa to make you an egg roll as an afternoon snack at any moment. I would then proceed to cut the egg roll in half lengthwise, scoop out almost all the filling because cabbage was a scary thing to me in the 90s, and then aggressively cover the crispy and slightly veggie flavored egg roll skin with sweet and sour sauce. Ah, I miss my youth.
You'll notice that I'm switching between egg rolls and spring rolls. That's intentional because during my restaurant life we ate blistery egg rolls, but then my mom would always make crispy and crunchy spring rolls at home. I'm not sure why! Spring rolls have definitely become a staple at our house for whenever we have the whole family over for dinner, a birthday, or a barbecue. In recent years, my mom has adjusted her own recipe and developed a pretty fantastic baked spring roll. The baked version is awesome and still has a great crunch (that’s because my mom goes through the extra effort of squeezing all the liquid out of the cabbage by hand like a superhero)! Since they are baked you end up being able to eat a million of them without feeling like butt afterwards. They are simply filled with chicken and cabbage. I've gotten over my irrational fear of cabbage in the last 18 years, thankfully. I recently helped my mom make spring rolls and we added bean thread noodles. It adds a great texture to the filling and also helps absorb any excess moisture to ensure an earth shatteringly crisp crunch when you bite in without spending your whole afternoon squeezing cabbage. If you can’t find bean thread noodles, which are likely found at your local Asian market, you can omit them and they will taste just as good! You just might have a few less spring rolls to fry up.
The recipe I'm sharing with you guys requires frying the suckers, because I'm ignoring all the "healthy start to the new year" propaganda and I also haven't had a fried spring roll in ages! Oh, it was soooooooo worth it. Baked spring rolls are amazing, but freshly fried ones are incredible and such a treat!
Chinese New Year is also about 3ish weeks away and I feel like it is my duty to fry up all these delicious treats for you guys : )
Chicken and Cabbage Spring Rolls
makes 25 spring rolls
For chicken:
1 1/2 lbs chicken tenders (breast works too)
1 tbsp olive oil, more for cooking
3 tbsp oyster sauce, divided
1 heaping tbsp cornstarch
1/4 tsp salt
1/4 tsp white pepper
For filling:
1 small head of green cabbage - shredded
1 bundle of bean thread noodles
3 green onion stalks - chopped
1 tsp sesame oil
1/4 cup water
1/4 cup flour
25 spring roll wrappers
oil for frying or baking
steps:
Slice chicken into thin bite sized pieces. Place in a bowl and toss with olive oil, 2 tbsp oyster sauce, cornstarch, salt, and a white pepper. Allow to marinade for at least 30 minutes and up to overnight.
Heat 2 tsp of oil in a skillet over medium high heat. Add shredded green cabbage and cook for 4-5 minutes until cabbage has slightly softened and the edges are slightly golden. Remove cabbage from the skillet and allow to cool on a baking sheet.
With the skillet still on, add another 2 tbsp oil. Add chicken and continue to cook, stirring occasionally, until browned and mostly cooked through (it will continue to cook later). Transfer the chicken to the sheet of cabbage.
Place bean thread noodles in a heat proof bowl. Pour just boiled water over the noodles until they are fully submerged. Let noodles sit for 2-3 minutes until noodles are cooked. Drain the noodles well. Use a pair of kitchen scissors to cut the noodles into slightly smaller pieces. Add noodles to the bowl of cabbage and chicken.
Season the spring roll filling with another pinch of salt, dash of white pepper, 1 tbsp oyster sauce, and sesame oil. Add chopped scallions and toss everything until evenly combined. Allow the filling to completely cool.
Mix equal parts water and flour to form a paste for assembling the spring rolls.
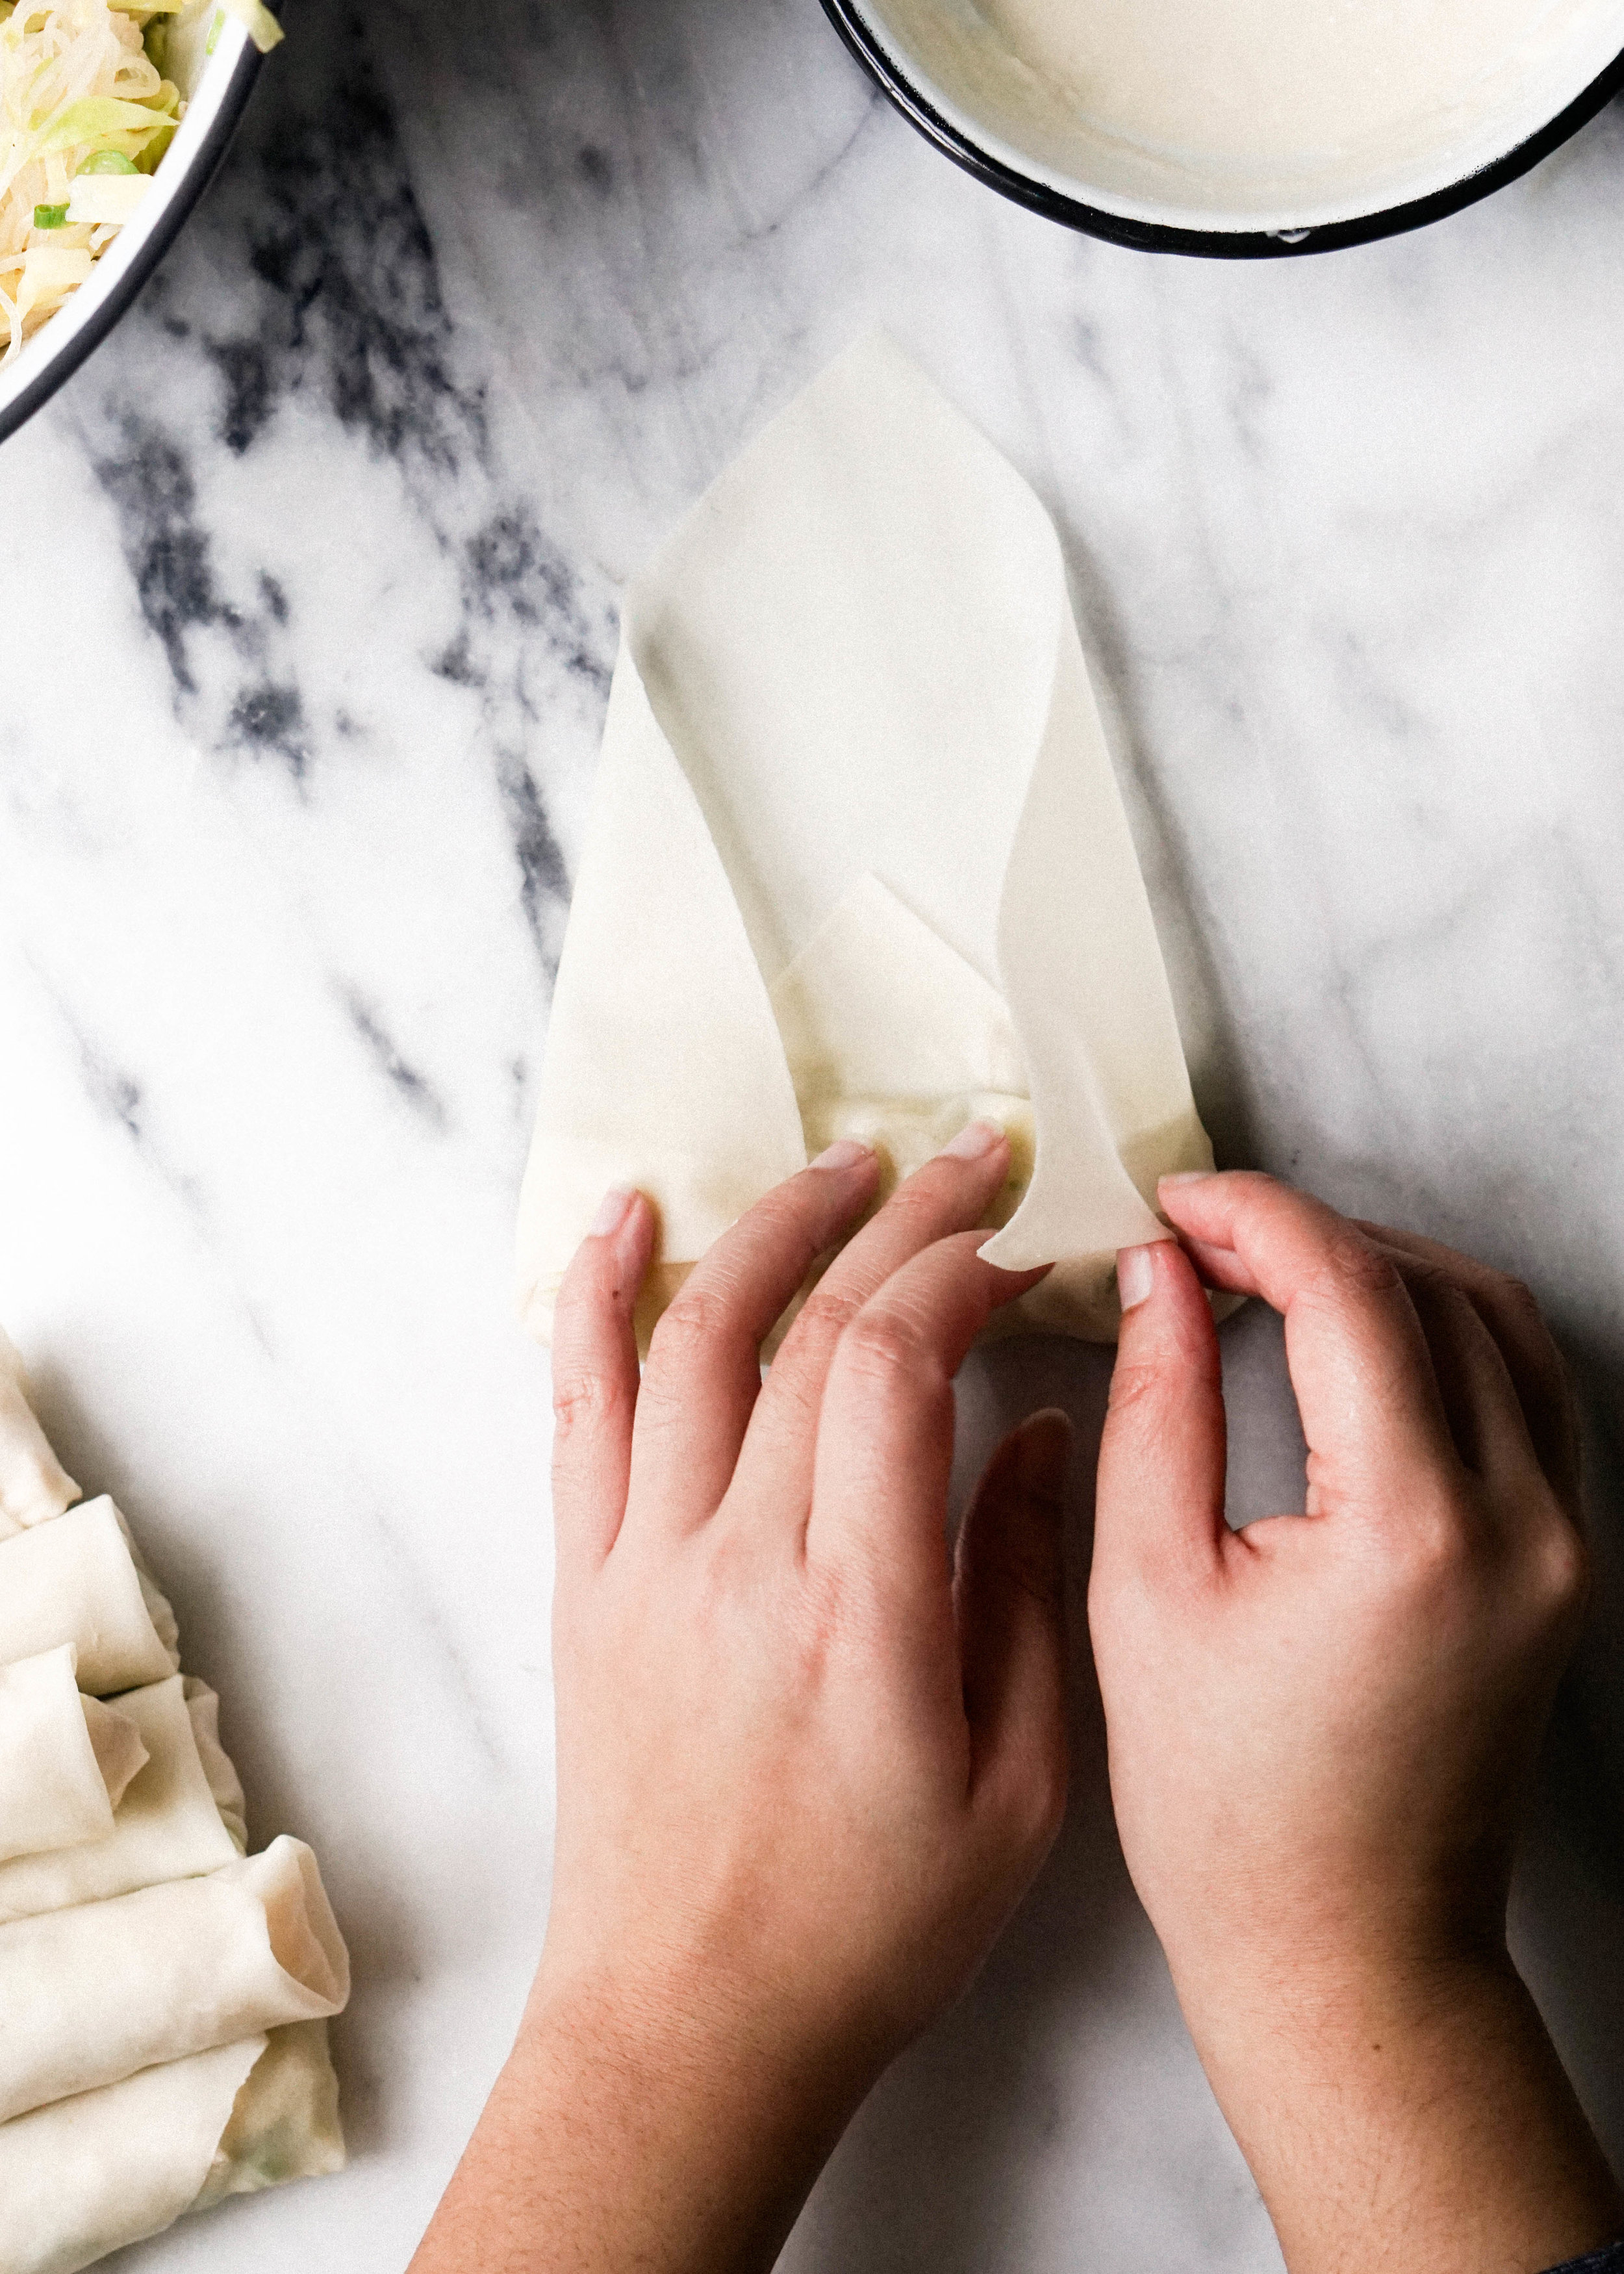
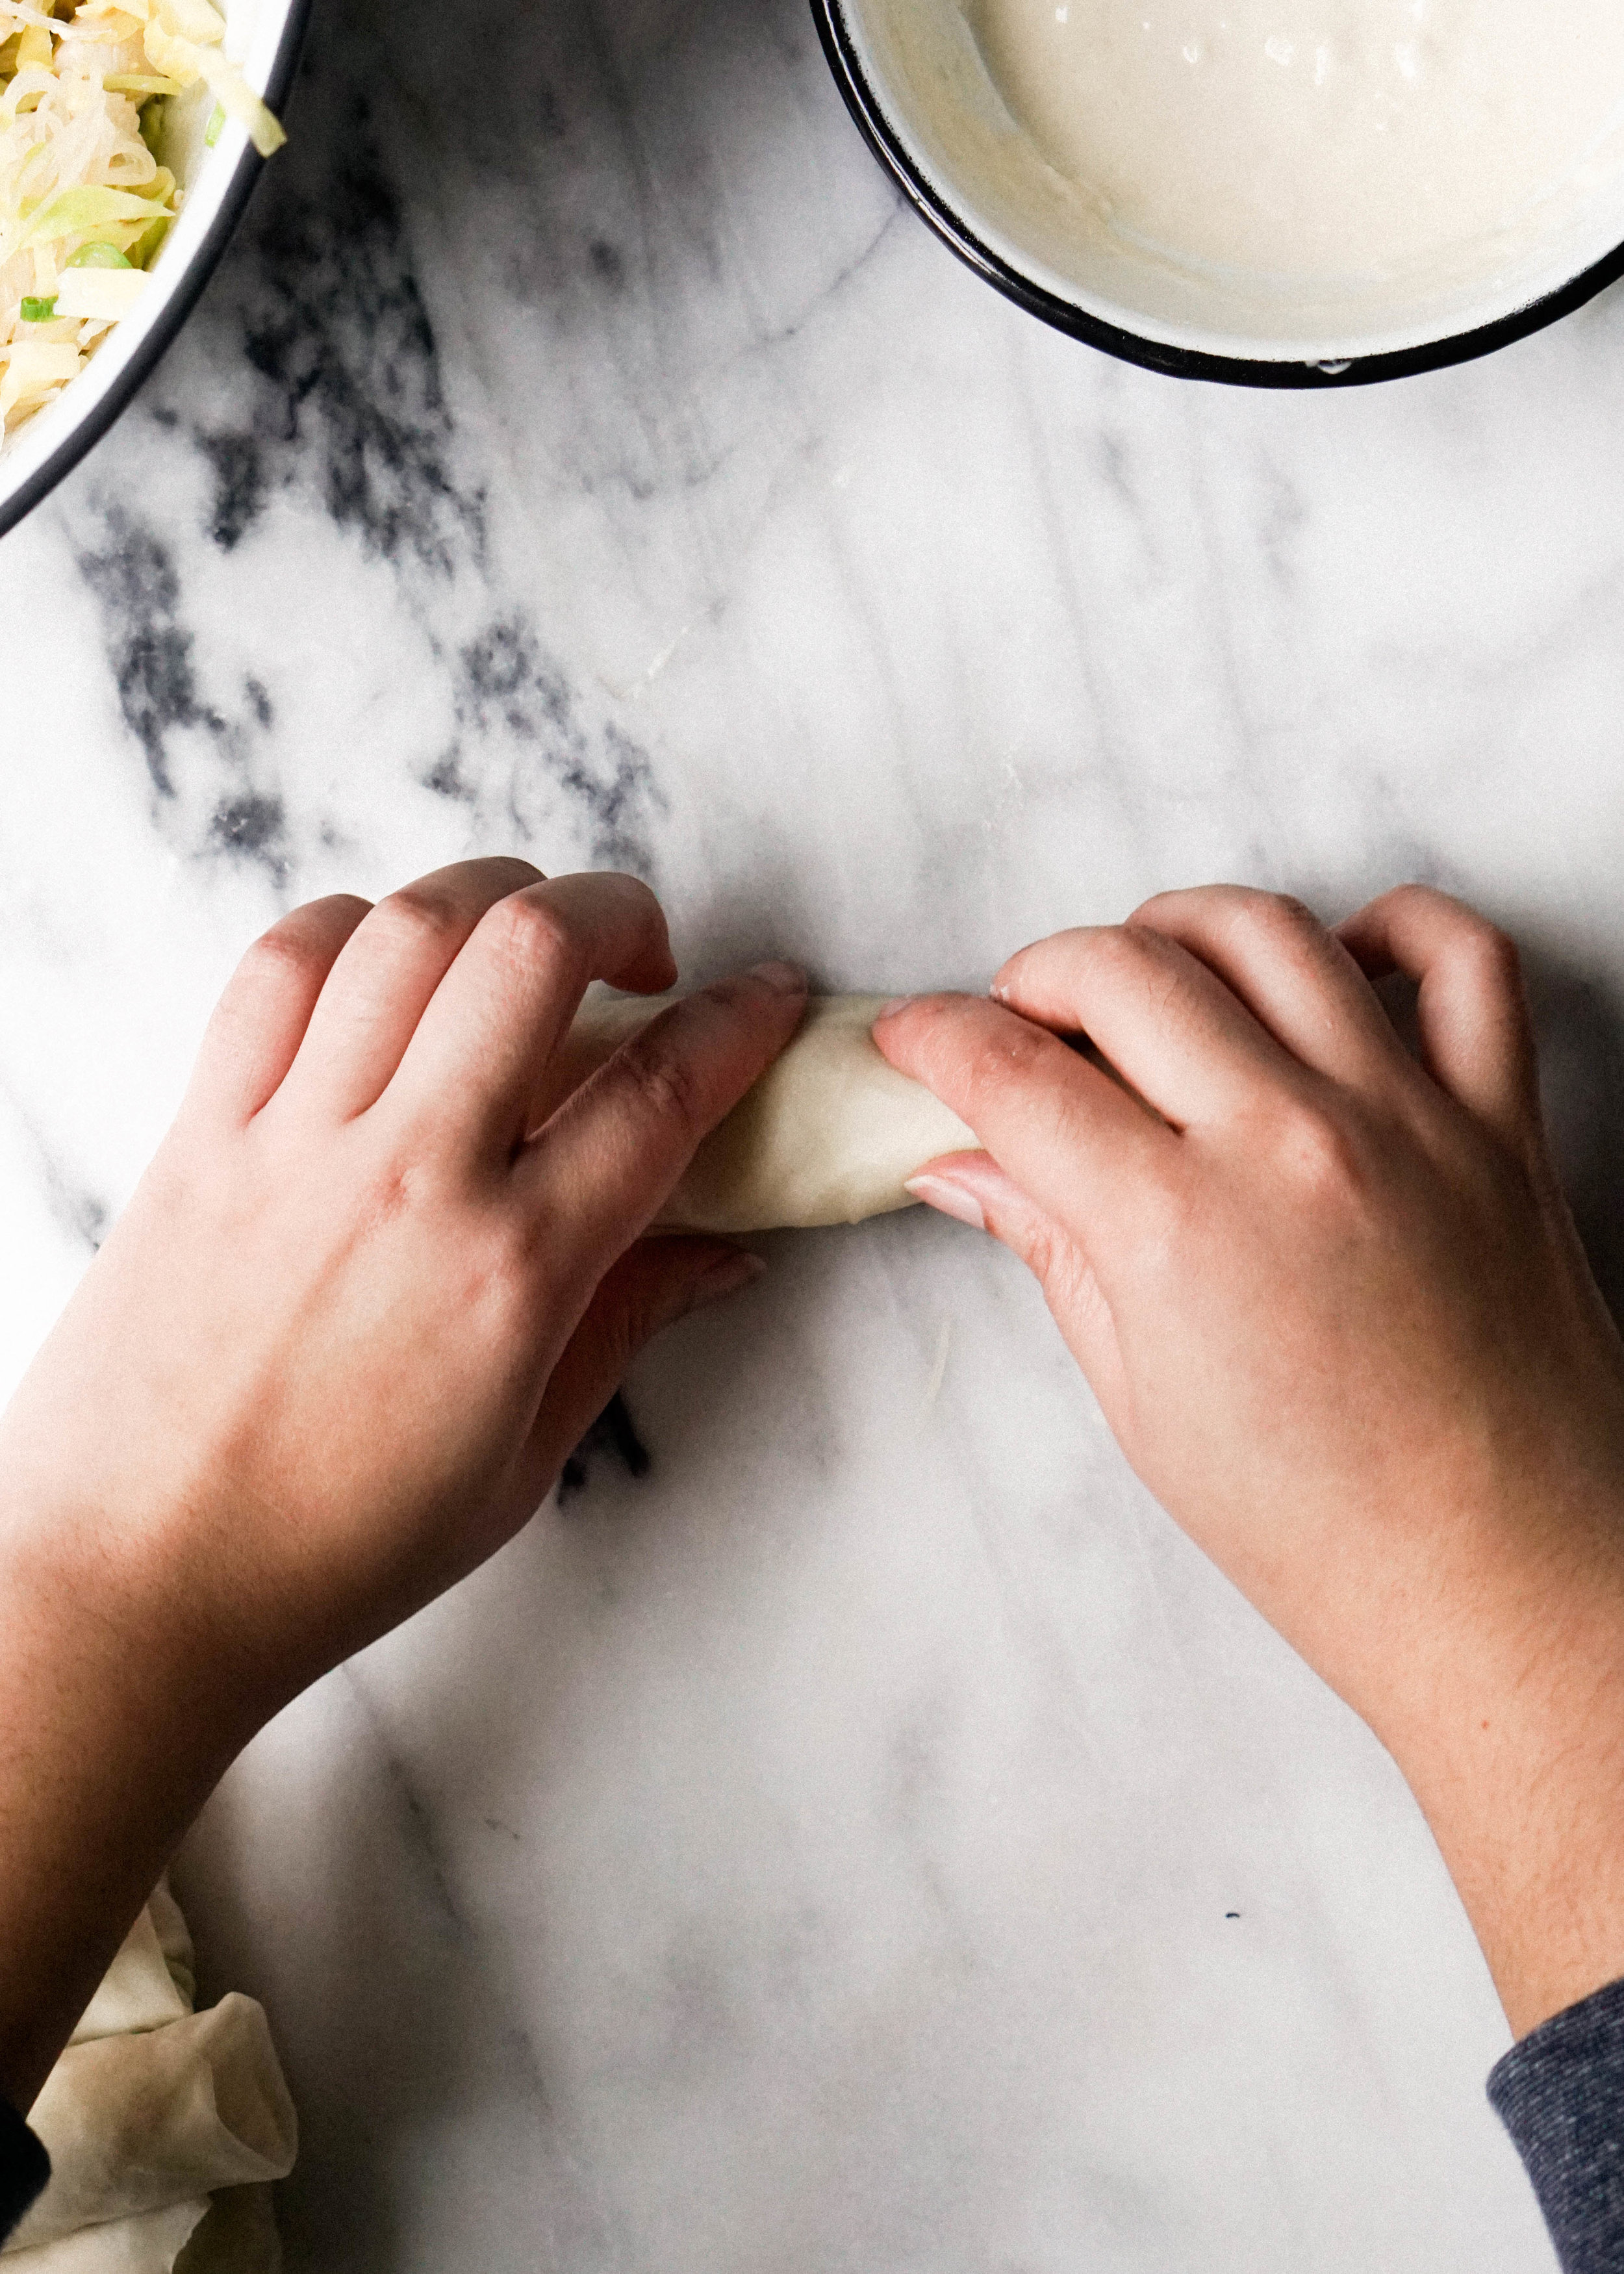
Place spring roll wrapper on your work surface, positioned like a diamond (see images above). Place about 1/4 cup of filling in the bottom third of the wrapper (closer to you). Fold the bottom tip of the wrapper over the filling and tuck over the sides. Smear a bit of the flour paste around the edges of the wrapper and continue rolling the spring roll tightly. Repeat with remaining wrappers and filling.
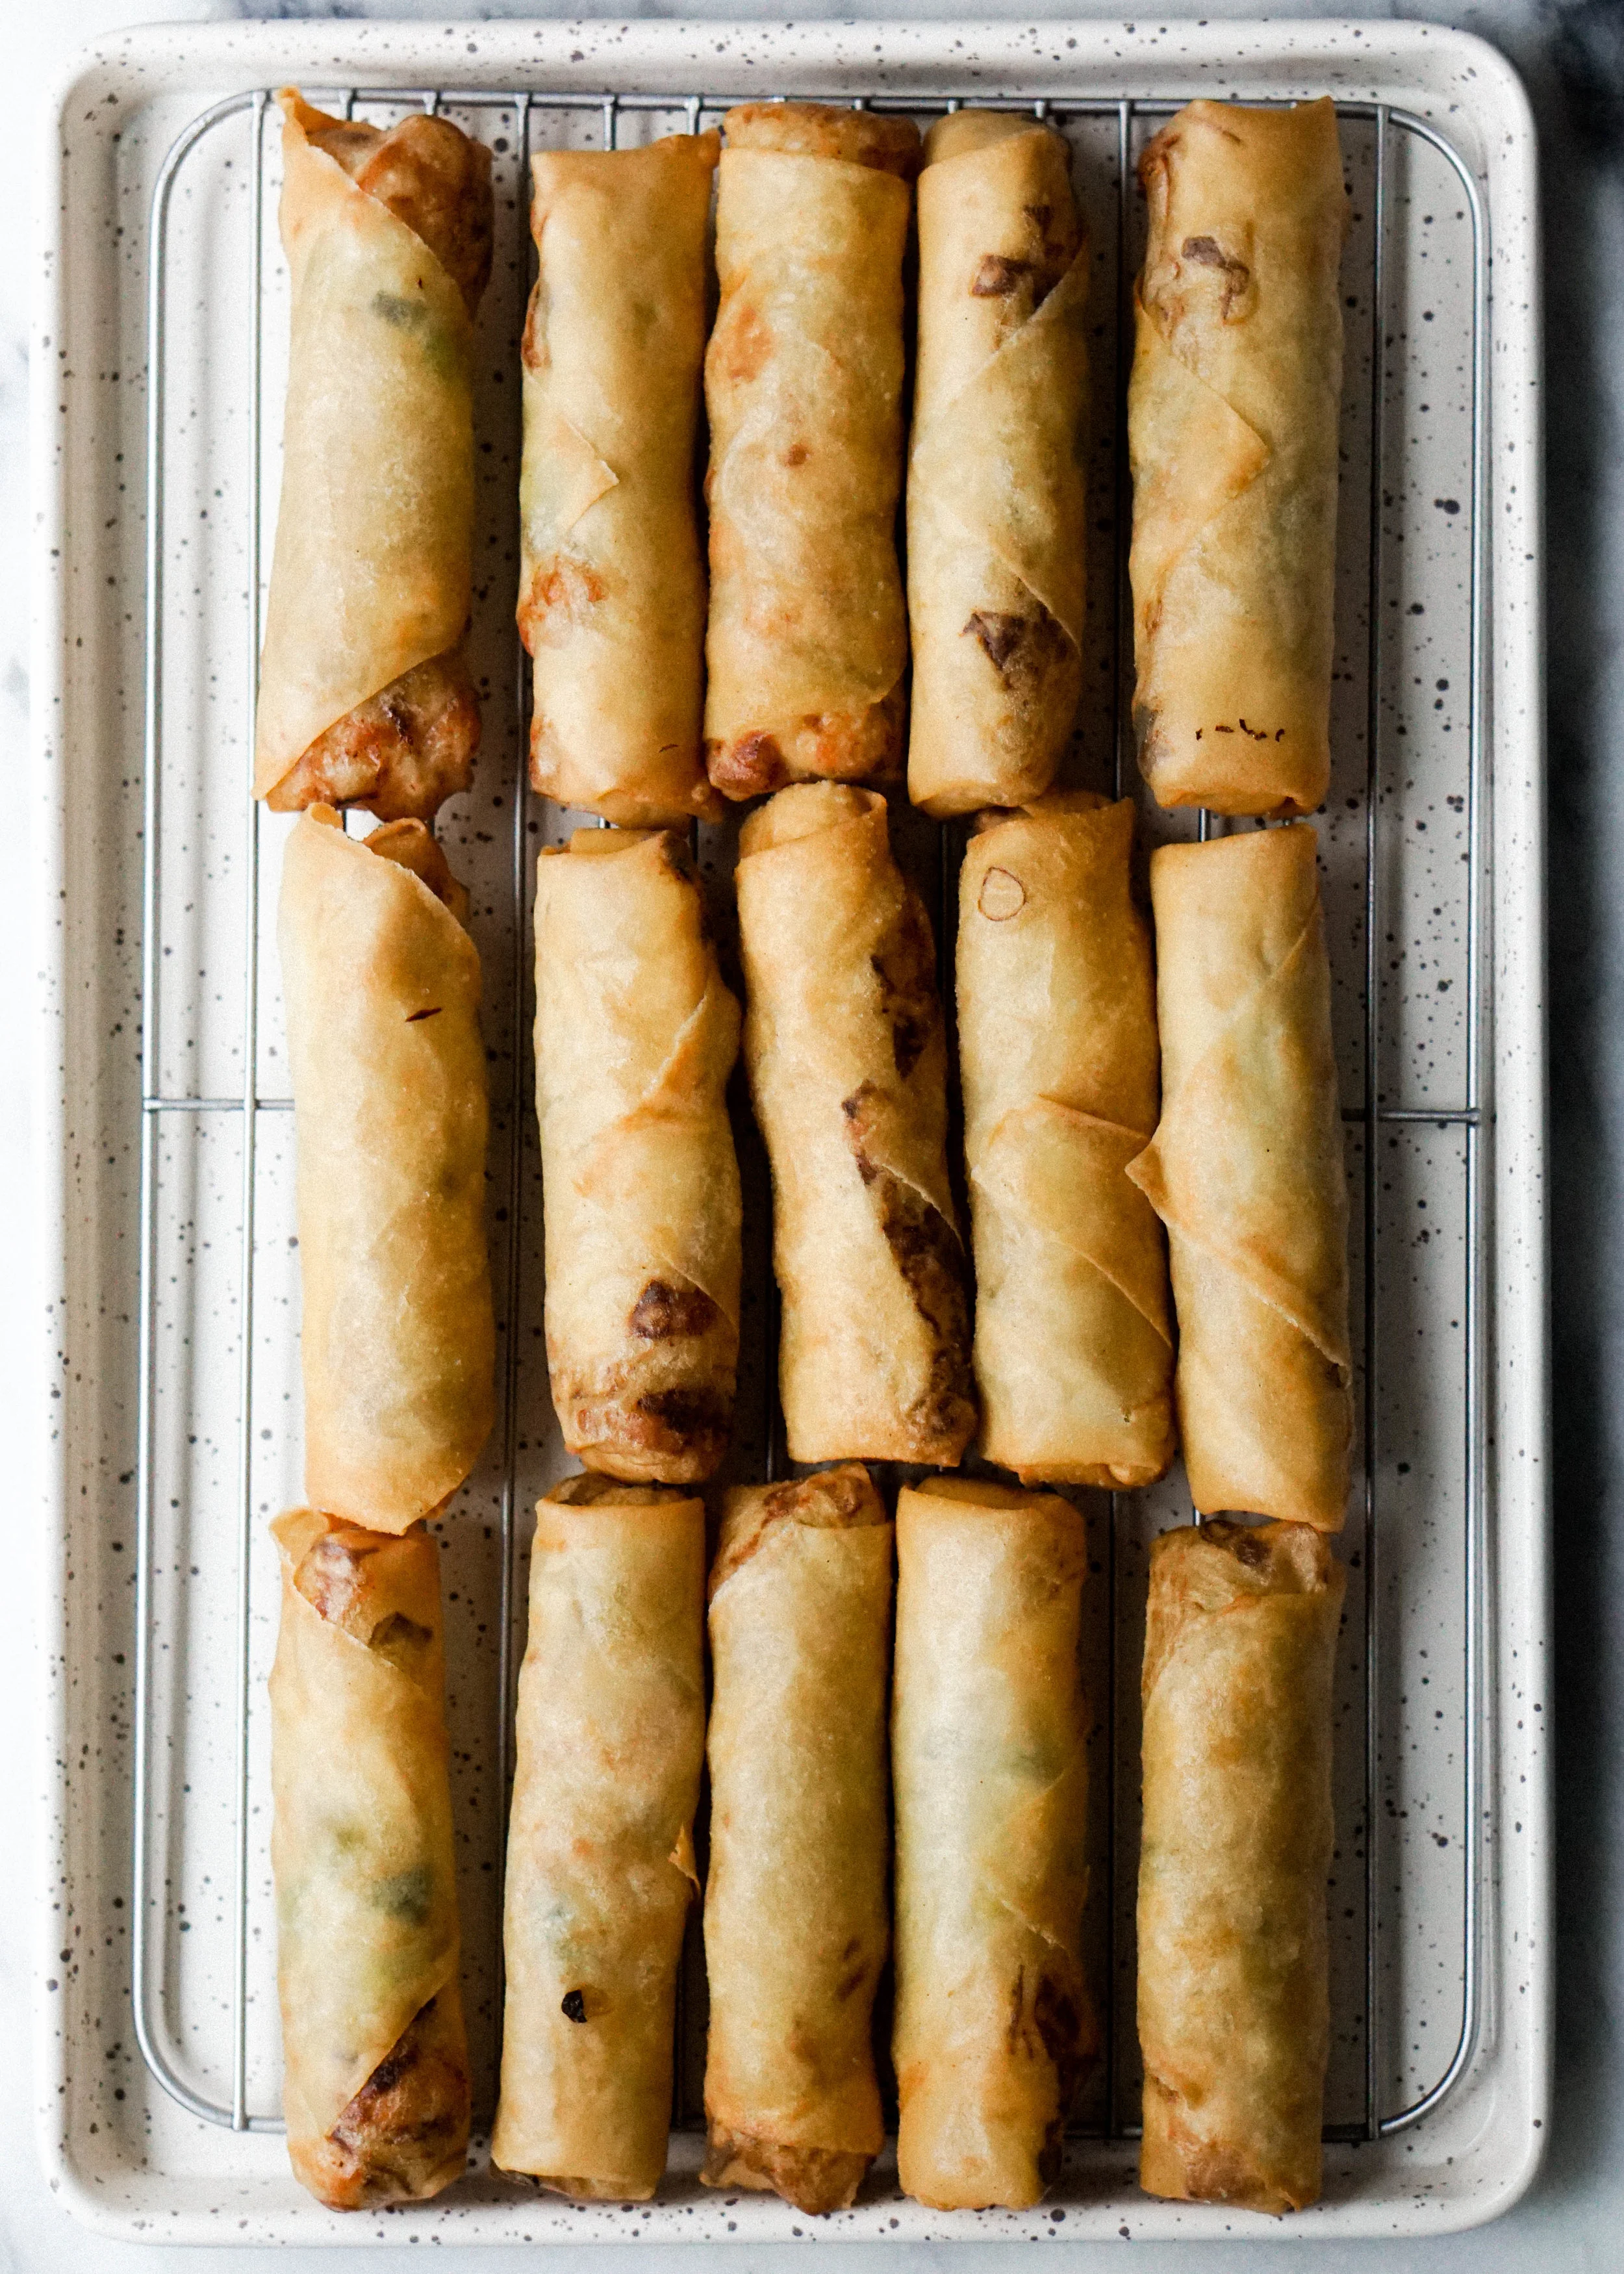
For Frying: Heat enough oil for frying in a heavy bottom pot or deep skillet. Heat to 360 degrees. Add a few spring rolls into the oil and fry for about 5 minutes until golden brown and crispy. Remove spring rolls from the oil and place on paper towels to remove excess oil. After about a minute, place on a wire rack to allow to cool. Repeat with remaining spring rolls.
For Baking: Preheat oven to 350 degrees and line large baking tray with parchment paper. Arrange the spring rolls on a large baking sheet, spaced 1” apart. Lightly brush the surface of each spring roll with olive oil, flip over and brush the other side with oil. Bake for 25 minutes. Flip and baked for another 25 minutes until crispy and golden brown. Let the spring rolls cool for a few minutes before serving.
Enjoy once cooled to a safe eating temperature with sweet and sour sauce!