
Vanilla Hojicha Cake
Thanks, Calphalon, for sponsoring this post!

For the last year I feel like I’ve been hardwired to think of recipes as “small batch” or just enough to feed the 2 people within my bubble. I mean, I love a cute mini cake and just enough brownies to last me a day. But we are fast approaching our second vaccination shot, and although normal life still feels very far off in the distance, I’m hopeful that everyone will be able to enjoy a few slices of cake together within the same room soon! So, I’m slowly dipping my toes back into “full-scale” cakes and family style platters of food to prepare for that day.
It’s been a while since I’ve baked a cake, especially one larger than 6-inches. This 9-inch double layer situation was so fun to make! I enjoyed 2 big slices and shared the rest with neighbors and hid some in the freezer. It was so good, I had to resist going in for a third slice. On the exterior we have a very smooth and luscious vanilla bean buttercream. I sprang for the good stuff: vanilla beans and some vanilla bean paste. I love vanilla and “very vanilla” seems to have a negative connotation. In this context, very vanilla is a very good thing! In between the buttercream are two fluffy layers of hojicha cake!


Hooray for Hojicha!
I’m very much obsessed with hojicha at the moment. Hojicha is a green tea that’s roasted over charcoal. It has a deeply toasty, slightly smokey, and gently sweet flavor. I normally brew the loose leaf variety but I recently bought the finely ground, powder version and it makes baking with it so fun and easy! The powder version is very much like matcha powder, so you can easily make lattes with it! A little sprinkle into buttercream or cake in this scenario gives it a beautifully earthy color. I love how the hojicha balances out the sweet and delicate flavor of the vanilla buttercream. It’s a wonderful flavor power couple!
The soft, tender, fluffy cake layers look almost like gingerbread or chocolate cake, but obviously have their own unique toasty flavor. They bake up beautifully in my Calphalon nonstick cake pans. They are very much nonstick so you don’t have to worry about the cake getting stuck or breaking apart when you flip the cake out of the pans. It’s just one less thing to stress about when you embark on a baking project. You can get your own set of Calphalon nonstick bakeware here!


A Very Good Vanilla Buttercream
As I mentioned, this is a very vanilla buttercream. In the best way possible! I’m very much an American buttercream person, mostly because I’m too lazy to make other varieties of buttercream (haha). I like my buttercream to be more butter forward, so don’t feel too shocked by the 6 sticks of butter that the recipe calls for! It’s a big cake, so don’t worry about it. Just enough powdered sugar provides sweetness, a little cream makes it smooth and luscious, and flecks of real vanilla bean gives the buttercream such a pure and strong vanilla flavor. I won’t blame you if you sneak in a few taste tests before it even makes it onto the cake.


Some Assembly Required
I’m going to be honest, I’m not the most proficient cake decorator. But I do love to decorate cakes and I have a few tricks for making an impressive cake with very little skill 😬
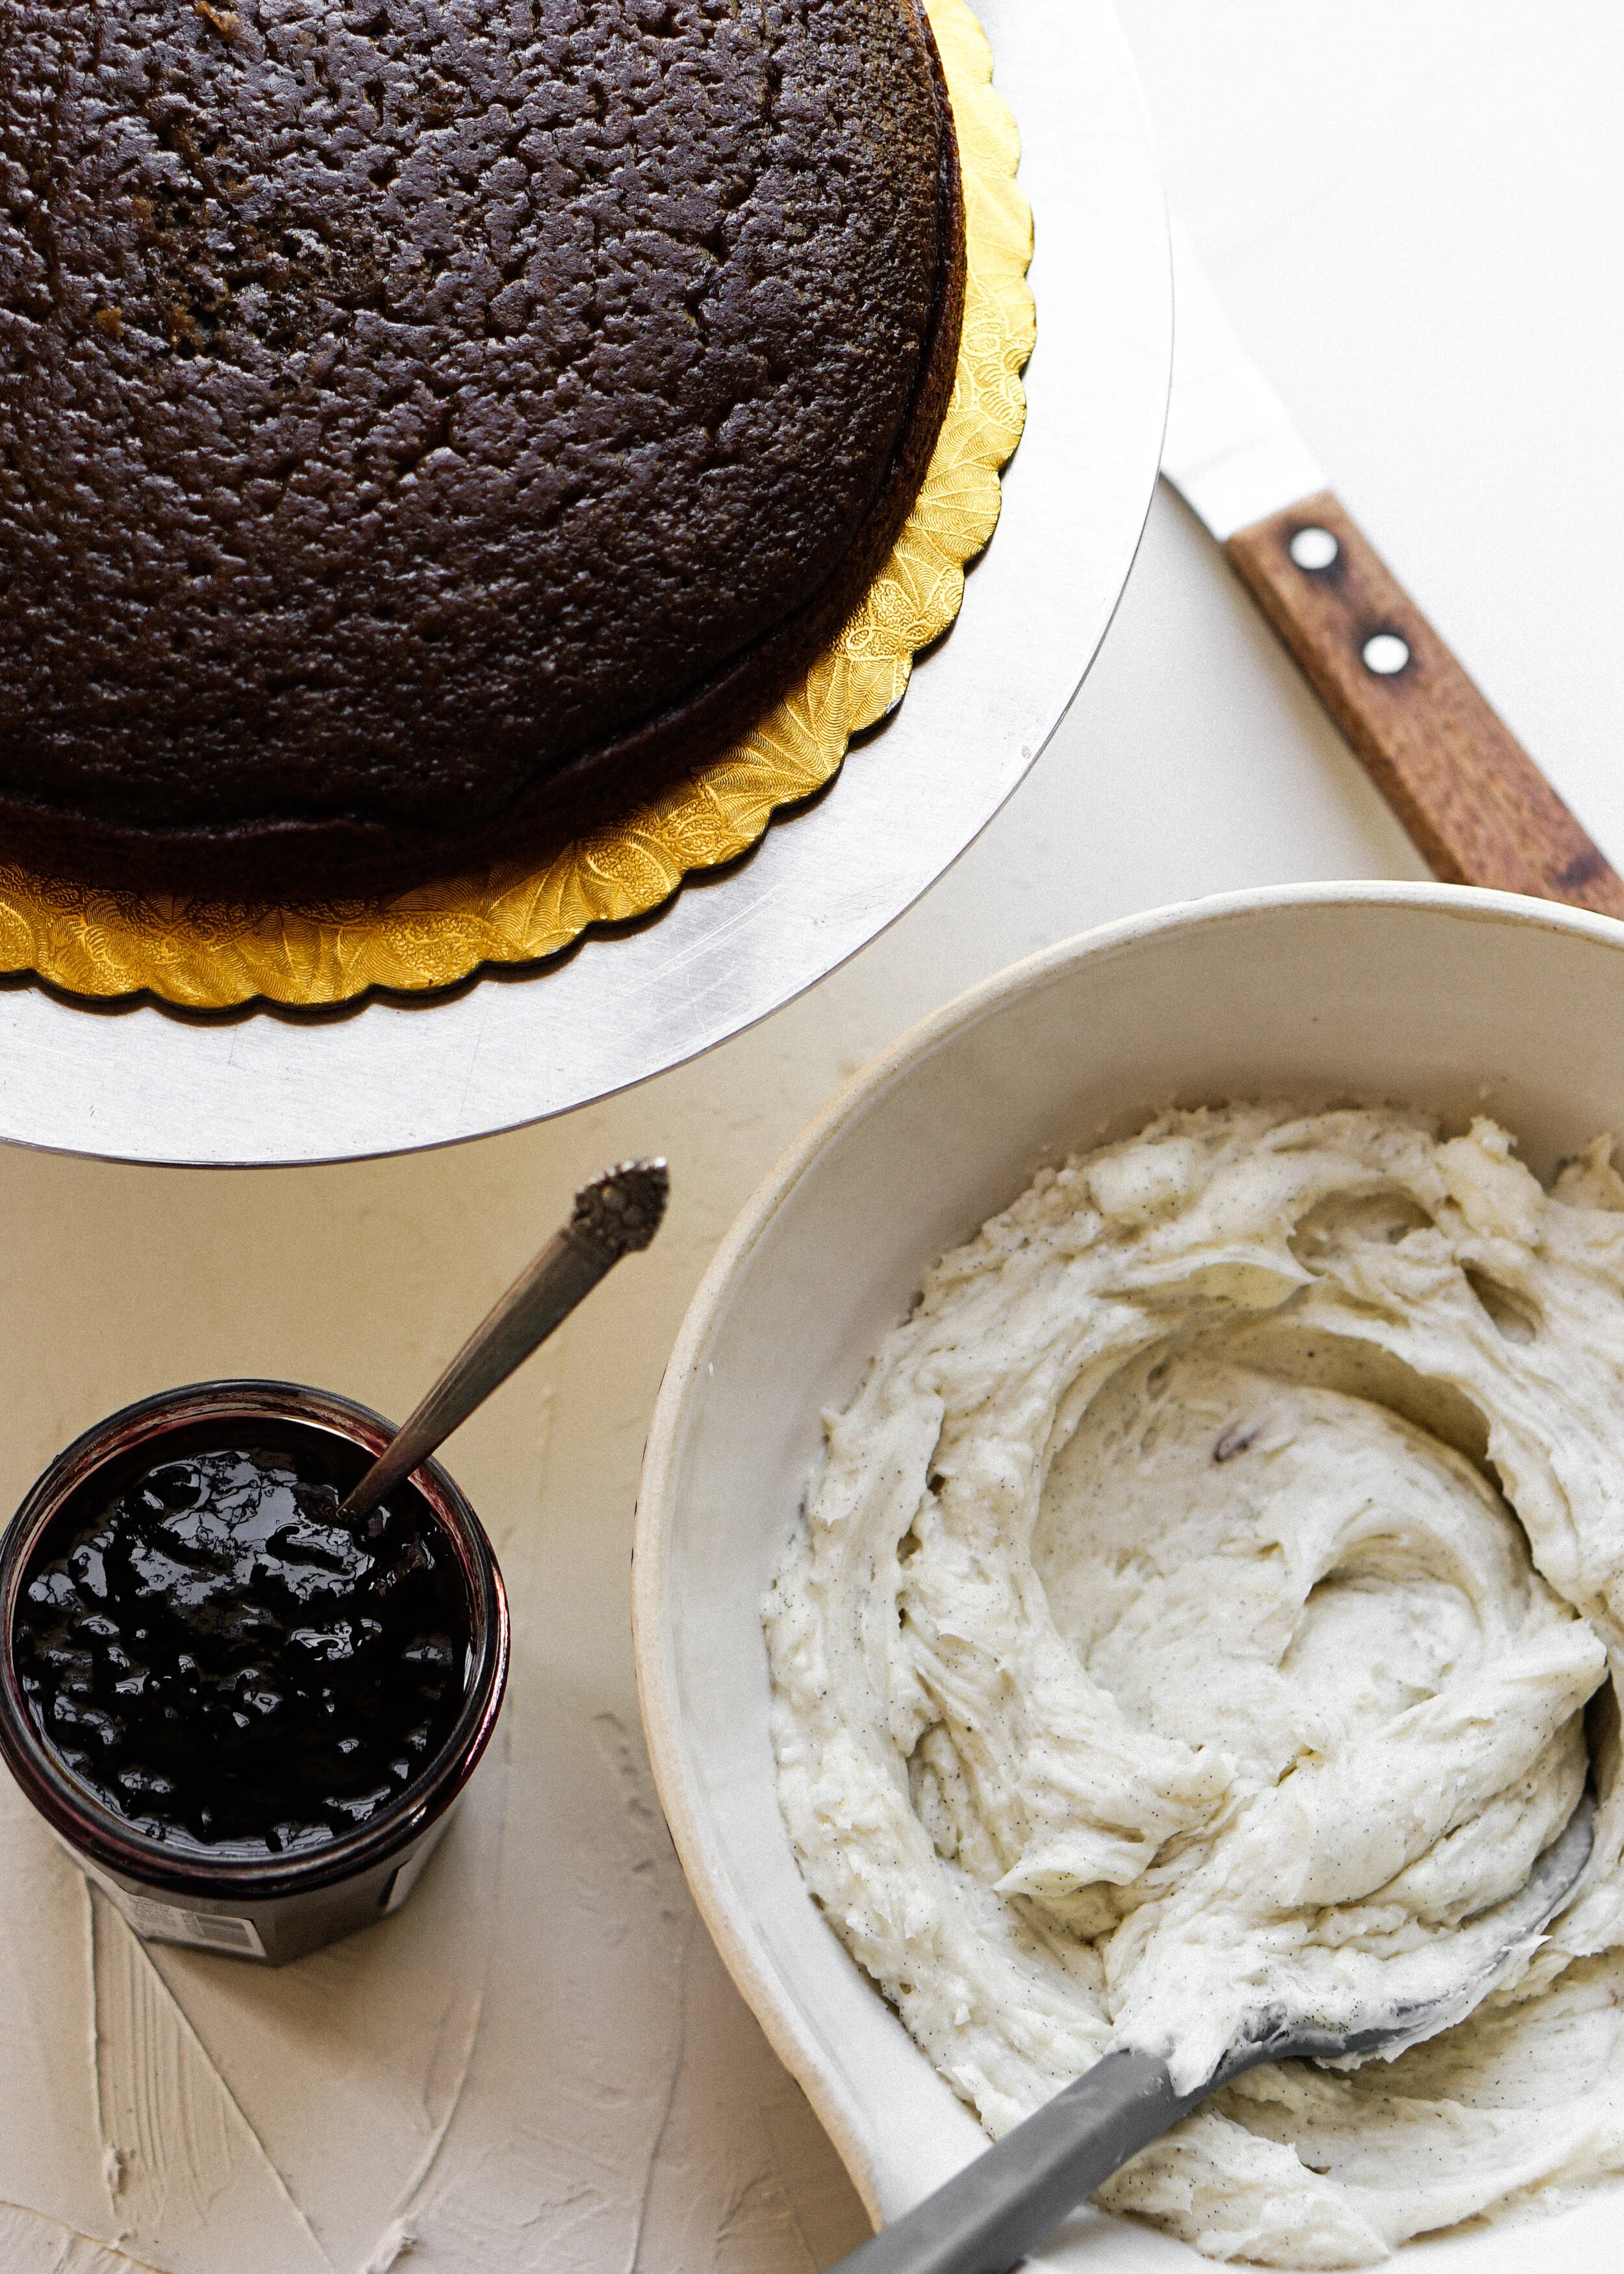
Before you decorate, you must assemble the layers first! Grab a plate or cake board, whatever you want to serve your cake on, and smear a little dab of buttercream. This will act as glue for your first layer. Add the first layer of cake. Smear a bunch of buttercream over the cake, making sure it’s smooth and leveled. If you’re going to add the layer of fruit preserve (I highly recommend, for the pop of fruit and brightness!), you will need to pipe a ring of buttercream to keep the preserves from leaking out the sides. It’s like a foundation wall. Use a piping bag of a ziplock bag, fill with buttercream, and snip off the end. Pit a 1/2” tall ring around the edges and then fill the center with your fruit preserves and smooth it out. Add your last cake layer. Check out the placement to make sure everything is straight and well aligned. Give it a gently press down so the layers feel secure. Scoop a bunch of buttercream onto the top of the cake and spread it out with an offset spatula. Spread across the top and down the sides of the cake. Fill in the uncovered areas with more buttercream and continue to smooth out the sides with your offset spatula until you’re happy with the texture.
If you tell yourself you’re going for a rustic aesthetic and set a 15 minute timer, this step will feel much less painful. If you have a rotating cake stand or lazy susan, smoothing out the buttercream will be a lot easier. I never aim for a perfectly smooth cake anyways. I embrace the imperfections and texture gives the cake a little character.
Once you’re happy with the over buttercream texture you can add a little extra flair by applying pressure with the tip of the offset spatula on the center of the cake and then slowly pull away from the center while also turning the cake. This will give the surface a spiral effect.
As a finishing touch, I love to top cakes with fresh fruit and herbs. I’m not too great at piping buttercream flowers and leaves, so utilizing the natural beauty of fruit is more up my alley! A few slices strawberries and mint leaves will go a long way!

This cake will feed a lot of people! So keep it in your back pocket for whenever you can hang out with your favorite people again! I hope that occasion comes your way soon!
I’m going to request that this be my birthday cake this year 🙃
Remember to use the code “KRISTINA25” for 25% off sitewide at Calphalon.com!


Vanilla and Hojicha Cake
Makes a two layered 9-inch cake
Cake:
300g (1 1/2 cups) granulated sugar
375g (3 cups) all-purpose flour
10g (1 1/2 tbsp) hojicha powder
2 tsp baking powder
2 tsp baking soda
2 tsp salt
3 large eggs
250g (1 cup) buttermilk
2 tsp vanilla bean paste (or extract)
2/3 cup neutral oil
1 cup boiling water
1 cup berry preserves
Strawberries and mint for decoration
Vanilla Buttercream:
2 vanilla bean pod
6 sticks softened butter
2 tbsp vanilla bean paste
4 cups powdered sugar
1/4 cup heavy cream
steps:
Preheat the oven to 350-degrees and line the bottoms of two 9-inch round cake pans with parchment paper. Lightly butter or oil just the bottoms to help the parchment paper stick and press out any air bubbles.
In a large mixing bowl, whisk to combine sugar, flour, hojicha powder, baking powder, baking soda, and salt.
In another large mixing bowl, whisk to combine eggs, buttermilk, vanilla, and oil. Once smooth, add half of the try ingredients. Whisk until nearly smooth, add the remaining dry ingredients. Whisk until there’s just a few dry bits left, the batter will be thick at this point. Add the boiling water and continue mixing until the batter is loose and smooth.
Divide the batter evenly between the cake pans. Tap the pans on the counter a few times to knock out any air bubbles. Bake until the centers are set, 28 to 30 minutes, turning half way through.
Allow the cakes to cool in the pan for 10 minutes and then remove from the pan and transfer to a wire cooling rack to fully cool. Level the cakes with a sharp bread knife if needed.
While the cakes cool, prepare the buttercream. Split the vanilla bean pods with a sharp paring nice and scrape out the seeds with the dull side of the blade. In the bowl of an electric standmixer, add the softened butter and mix on medium speed for 1 minute. Add the vanilla bean seeds and past and continue mixing for another minute. Reduce the speed to low and add a cup of the powder sugar at a time until incorporated (helps avoid sugar flying everywhere). Increase the speed up to medium-high, add the heavy cream and continue mixing until light and fluffy.
To assemble the cake: Place a cake board or plate on a rotating cake stand or lazy susan. Smear a dollop of buttercream in the center of the cake board. Place a cake layer on the cake board. Smear buttercream over the cake layer. If adding the fruit preserve, filling a piping bag or resealable bag with buttercream and snip the end off. Pipe a ring of buttercream around the edges to keep the fruit preserve in. Spread the fruit preserve up to the edges of the buttercream. Add the remaining layer of cake and spread buttercream over top and the sides. Top with fresh strawberries and mint leaves.
Serve at room temperature or store in a cake box and chill in the fridge for up to 2 days before serve (allow time for the cake to get back to room temperature).