
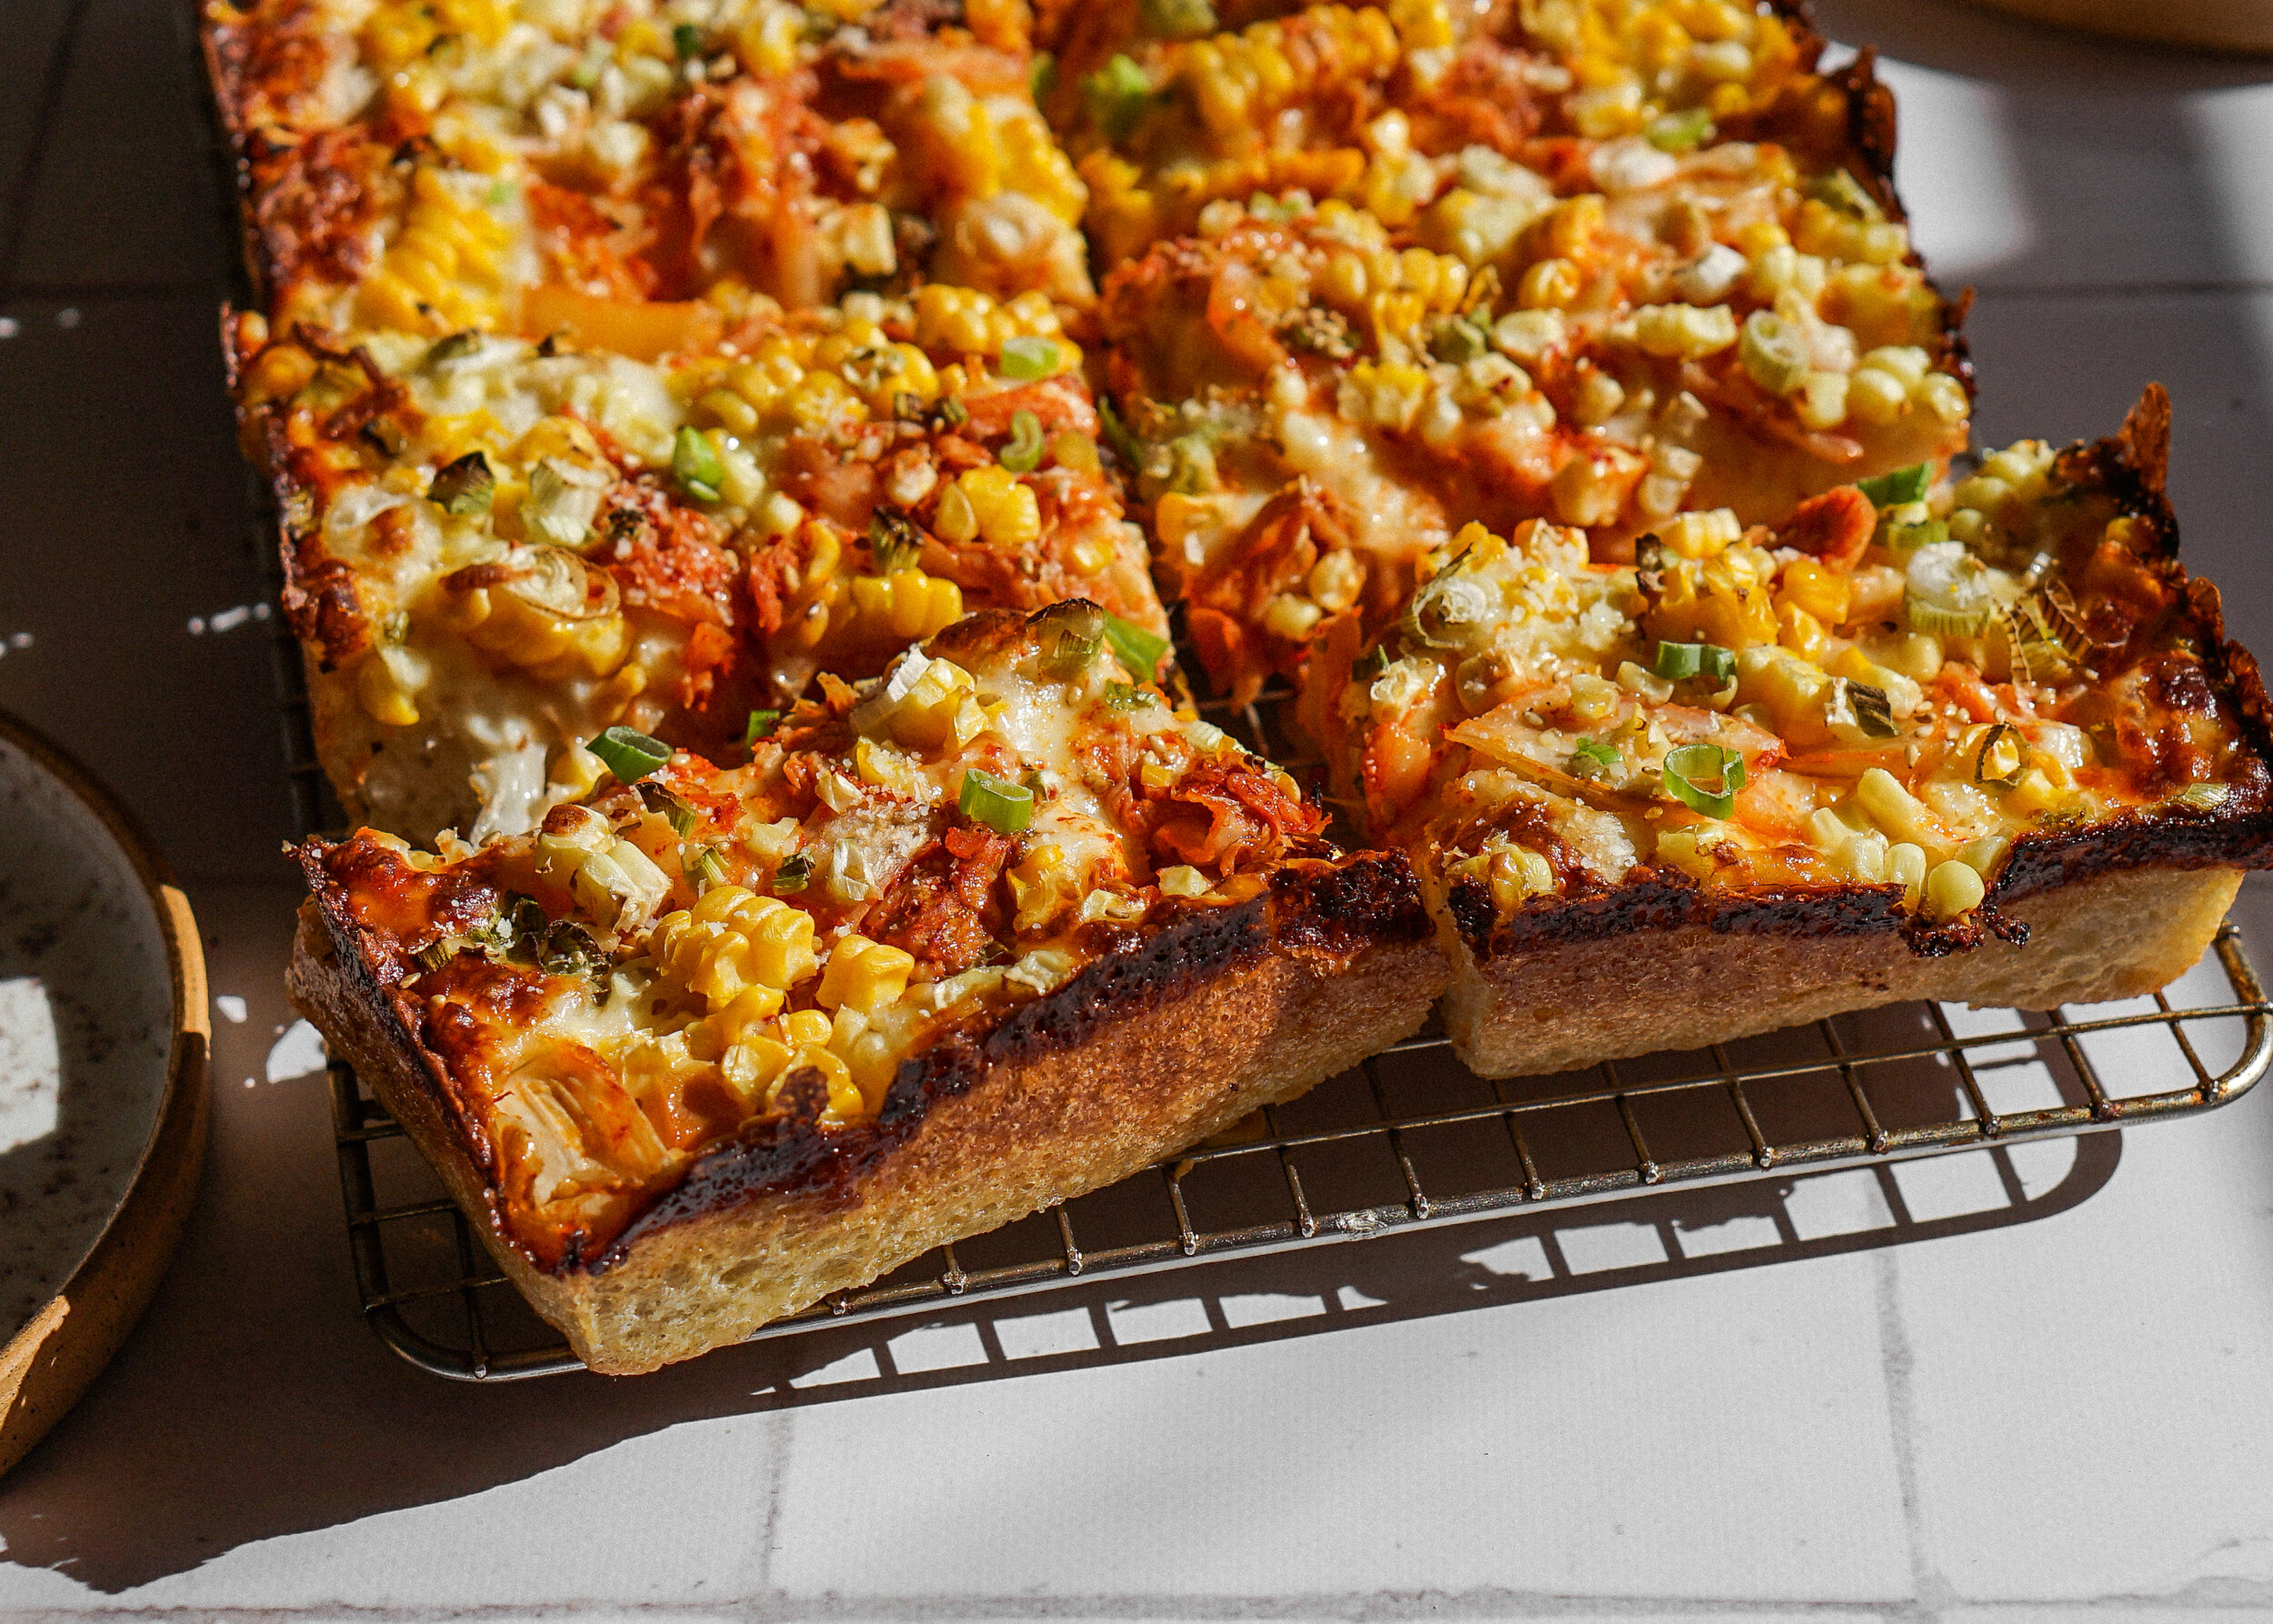
Kimchi and Corn Detroit-style Pizza
Thanks, Bob’s Red Mill, for sponsoring this post!
We went to our first real (outdoor) party over the weekend and it felt so normal! I had to talk to strangers and felt super awkward about it because I haven’t had to make new friends in 4EVER. The last new friend I made was Olive… and that was 3 months ago… and she’s a dog. But despite the awkwardness, it felt good to practice my in-person socialization skills and it was nice to have people to share my baked goods with again!
I’m spending the next few days decompressing and enjoying some alone time though, like the introvert that I am. This weekend we are reuniting with not just one old friend, but two!! My friend, Jess, is bringing over some wedding cake samples to taste and I am so pumped!!! Other than the actual wedding, I’ve been looking forward to this cake tasting the most. Then one of my dear friends from college, Mike, is in town for work and we’re going to spend the weekend eating a lot of great food and enjoying the California sunshine! Yay! Friends!
I need to come up with something tasty to serve them when they come over, respectively. Maybe a bountiful cheese plate? Lemon snacking cake? Ooooh, or pizza?! I made this Kimchi and Corn Detroit-style Pizza a little bit ago and I’m still dreaming about it. The dough is so soft and pillow-y, I want to sleep on it every night. The cheese is crisp and a little smokey. The kimchi is spicy and balanced with fresh sweet corn. It’s an incredible pizza and sounds like just the thing I need to make to share with friends. And you should too! Share or not share, it’s your life!
The Pillowy-est Pizza Dough
Have you ever had Detroit-style pizza before? It might just be my favorite variety of pizza. The dough is thick and soft (essentially focaccia without toppings) and baked in a rectangular baking dish with square edges. The cheese is layered on right up to the pan and bakes up into incredibly crisp and almost caramelized edges. The cheese is typically a low-moisture brick cheese so the topping situation doesn’t get too wet. As far as toppings go, you’ll often find it generously topping with pepperoni cups but the options are limitless. We love to get Detroit-style pizza at Cellarmaker House of Pizza! They have such creative toppings. I particularly love the options where the toppings are somewhat light and refreshing because it contrast nicely with the thick dough and rich cheese.
To start your pizza, you need to make a great doughy foundation. Reuben, my resident pizza expert, actually developed this dough recipe for me. It’s a same day dough and does require kneading, but the results are incredible! The crust is soft, yet crispy, and soooo airy. I recommend saving this recipe for the weekend or a day when you’re working from home, so you can start the dough in the late morning or early afternoon. Then the dough will be ready right before dinner!
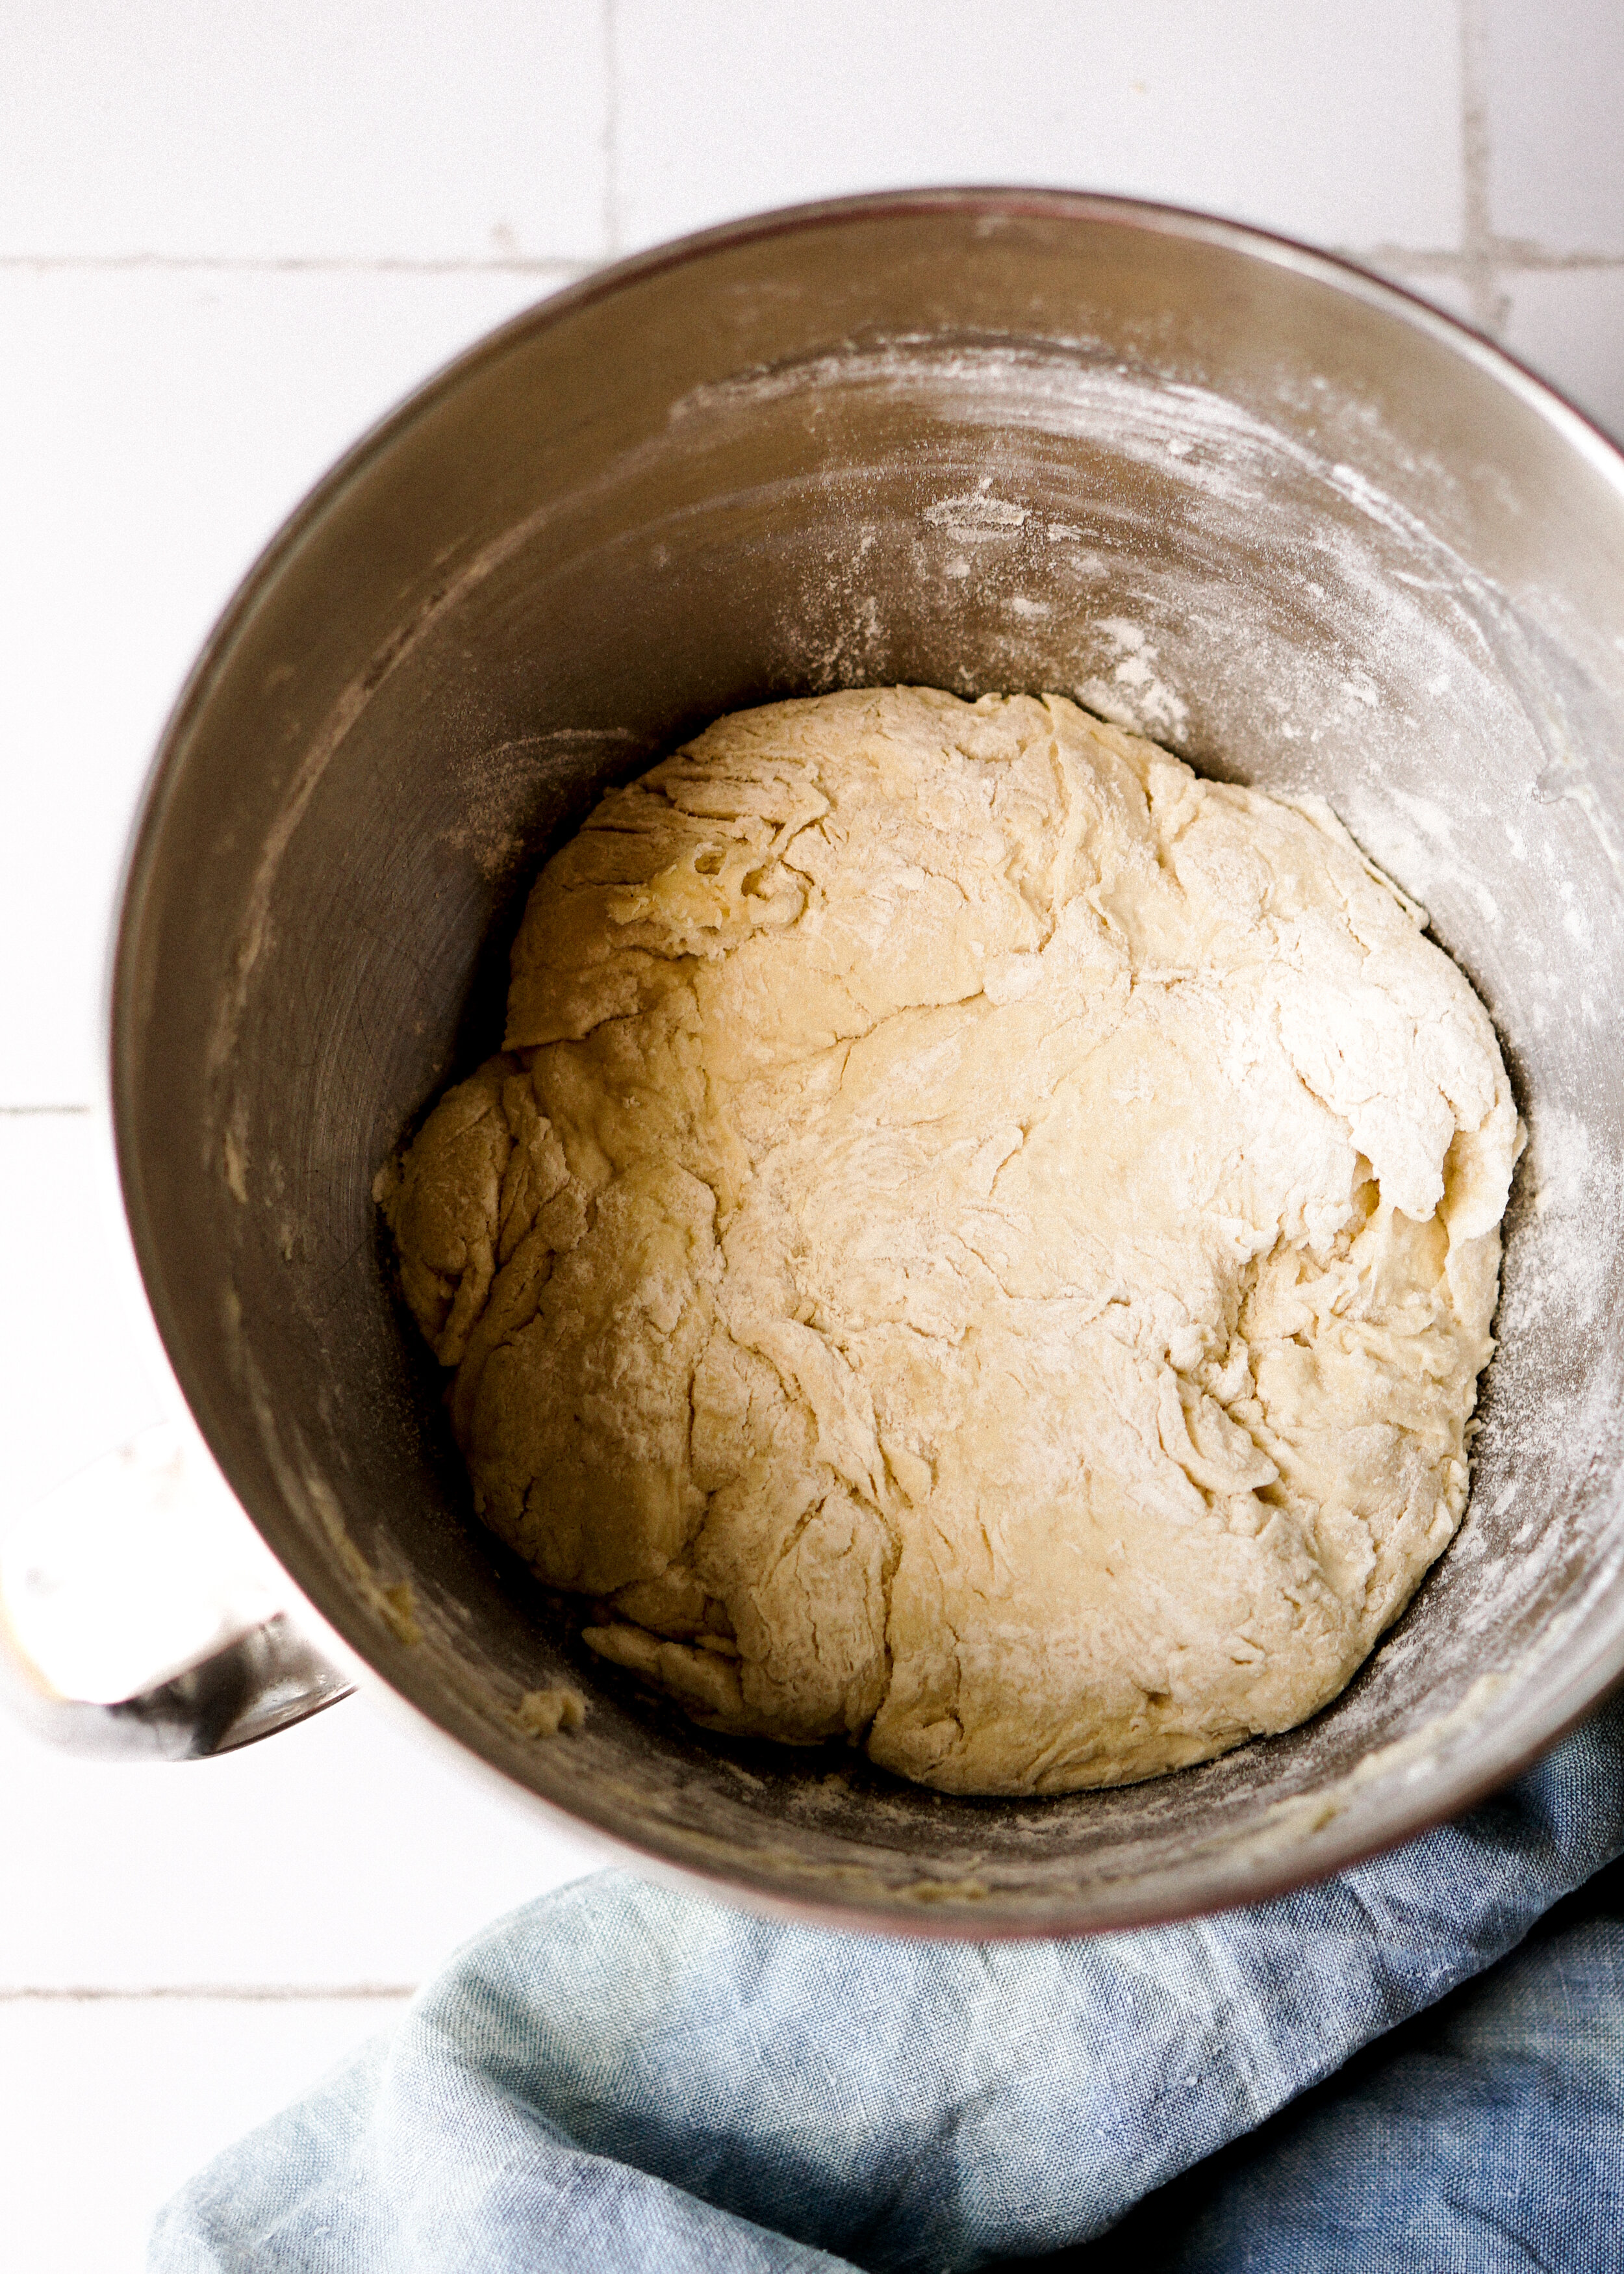
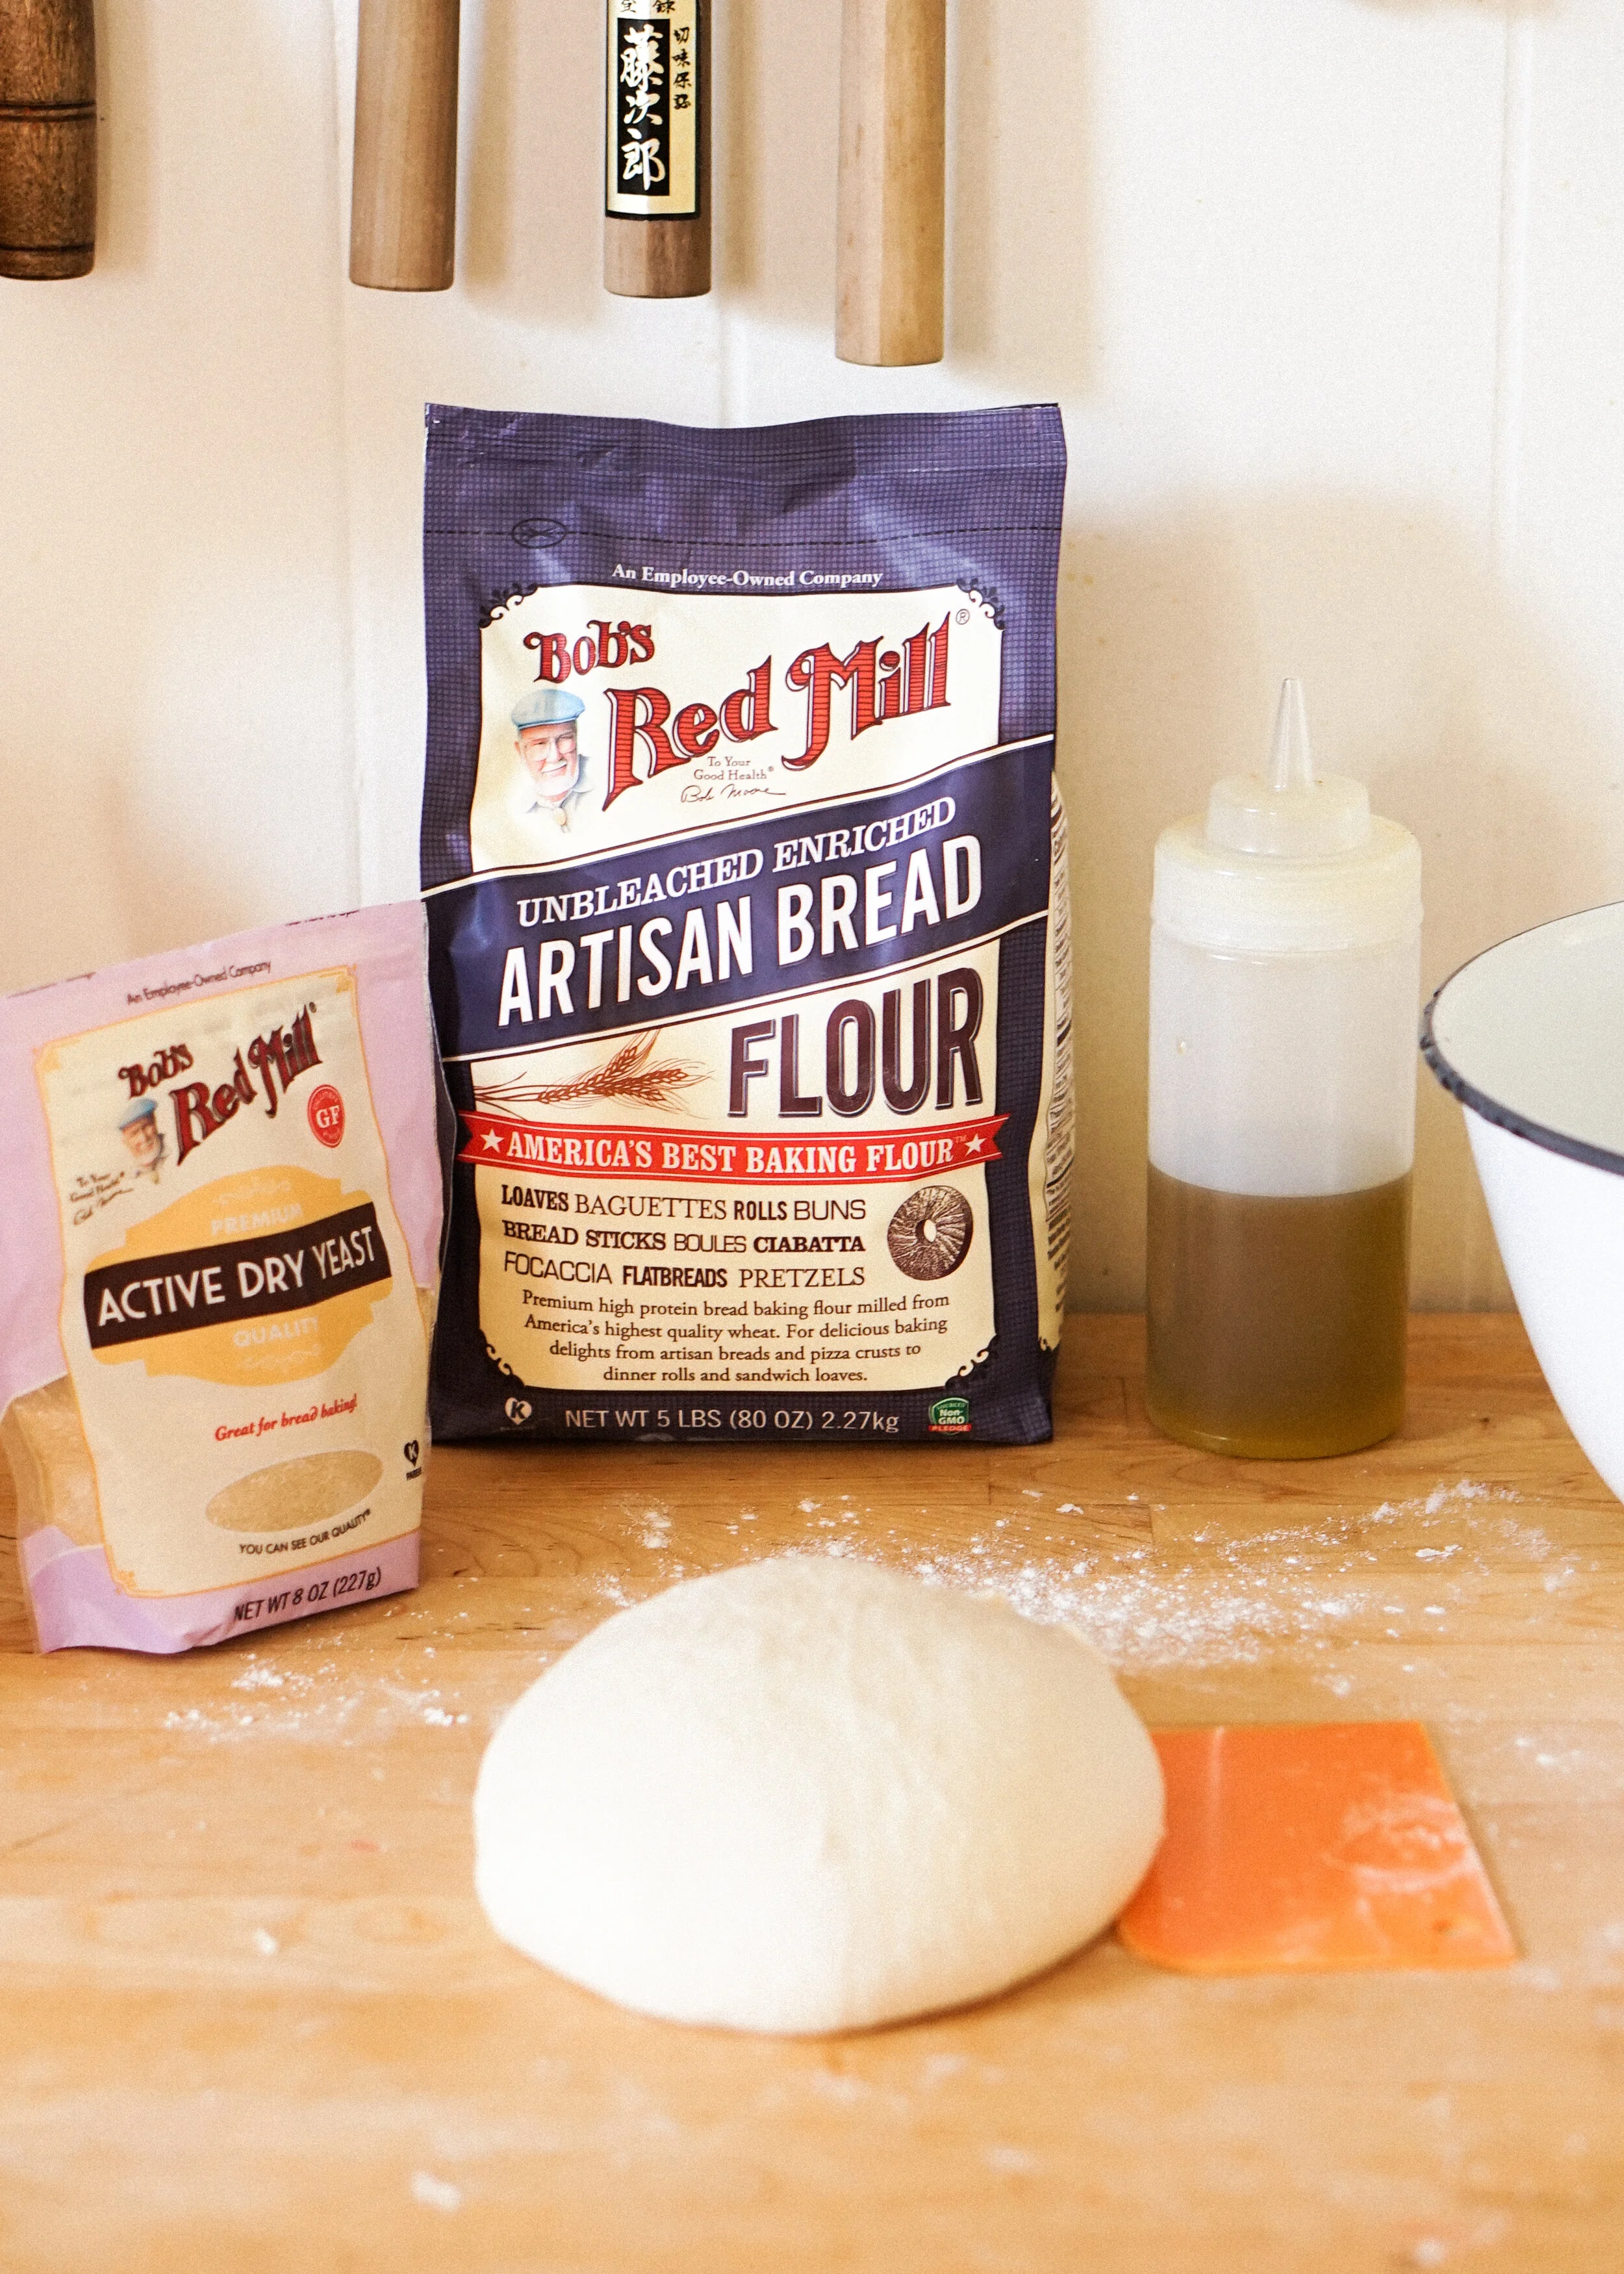
The dough is best made with an electric standmixer because it is on the wetter side. It’s natural for it still feel sticky after kneading, you want to resist the urge to add more flour. The higher hydration here is important for the dough’s soft texture. You want to use bread flour for a strong gluten structure and so it can handle the higher hydration. Bob’s Red Mill is the only bread flour I use, it’s just the best! Since it has a higher hydration we also need to give this dough plenty of time to rest and proof. The first proof will take anywhere from 2 to 3 hours depending on the temperature in your kitchen. Don’t rush it! Even if kimchi and corn isn’t your jam, I highly recommend trying out this dough and using your favorite toppings instead!

Kimchi and Corn on a Pizza!
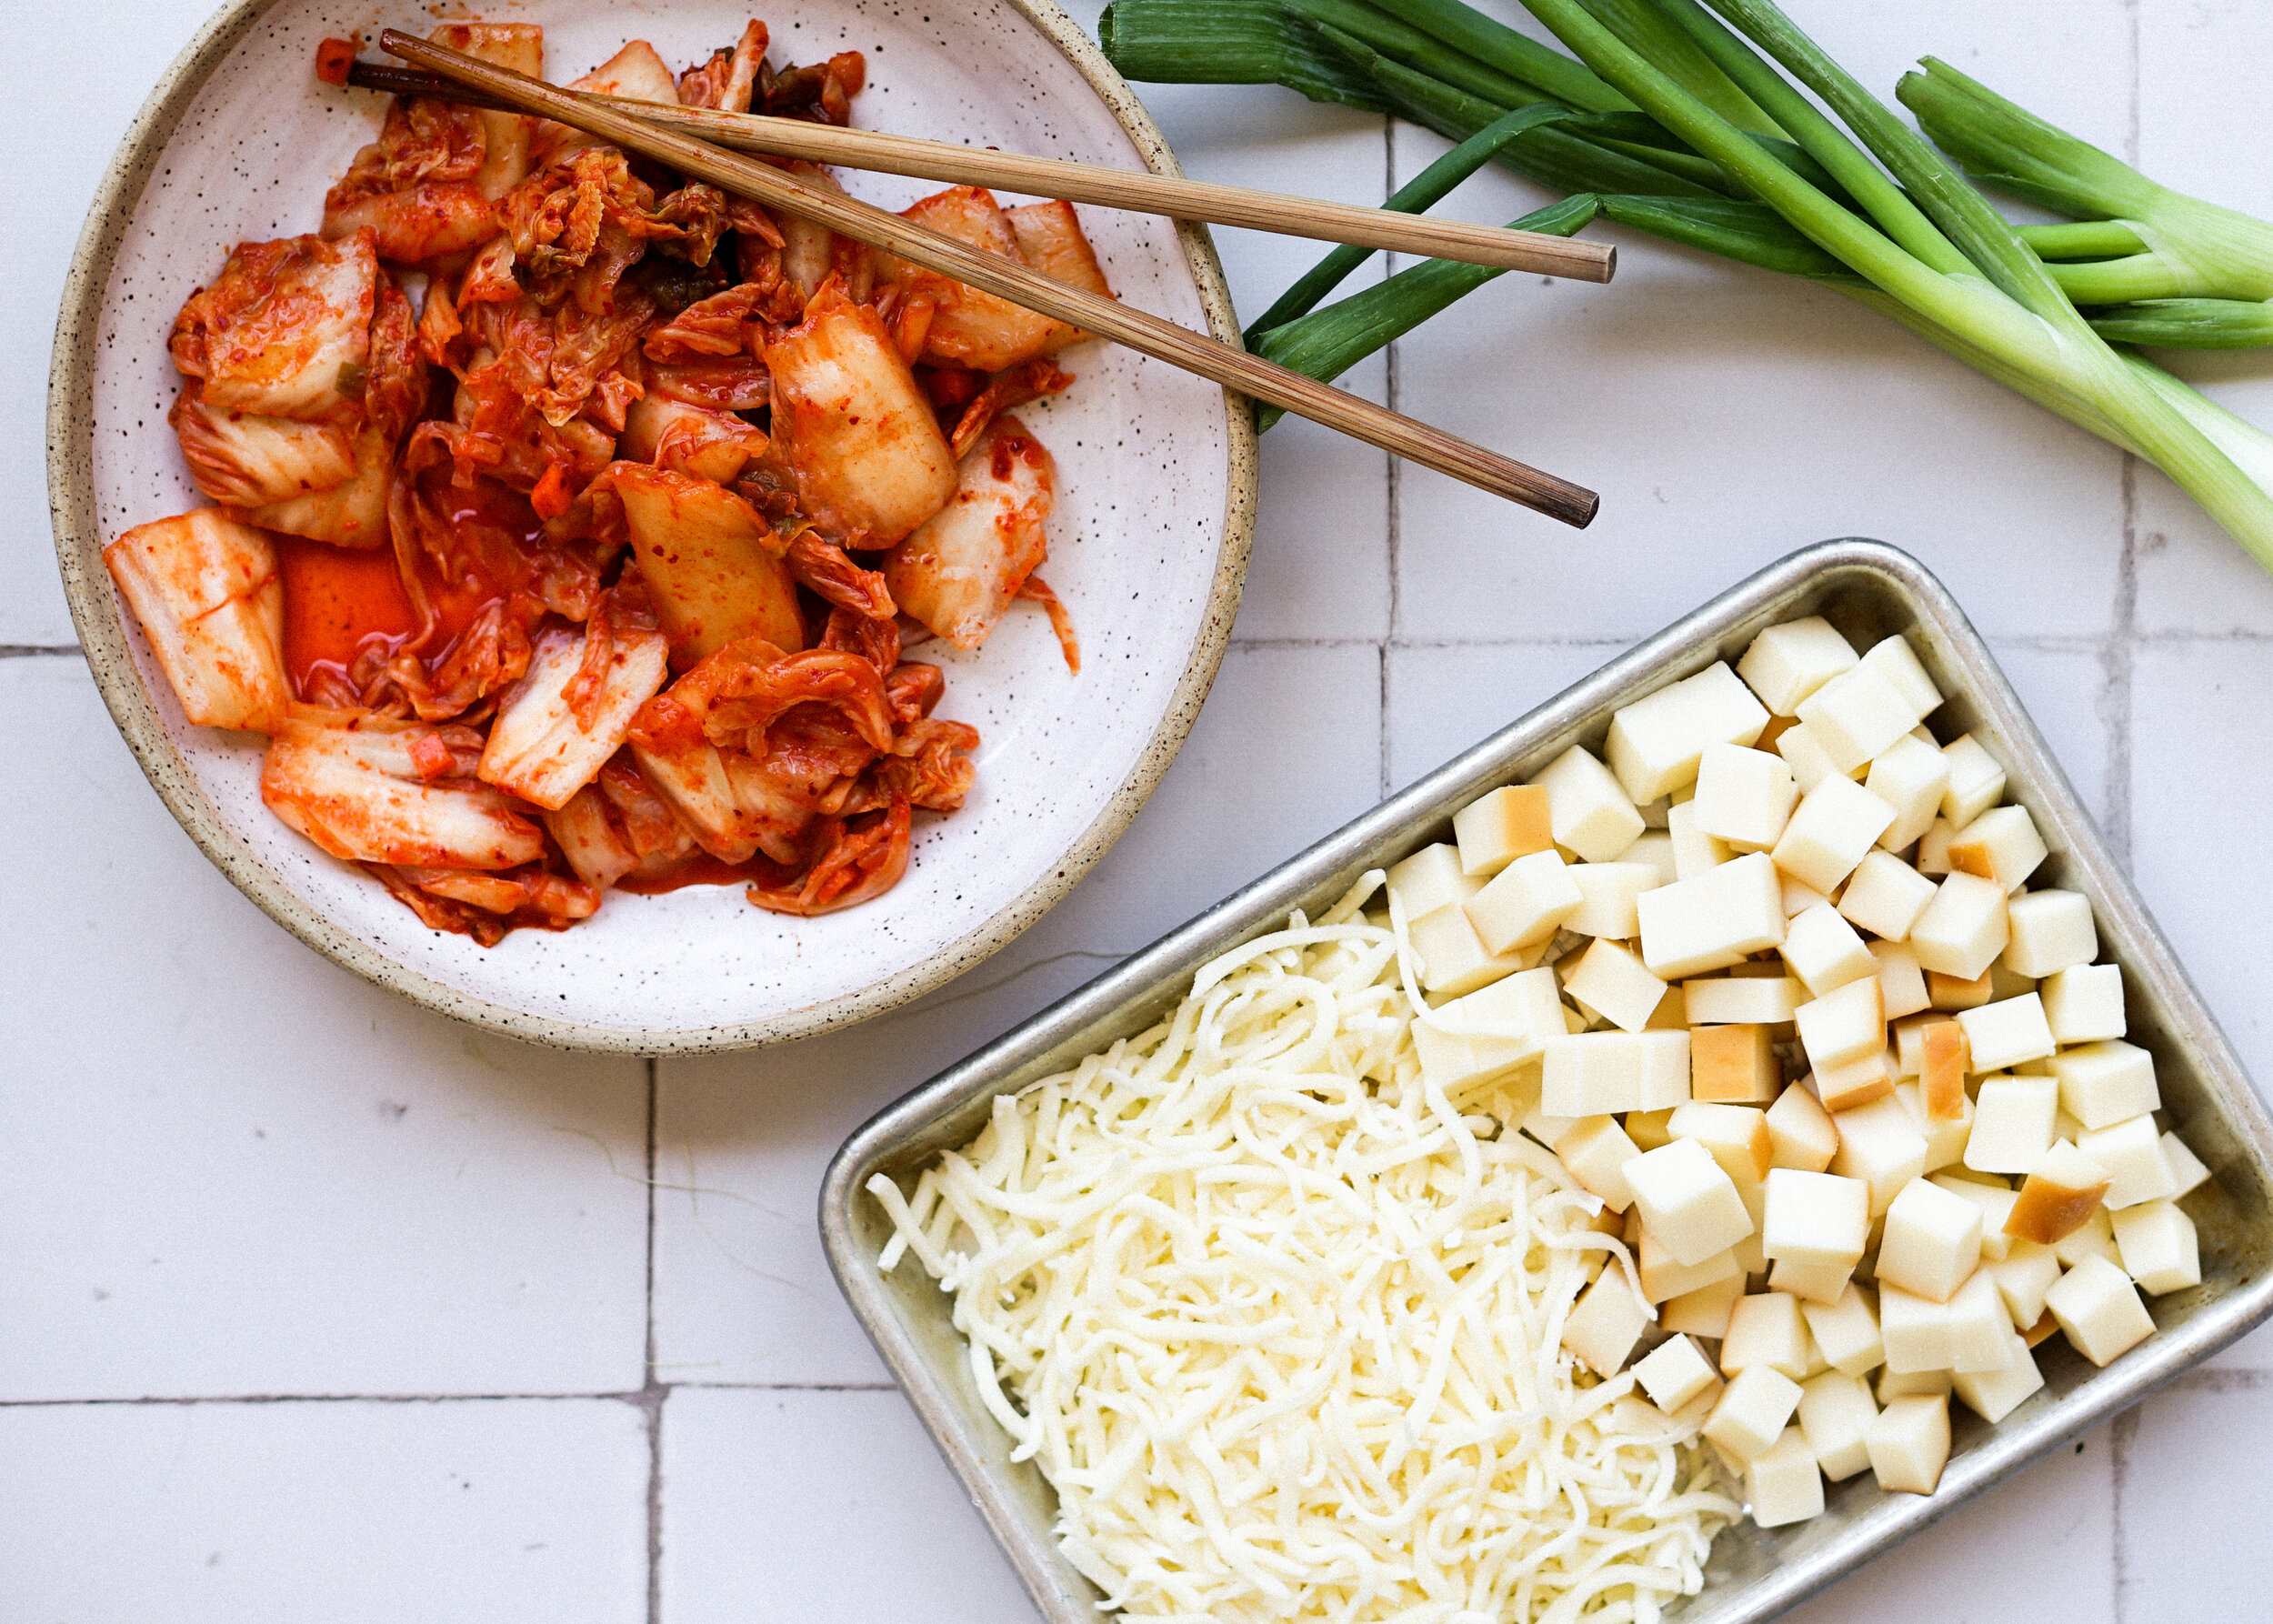
While the dough is proofing, let’s assemble the toppings. Cheese always goes down first in a Detroit-style because you want direct contact between the cheese and the pan for that crisp edge. I’m using a mix of smoked mozzarella and regular shredded mozzarella. The smoked mozzarella is low in moisture and also has great flavor. When it’s combined with the kimchi it brings me back to the smell of charcoal-y Korean bbq. The regular mozzarella is more neutral in flavor (too much smoked mozz can be overpowering) and provides that great melty cheese quality.
On top of the cheese, we’re going to add spicy kimchi (whatever is your favorite) and fresh corn. There’s no red sauce on this pizza, so I guess you can consider it a white pizza. I’m using the moisture from the kimchi to make up for the lack of sauce. To balance the spice of the kimchi, fresh corn brings sweetness. I sliced the corn off of two cobs so I could get a few big chunks of corn, but you can definitely just use canned or even frozen corn instead. No need to cook the corn first, but the oven will do that for you as the pizza bakes.


Assembling a Detroit-style Pizza
After the first proof of your dough, you’re going to carefully transfer the dough to your rectangular baking dish. Drizzle some olive oil first though! Rub your finger tips with some oil too and press them into the dough. Start dimpling and stretching the dough until it feels like it won’t stretch anymore, you don’t want to tear the dough. Cover the pan and let the dough relax for another 30 minutes. Come back in and stretch the dough out again. Normally by this point I’m able to stretch the dough out all the way to the edge of the pan, but if you need another 30 minute stretch break, that’s totally fine!
Once the dough has reached the edge we’re going to cover it and leave it alone for a few more hours for it’s final proof. This takes about 3 hours. The dough should look airy and pillowy. In terms of height, it should be above half the depth of the pan.
Now, add your toppings! Spread the cheese out first, making sure there is plenty of cheese around the edge. Add the kimchi and corn. Sprinkle on some green onions and pop it into the oven.


Bake until you reach max crispy edge!
You’ve spent all day patiently proofing and assembling the pizza and all it takes is 18-20 minutes in the oven to bake! It bakes at a very high temp of 550-degrees so dough bakes quick and the cheese caramelizes around the edges. Take it out of the oven once you’re happy with the color and texture. Let the pan cool on a wire rack for a few minutes and then carefully slide the pizza out of the pan with the help of a spatula. I like to run the spatula around the edges first in case there’s any stickage, and then slide the spatula under the pizza to get some leverage. Slide it out onto a cutting board and slice. Oh! and if you like, you can sprinkle on some sesame seeds and grated parmesan!


Kimchi and Corn Detroit-style Pizza
Serves 4 to 6
Dough:
380g (1 2/3 cups) warm water
1 tsp sugar
1/2 tsp Bob’s Red Mill dry active yeast
1 tbsp olive oil, more for greasing
550g (about 4 1/4 cups) Bob’s Red Mill Bread Flour
1 tsp salt
Toppings:
8oz smoked mozzarella, cubed
6 oz shredded mozzarella
2 cups kimchi
1 cup corn, canned, frozen, or fresh from the cob
1/2 cup green onions, chopped
1/4 cup parmesan, grated
2 tsp sesame seeds
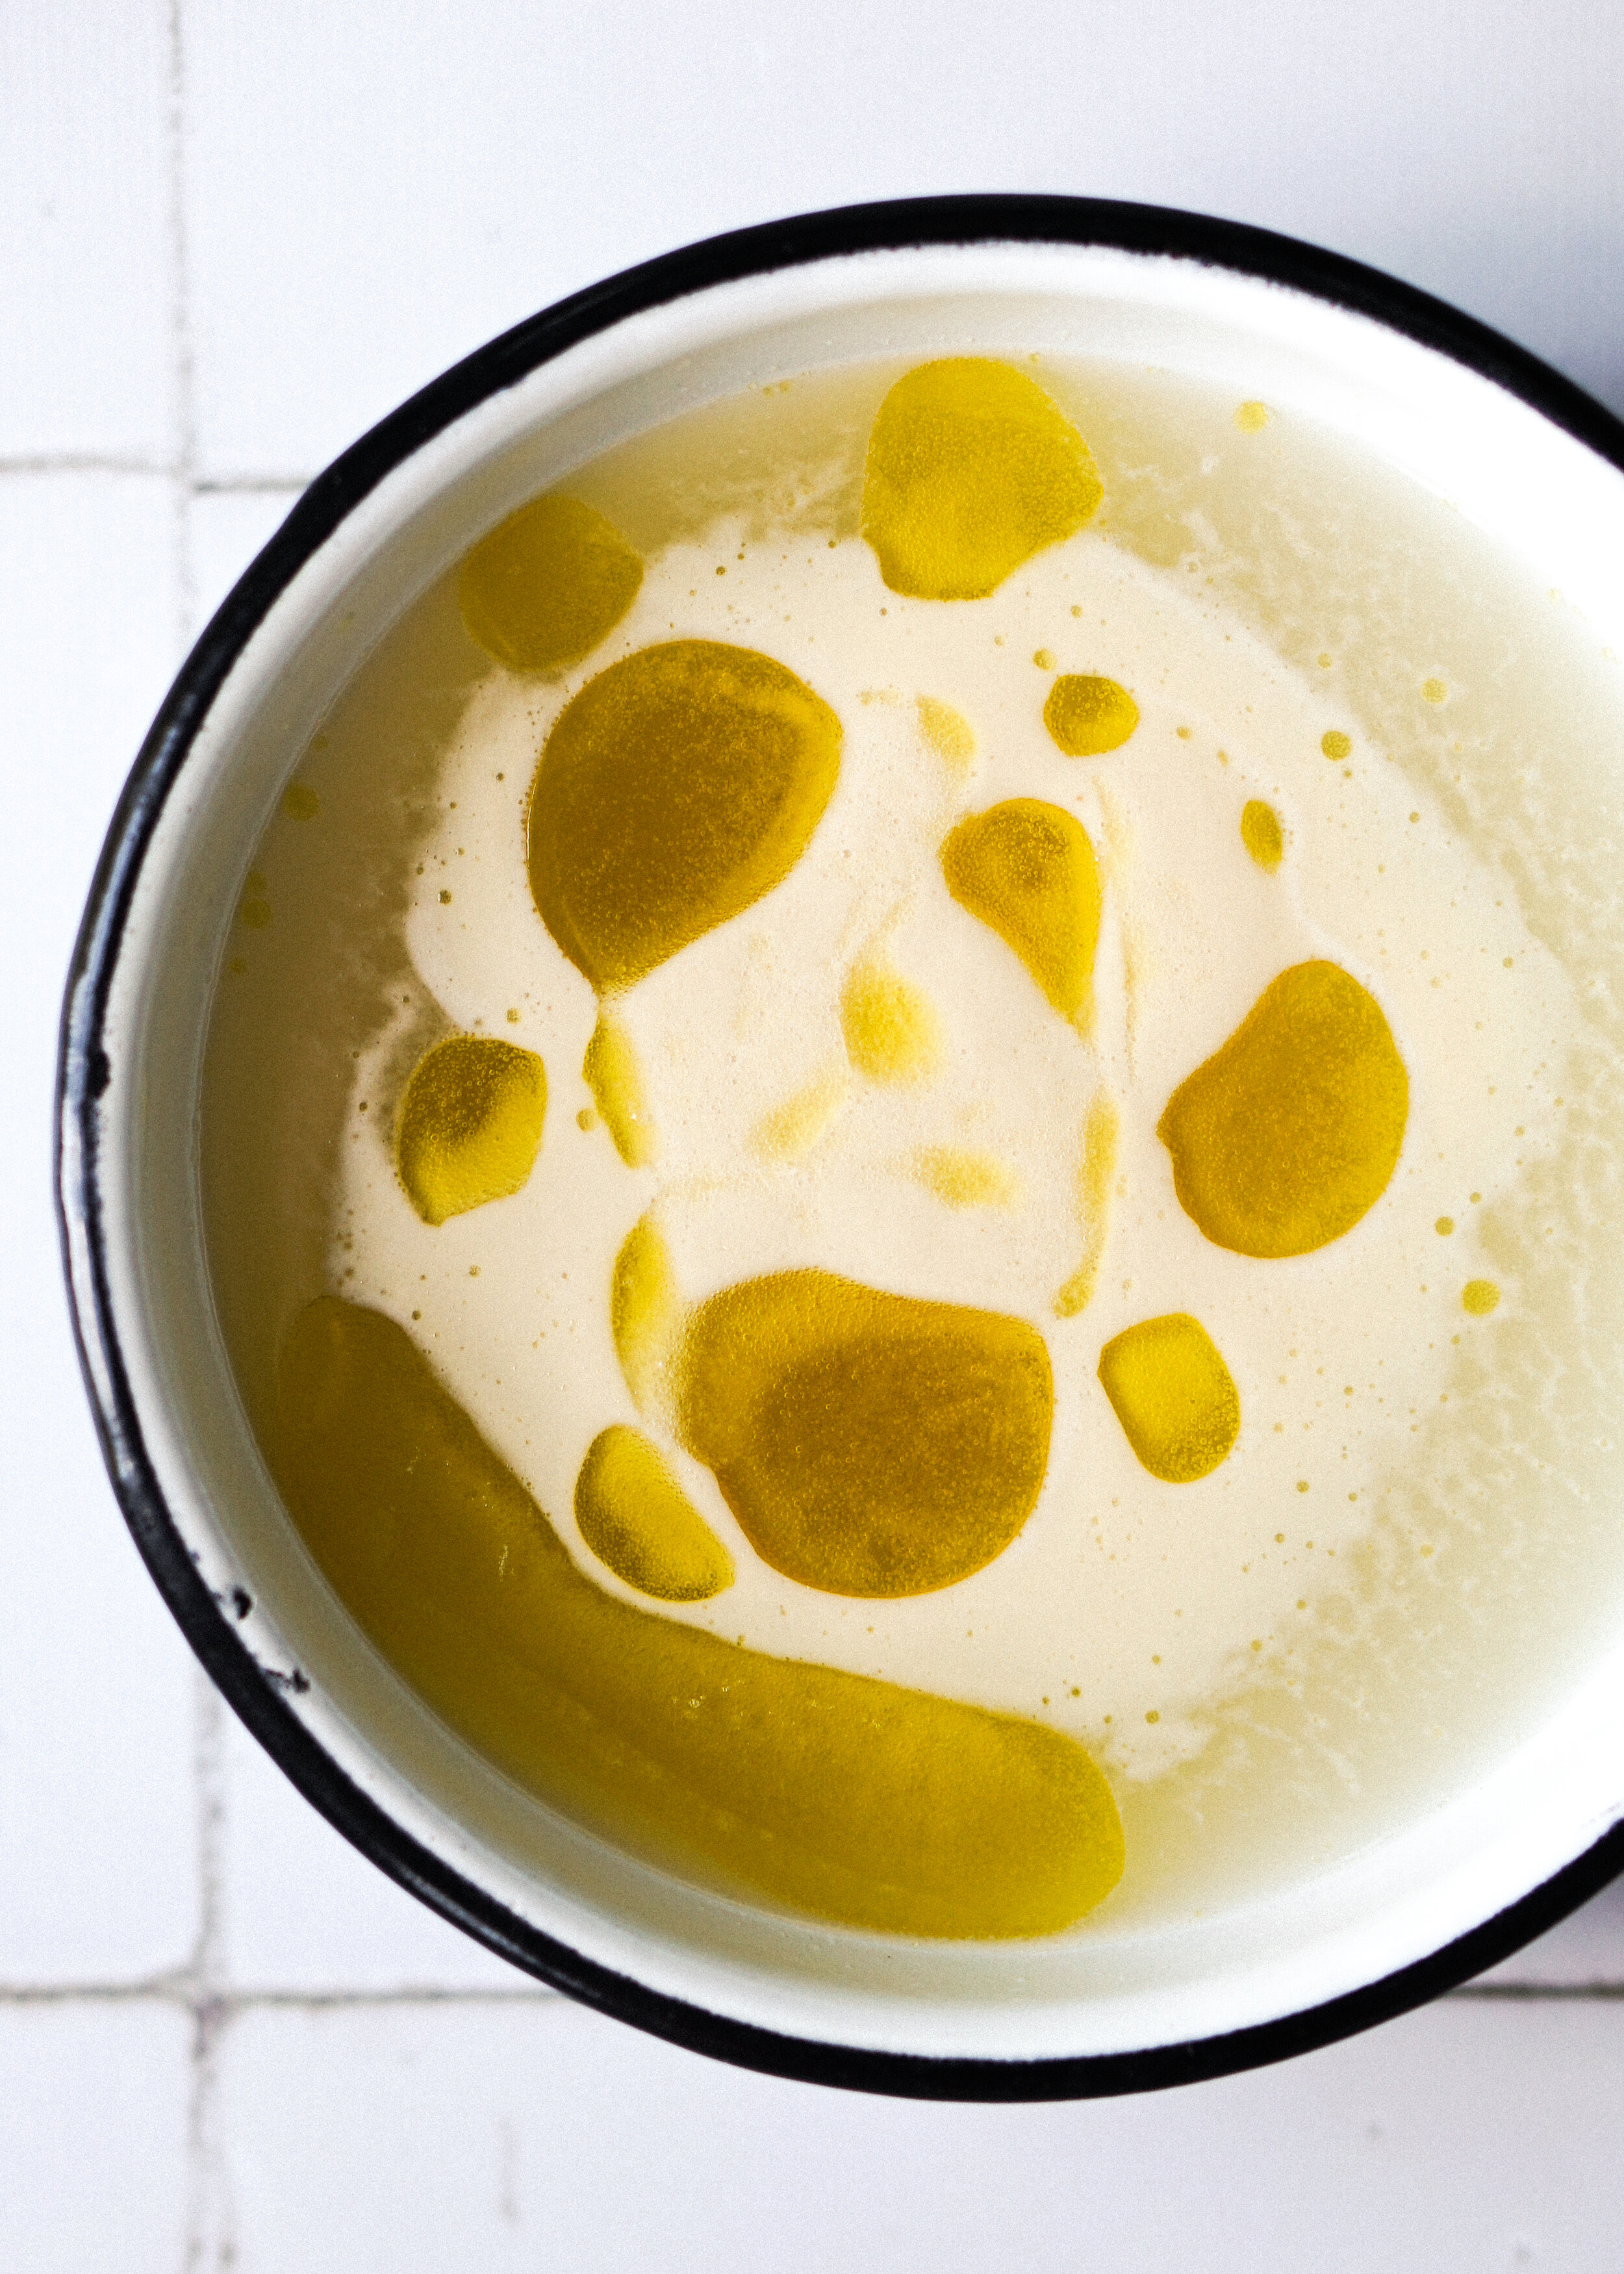
To make the dough, stir to combine warm water, sugar, and yeast in a medium bowl. Top with olive oil and allow the yeast to activate, until you see tiny bubbles on the surface, 15 to 20 minutes. If you don’t see any signs of activation, start over.
In the bowl of your standmixer, add the yeasty water, flour, and salt. Stir with a flexible spatula until just combined, it’s okay if it’s slightly floury. Cover with a kitchen towel and let the dough hydrate for 20 minutes. Attach the dough hook and knead the dough on low speed for 2 minutes, increase speed to medium-low to medium and continue kneading until the dough is smooth and pulling away from the sides of the bowl (still sticky at the bottom), another 6 to 8 minutes. The dough is naturally on the wetter side. Transfer the dough to a lightly floured surface and shape into a ball by tucking the edges under the dough. Transfer to a large bowl lightly greased with olive oil. Cover the bowl with a damp kitchen towel and allow the dough to proof in a warm spot until at least doubled, 2 to 3 hours.
Drizzle 1 tablespoon of oil in a 9x13-inch rectangular baking dish. Carefully scrape out the dough with a dough scraper or flexible spatula and transfer it into the baking dish (no need to punch down this dough, we want all the air). Rub some oil on your fingertips and press them into the dough, creating dimples and stretch until the dough starts to resist. It won’t fill up the pan right away. Cover with a damp kitchen towel and let it rest for 30 minutes and stretch again until it fills the pan (if it needs another stretch just repeat the process again in 30 minutes). Cover with a damp kitchen towel and let the dough proof until airy and puffy, the height should be just over half the depth of the pan, about 3 hours.
About 30 minutes before the end of the second proof, preheat the oven to 550-degrees.
Once the dough is light and airy, add an even layer of smoked mozzarella and shredded mozzarella over the surface. Make sure to have enough cheese around the edge for a crispy edge. Top with kimchi, corn, and green onions. Bake until the edges are deeply brown and crispy and the cheese is melty, 18 to 20 minutes.
Transfer the baking dish to a wire rack to cool for 5 minutes. Top with some sesame seeds and parmesan. Run a spatula around the edge of the pan to loosen the crust and side the spatula under the pizza to help slide the pizza out of the baking dish. Allow the pizza to cool for a few more minutes and then slice and serve.